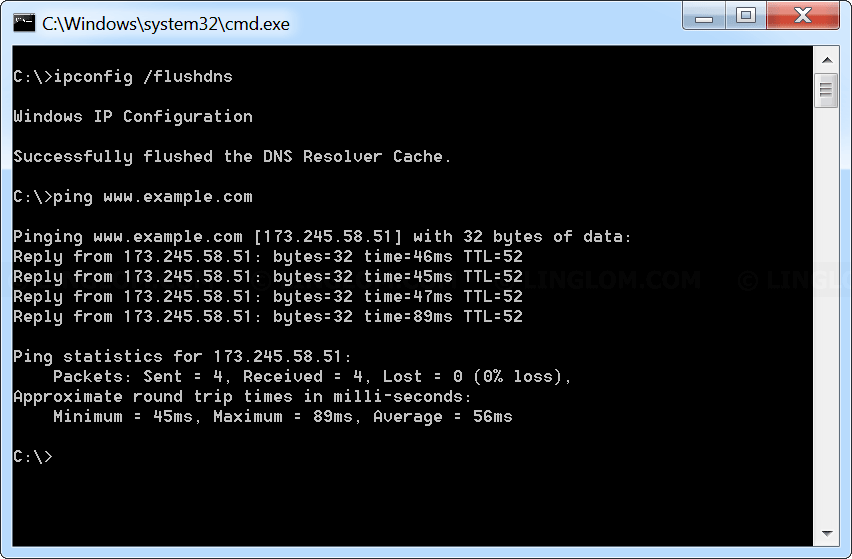
If you host website on DigitalOcean including a domain name and you haven’t configured it properly, there may be some issue as the example here. Your website is working properly, but you can’t access it if it begins with www (http://example.com is working fine, but not http://www.example.com). You can’t even ping to your www domain (www.example.com).

Solution
In this case, the issue is that you haven’t configure the CNAME record properly on DigitalOcean. A CNAME record is used to specify that a domain name is an alias for another domain, the “canonical” domain.
To fix the issue, you have to add www CNAME record on DigitalOcean.
Step-by-step
Note: The domain name and IP address on this article are example only.
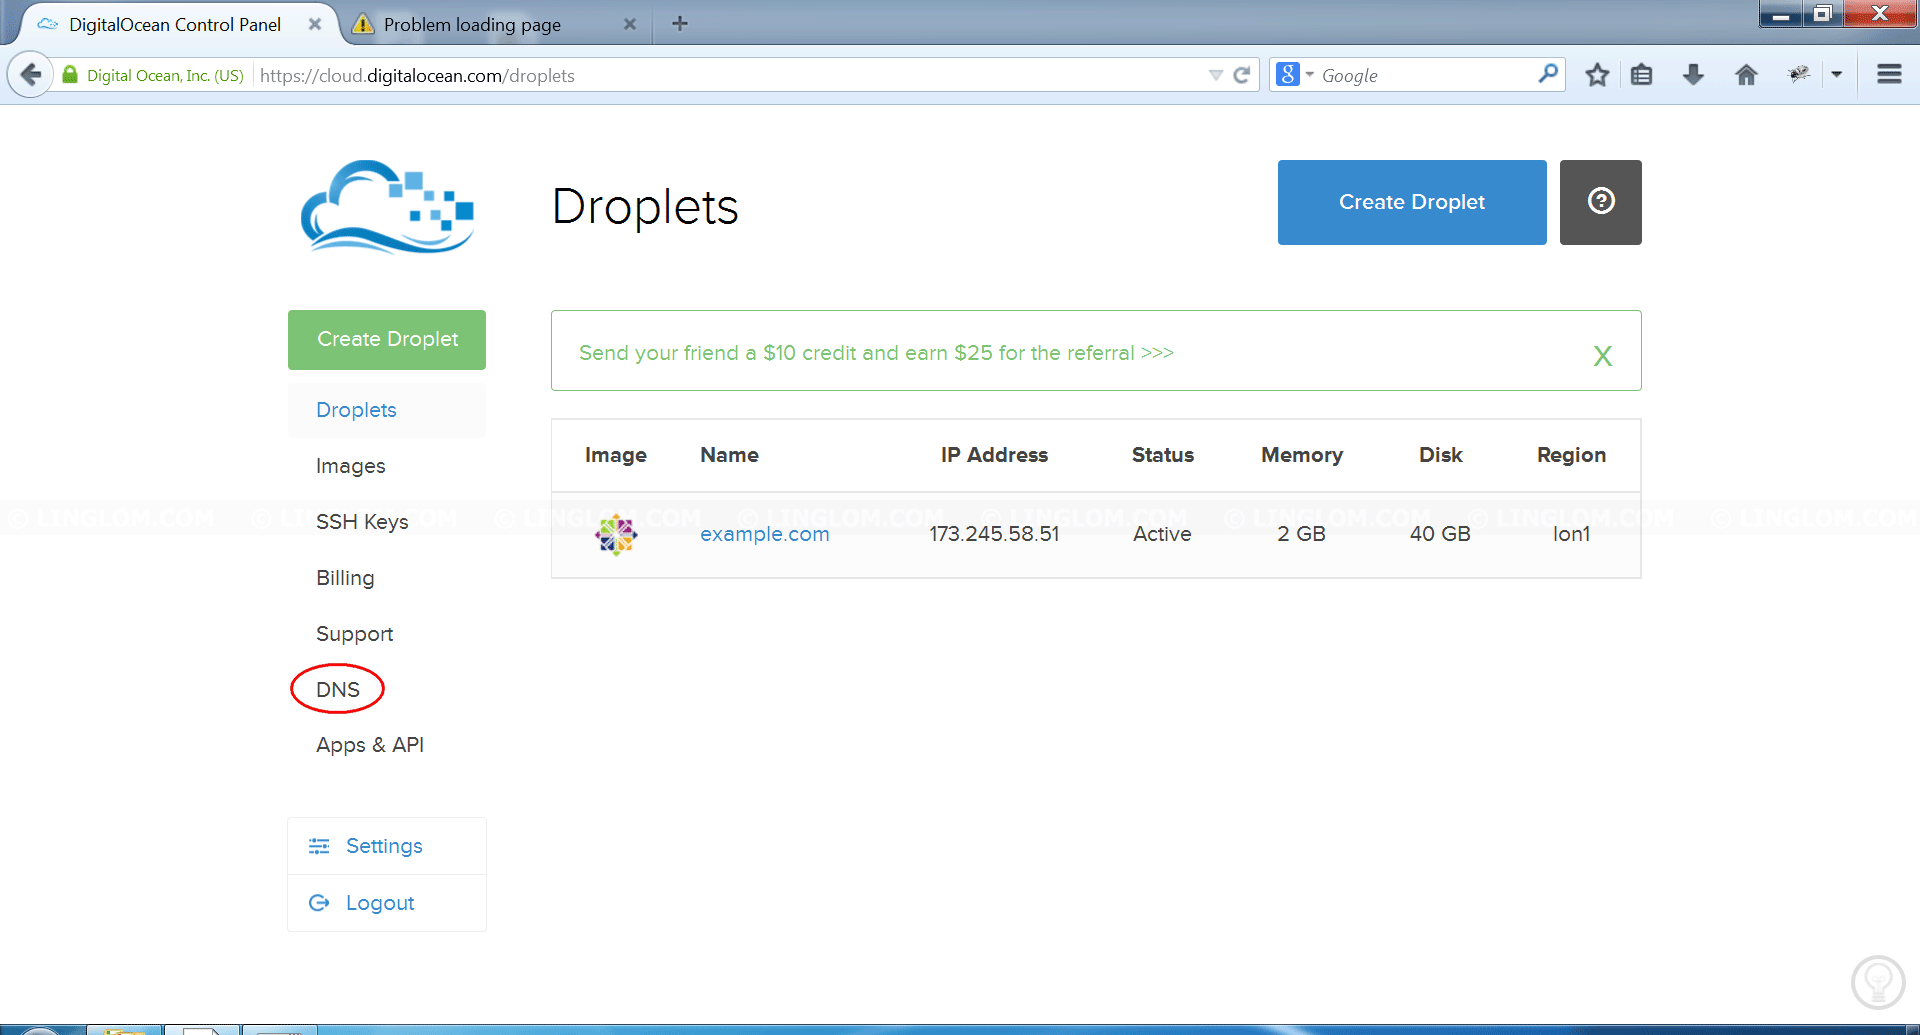
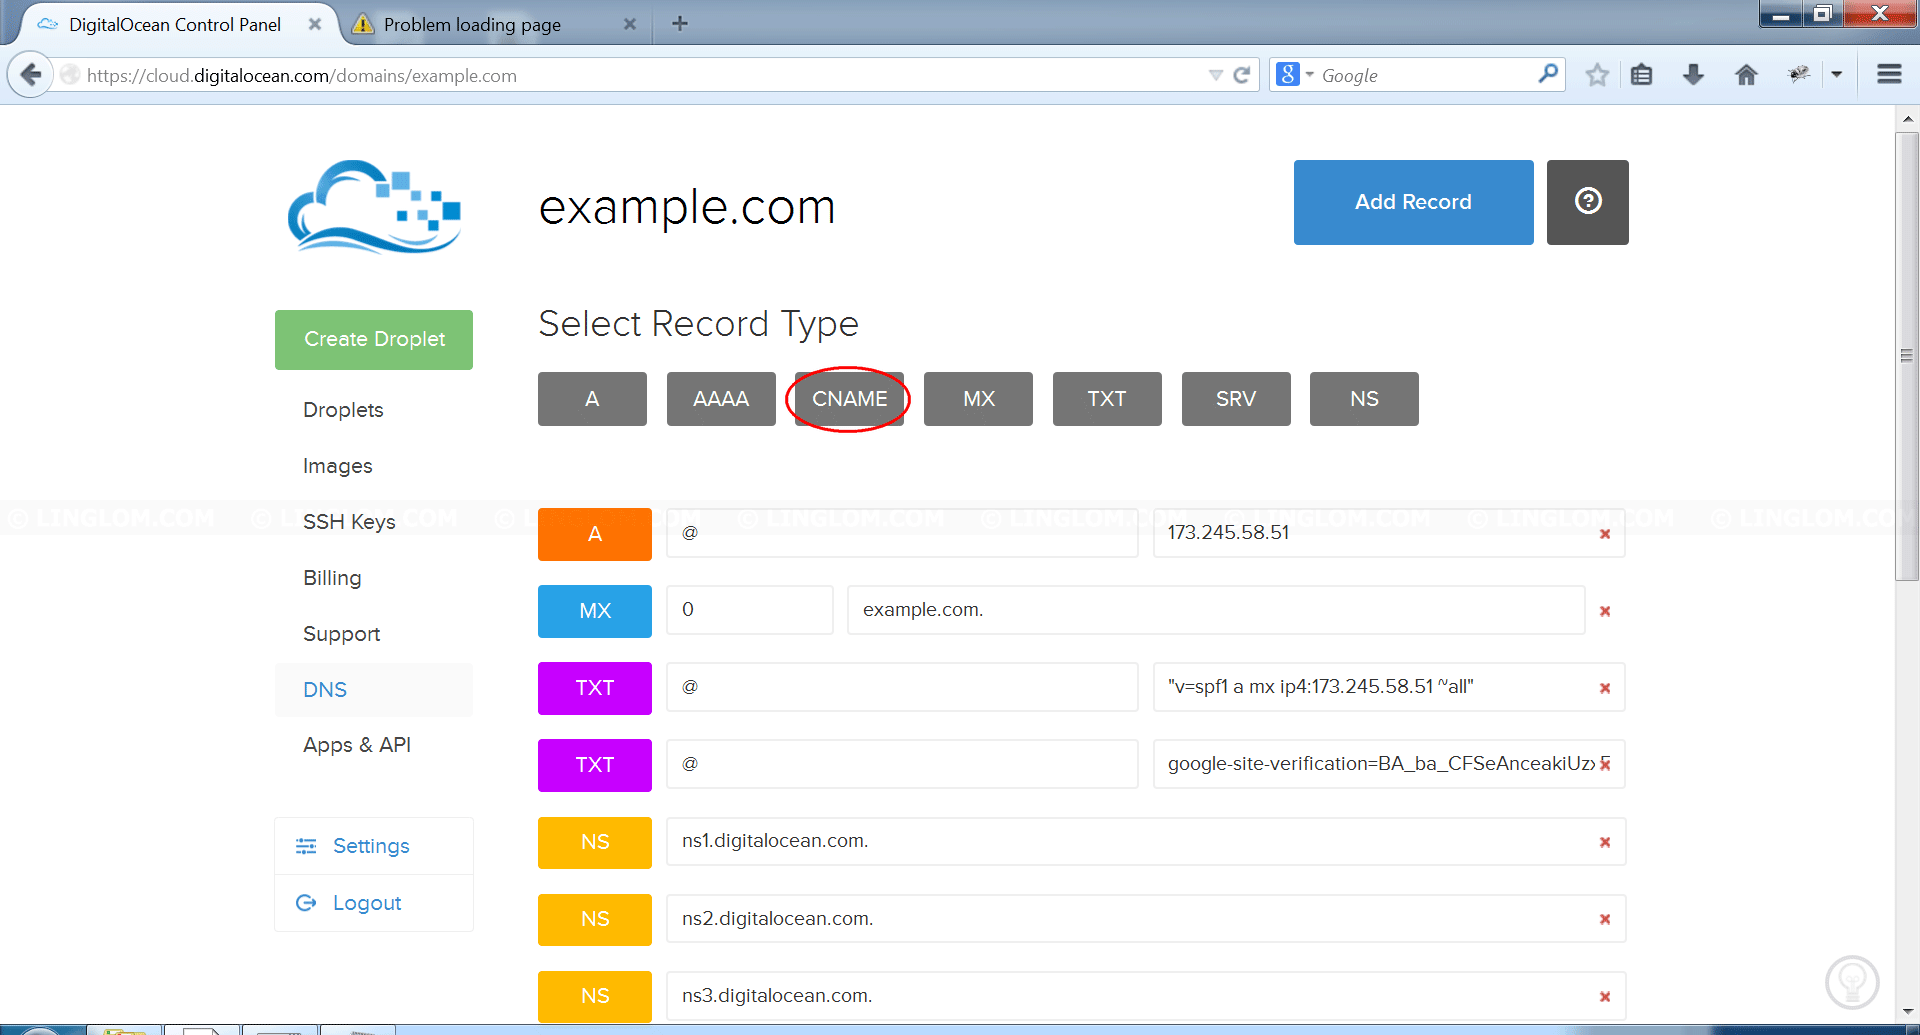
- Login to your control panel on DigitalOcean and click DNS.
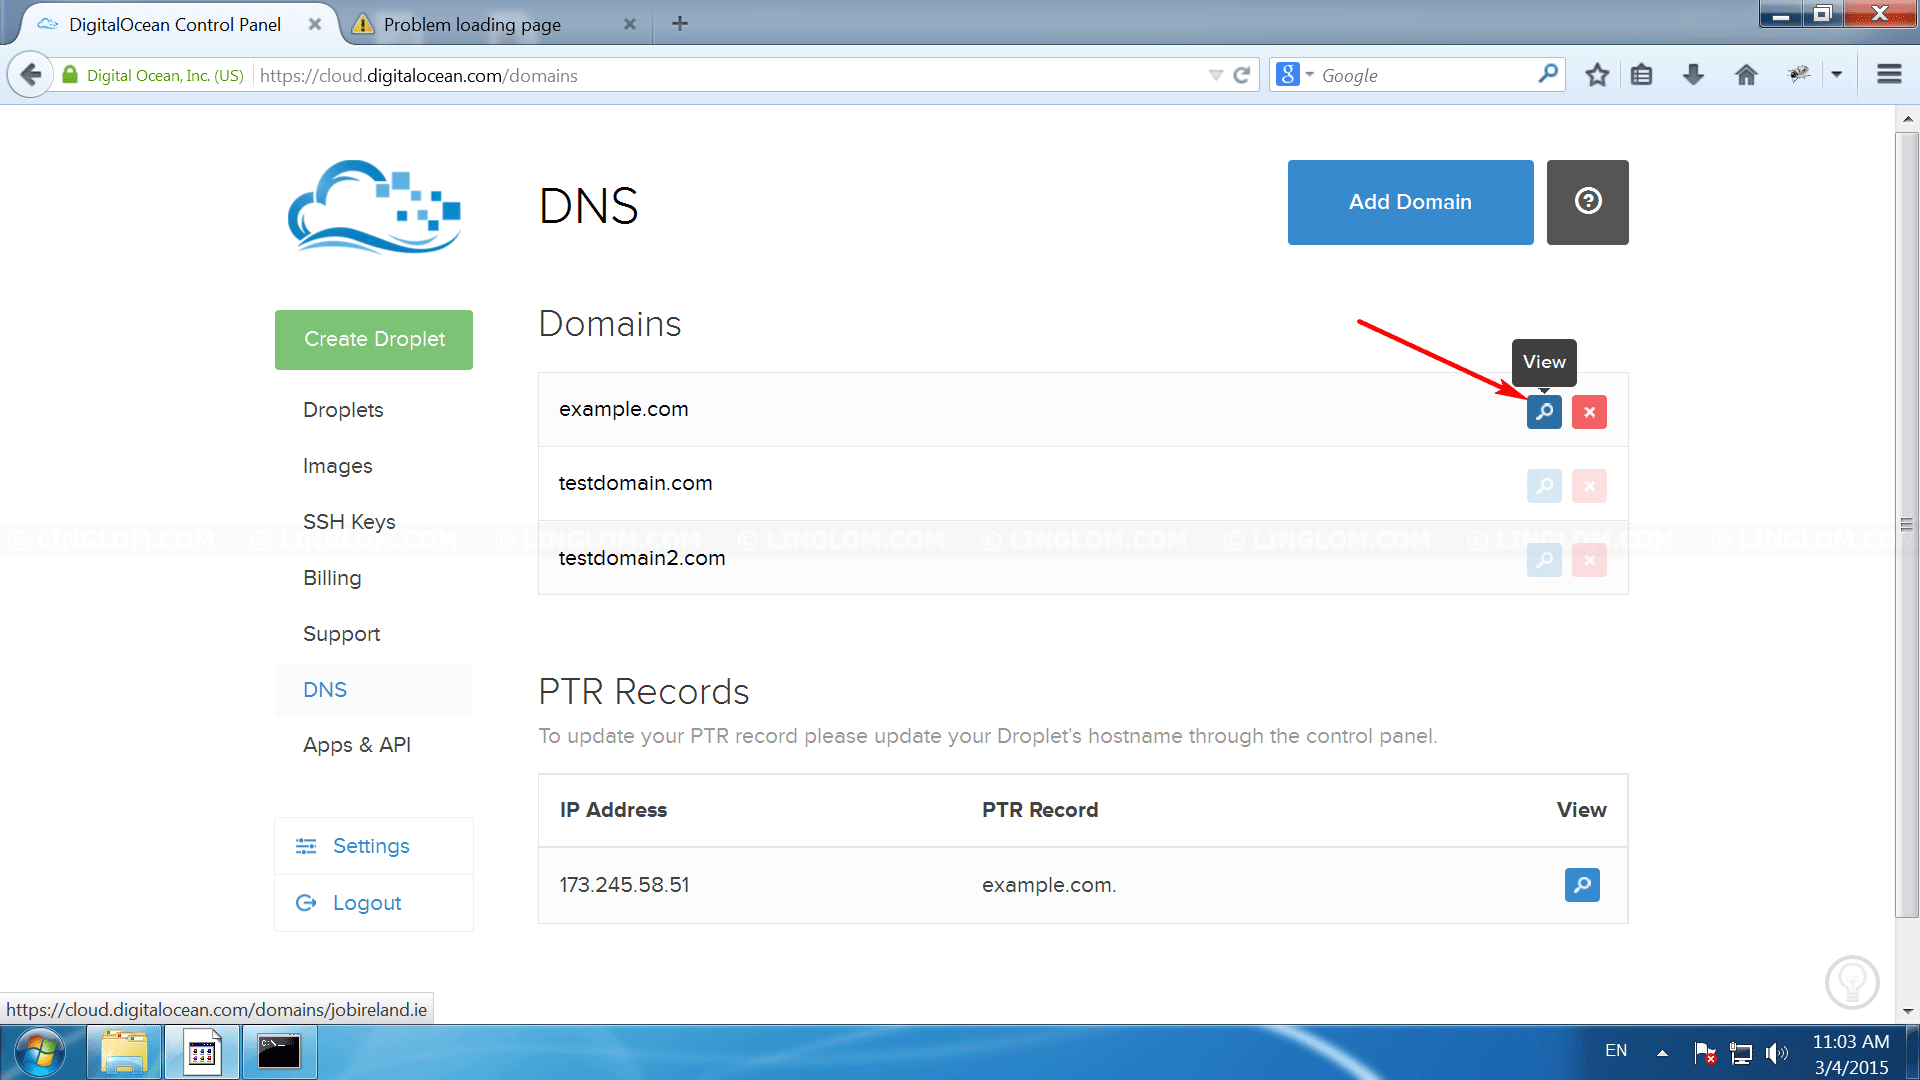
- On DNS, click on View (the magnifier icon) next to the domain that you want.
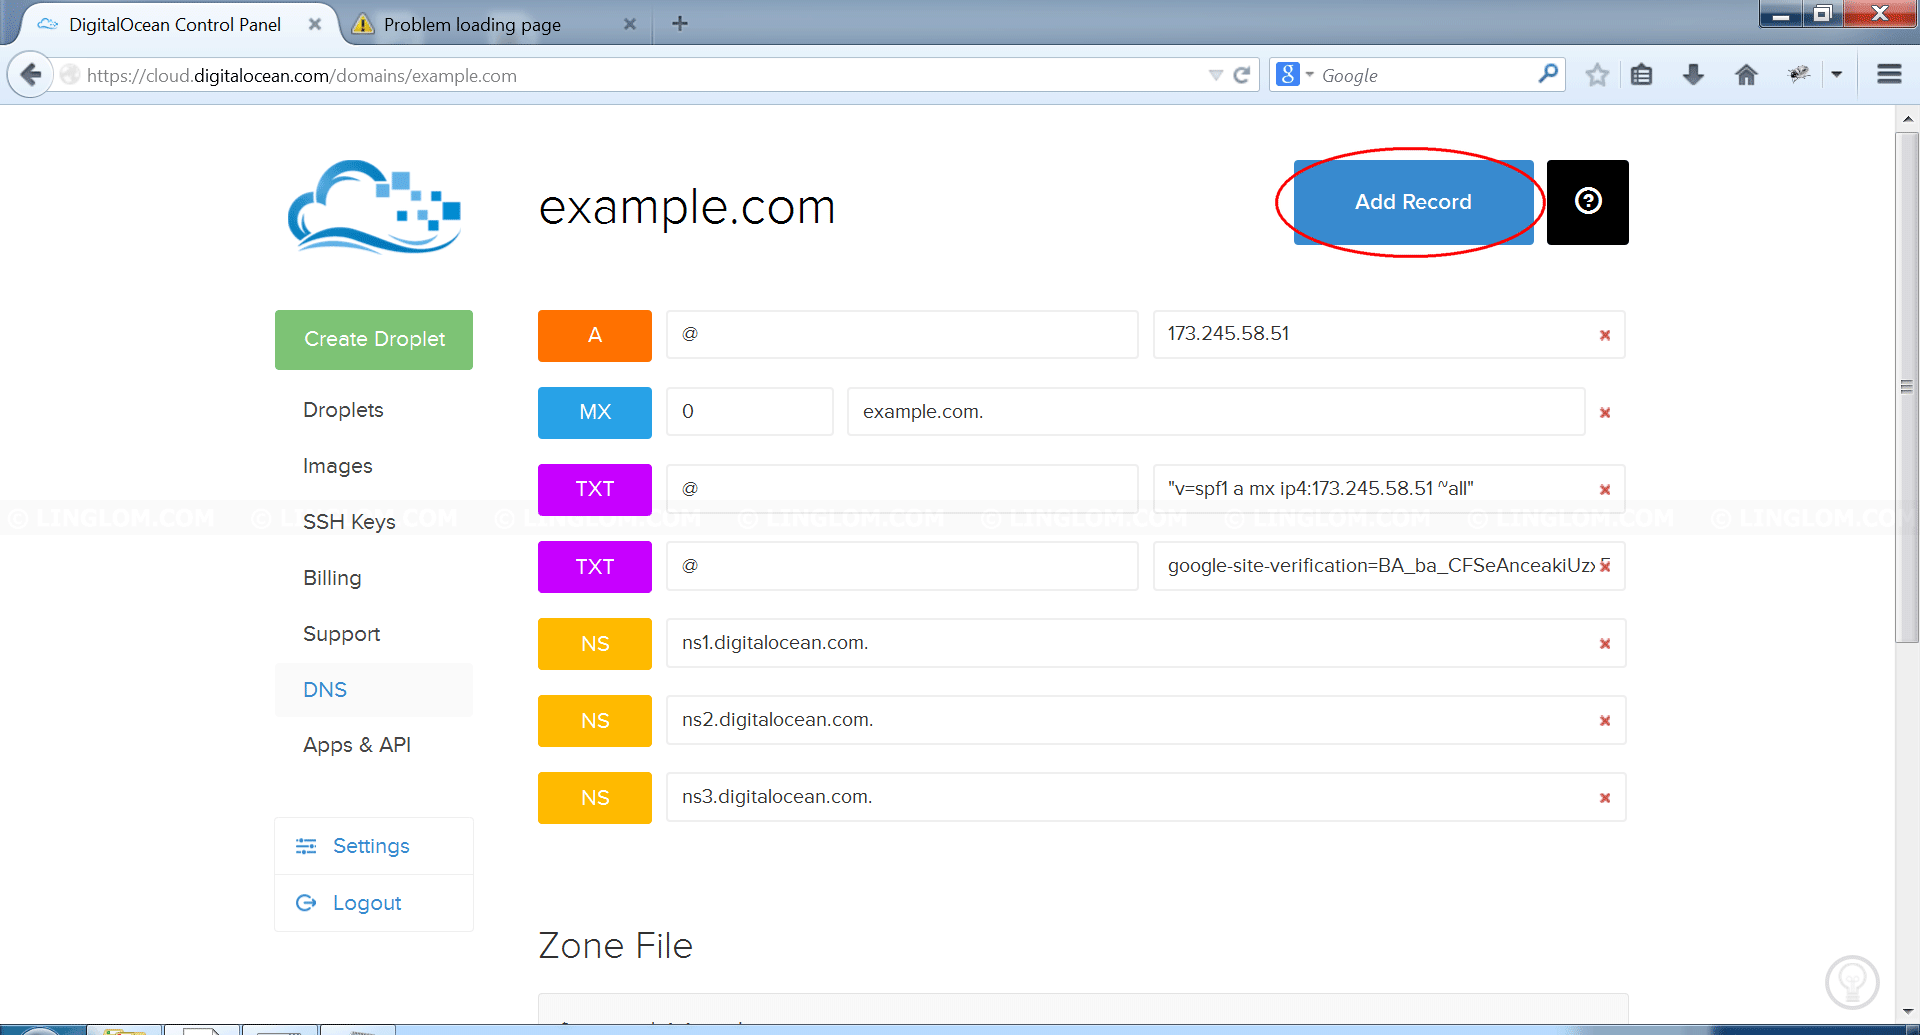
- On the selected domain, check if there is already a www CNAME record. If not, click Add Record. Otherwise, your issue may not be this case.
- Click CNAME button under Select Record Type section.
- Type www on the left textbox and your domain on the right textbox. And click Create.
Note: The domain name must ends with dot (.)
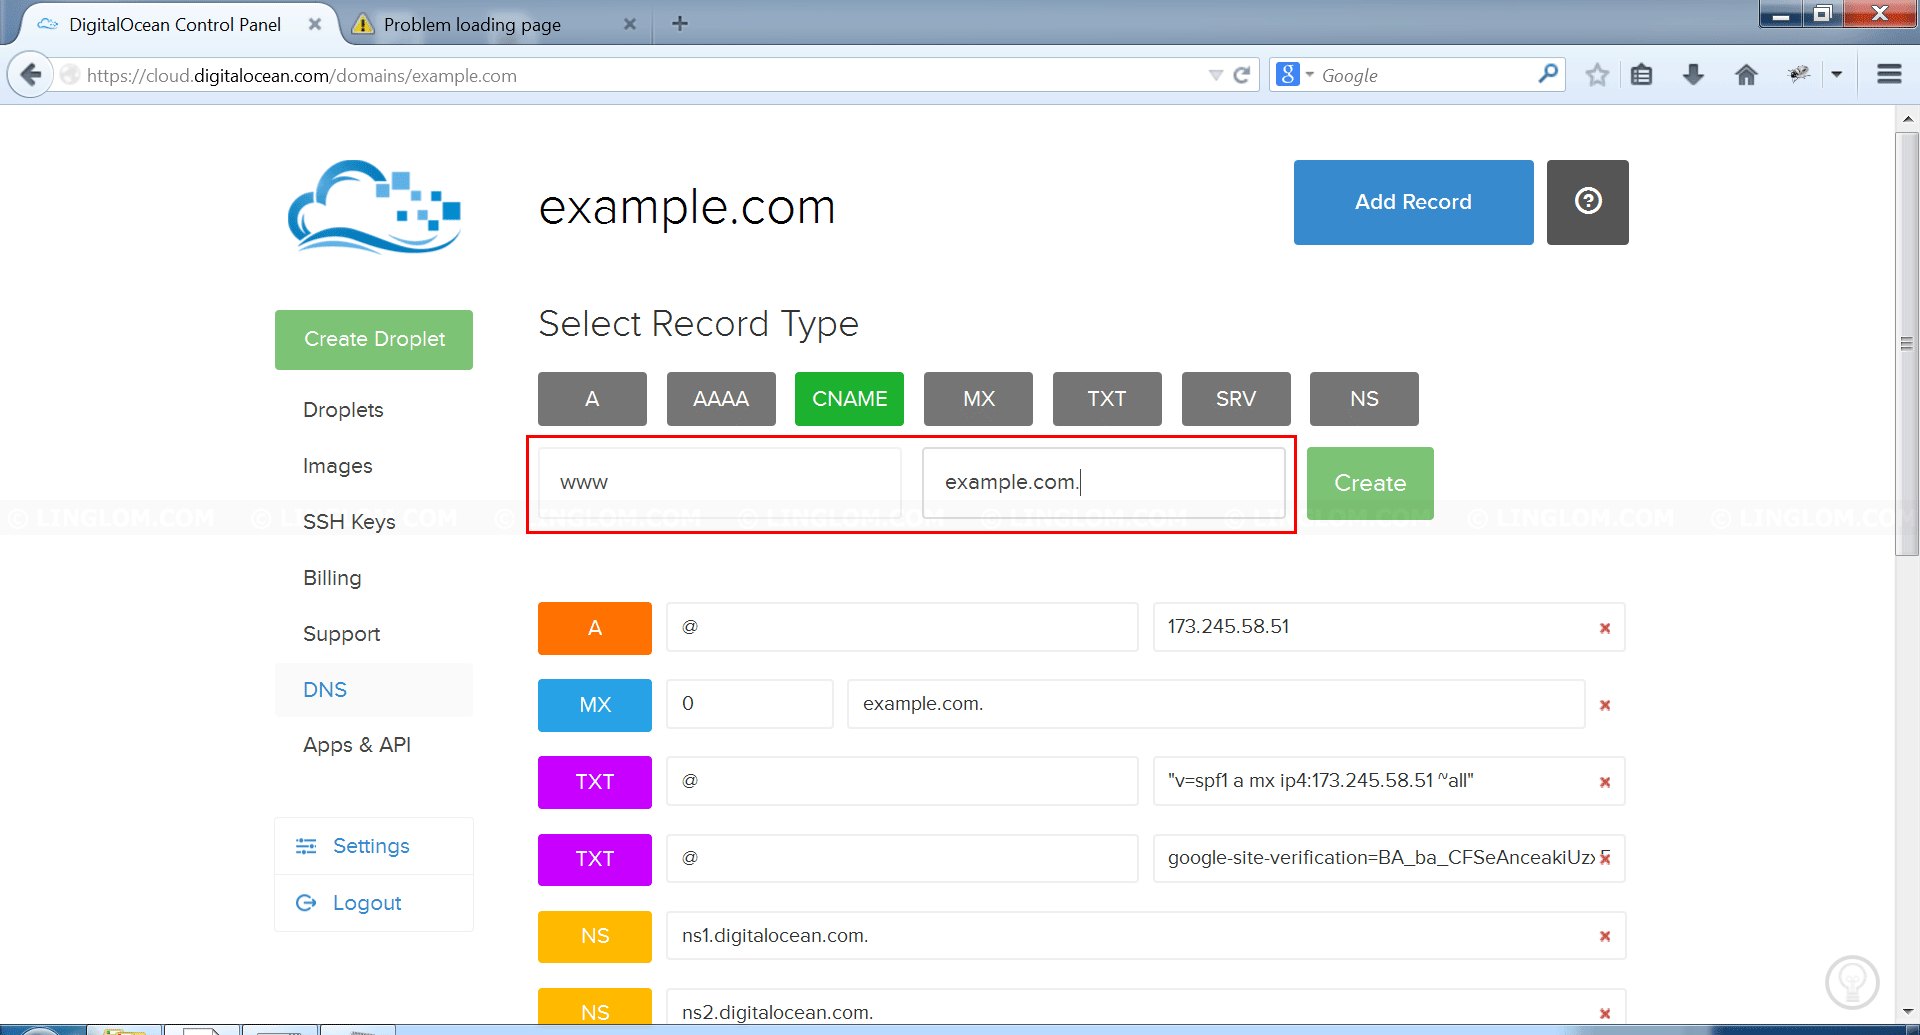
- Now you will see a www CNAME record point to your domain name.

- It may takes few seconds or minutes for DNS record to propagate on the Internet. Then you can check with ping command and you can now access your website with www domain.