In this article, I will show how to create an USB recovery drive on Windows 10.
Note: You can use Windows installation media (DVD/USB) to boot into System Recovery Options instead of recovery drive.
Watch on YouTube
Step-by-step
- On Windows desktop,
- Right-click Windows icon at bottom left and select Control Panel.
- Select System and Security.
- Select File History.
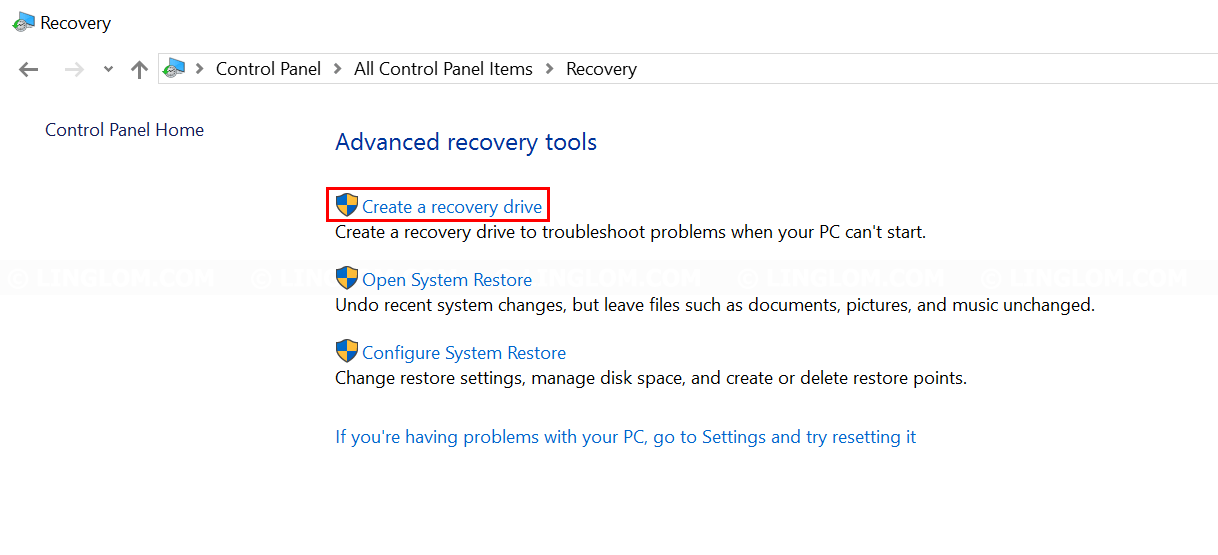
- Select Recovery on the left menu.
- Click Create a recovery drive.
Or you can press Windows + R keyboard shortcut, type recoverydrive and click OK.
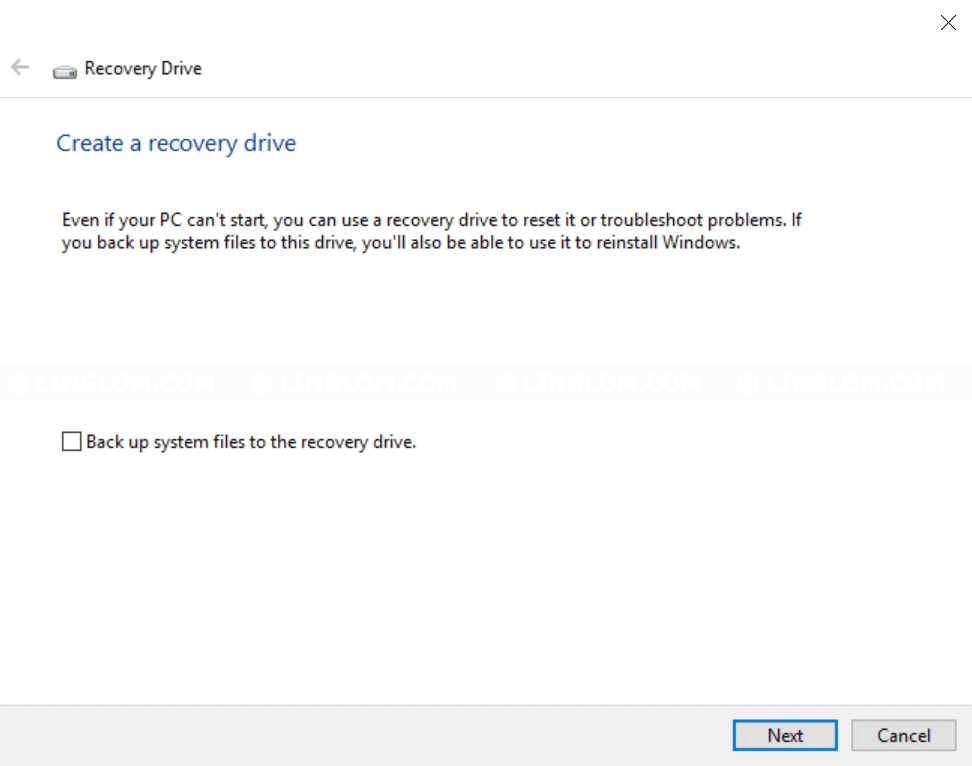
- On Recovery Drive, you can choose to backup system files if you want to reinstall Windows with the recovery drive. Otherwise, uncheck the option Back up system files to the recovery drive and click Next.
Note: If you’re creating recovery drive on Windows 8, you will see the option Copy the recovery partition from the PC to the recovery drive instead.
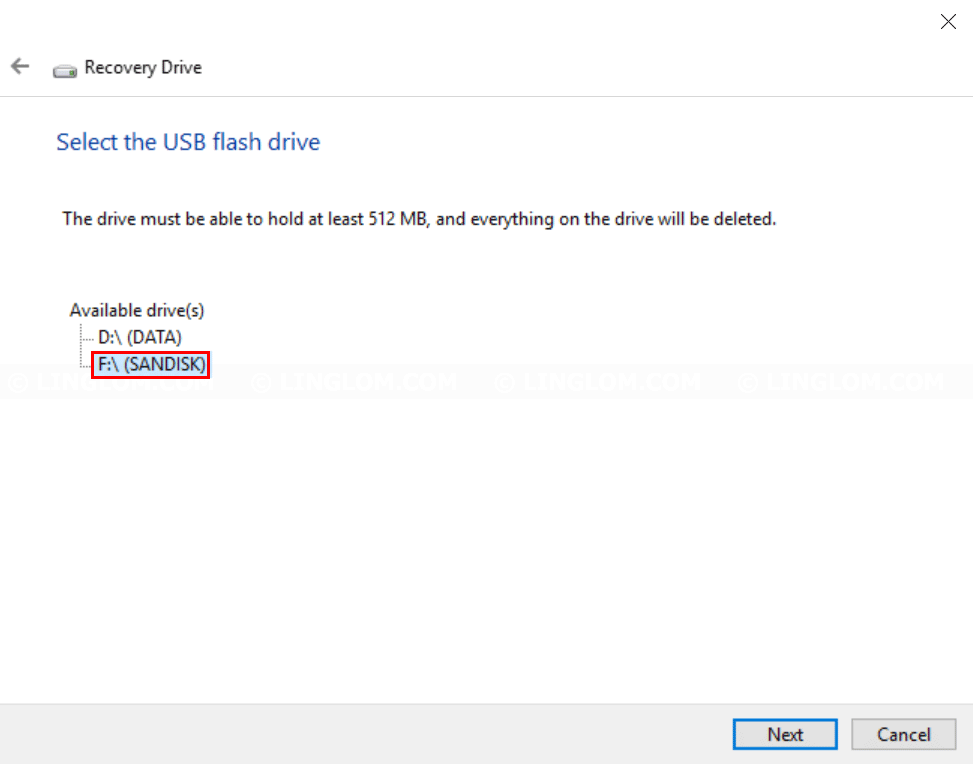
- Then, select an USB flash drive and click Next.
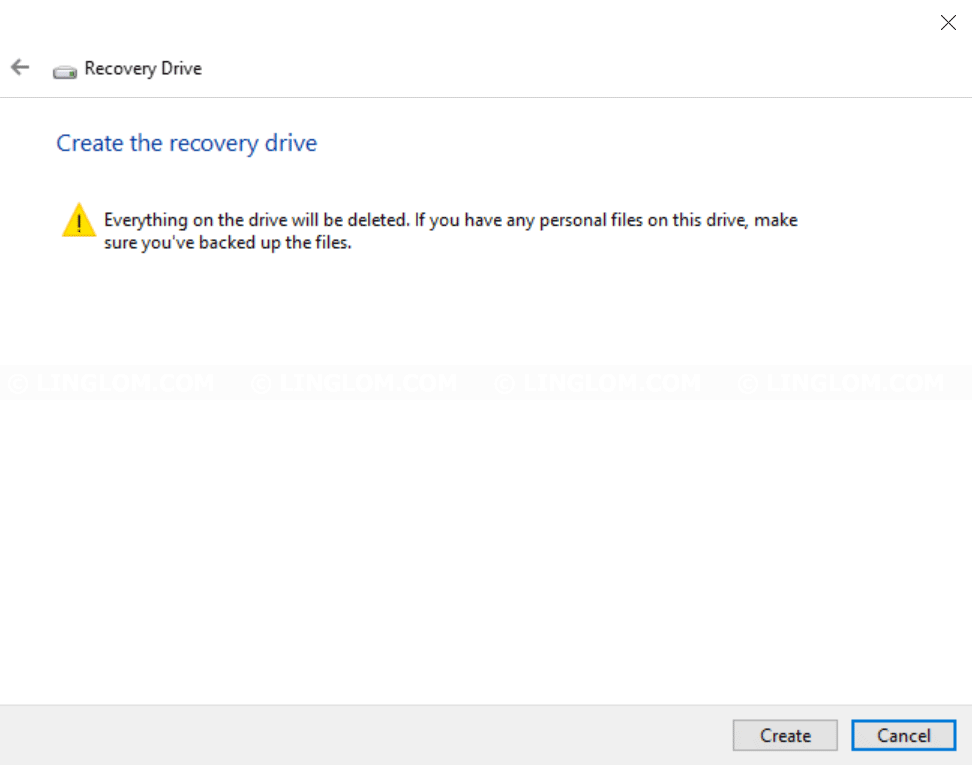
- You see a warning message that all data on the drive will be deleted. Click Create to begin the process.
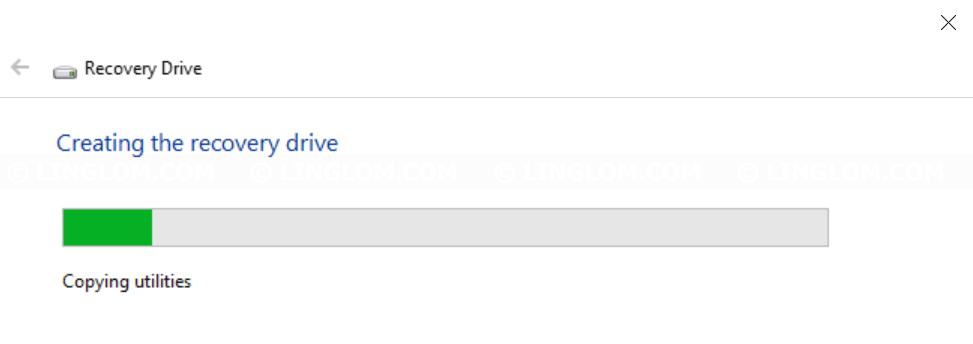
- In this example, it took about 2 minutes to create a recovery drive without backing up system files. If you choose to backup system files, it could take 30 minutes – 1 hour.
- Click Finish.
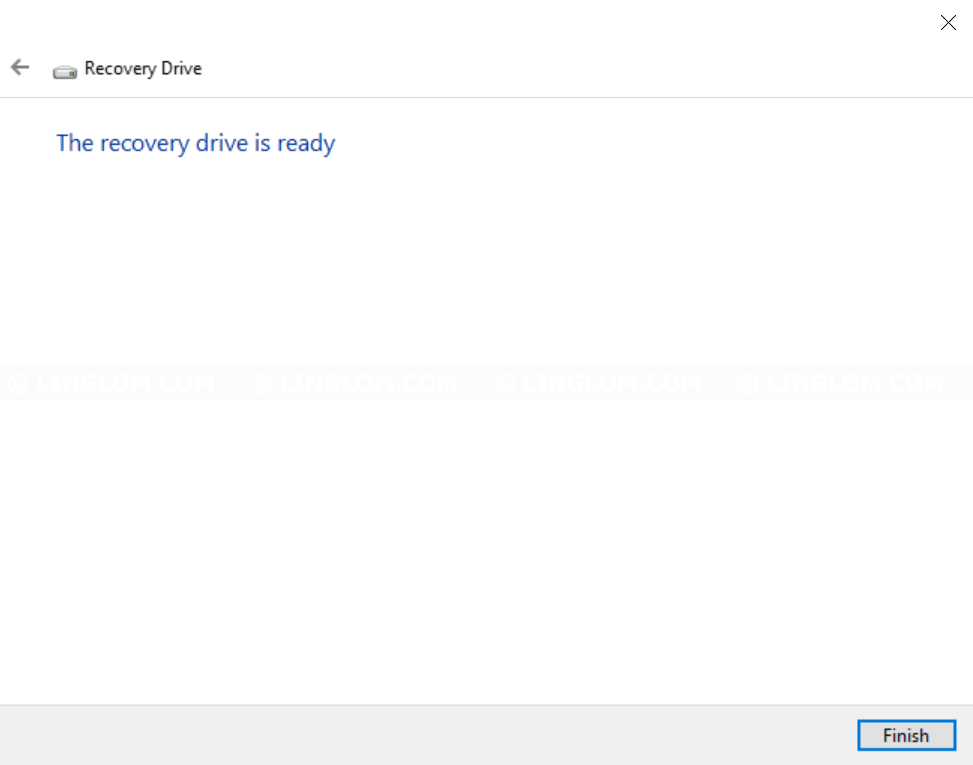
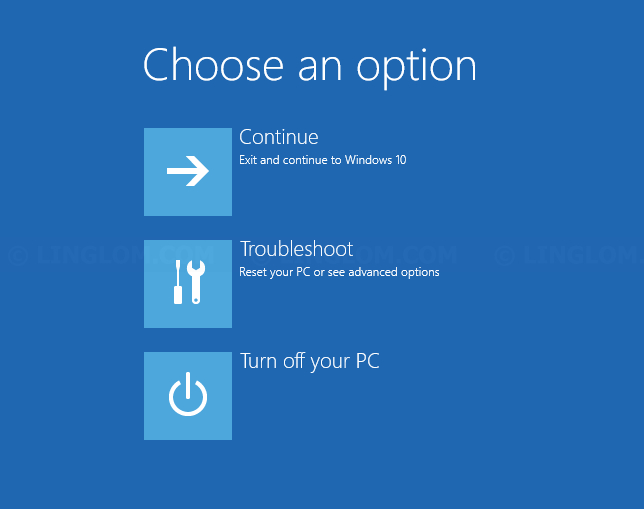
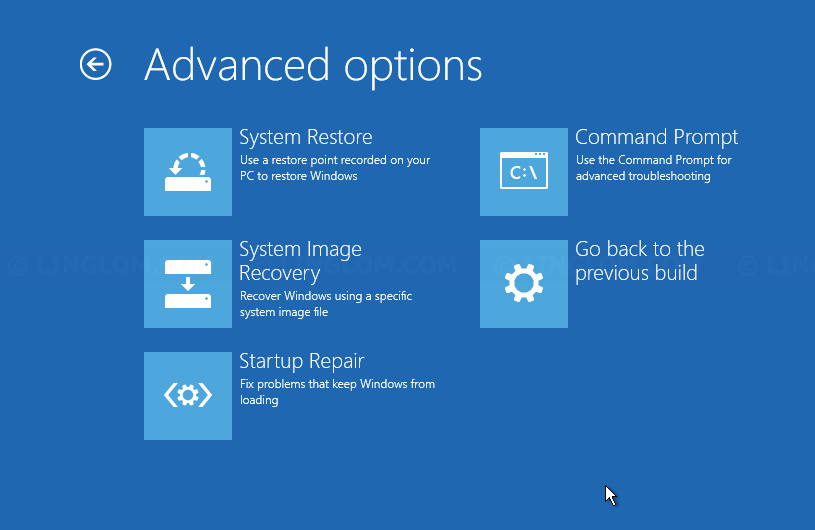
- Now, you have this USB flash drive for booting into System Recovery Options to troubleshoot and fix Windows problems.