Note: Not all Windows 8 editions can be updated from Windows Store, check the link at bottom for more information.
Watch on YouTube
Prepare your system
There are few things that you should do before proceed updating your system to Windows 8.1.
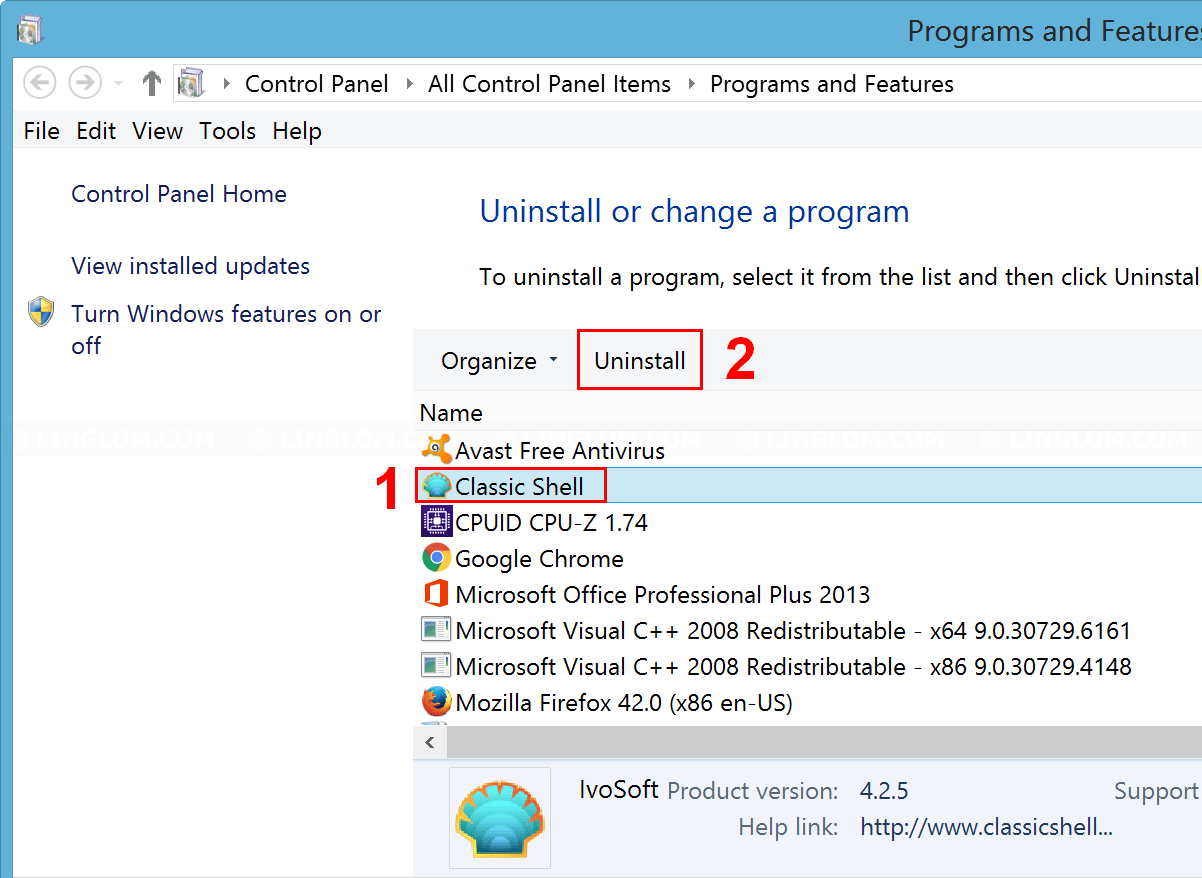
- If you have program that customizes Start menu, for example, Classic Shell, I recommended to uninstall it as it may conflict while updating system. You can install it after the update if you want.
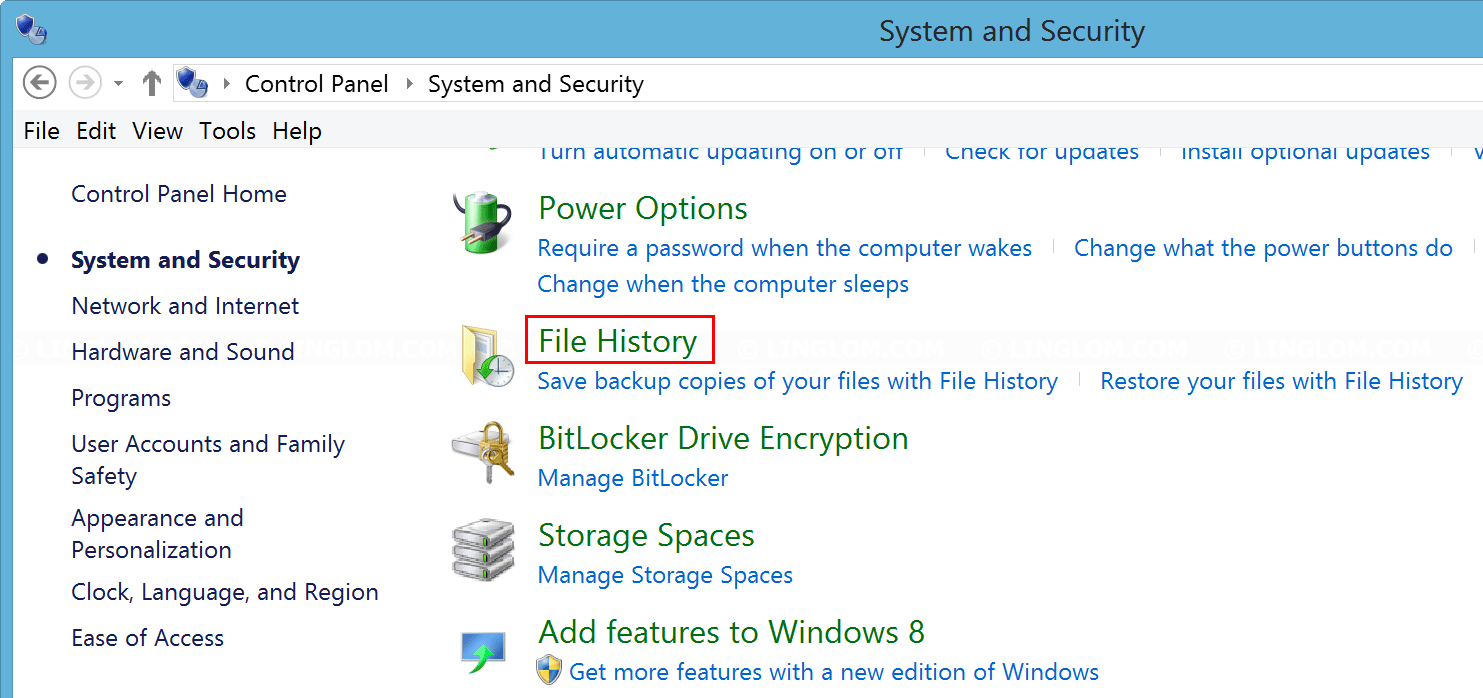
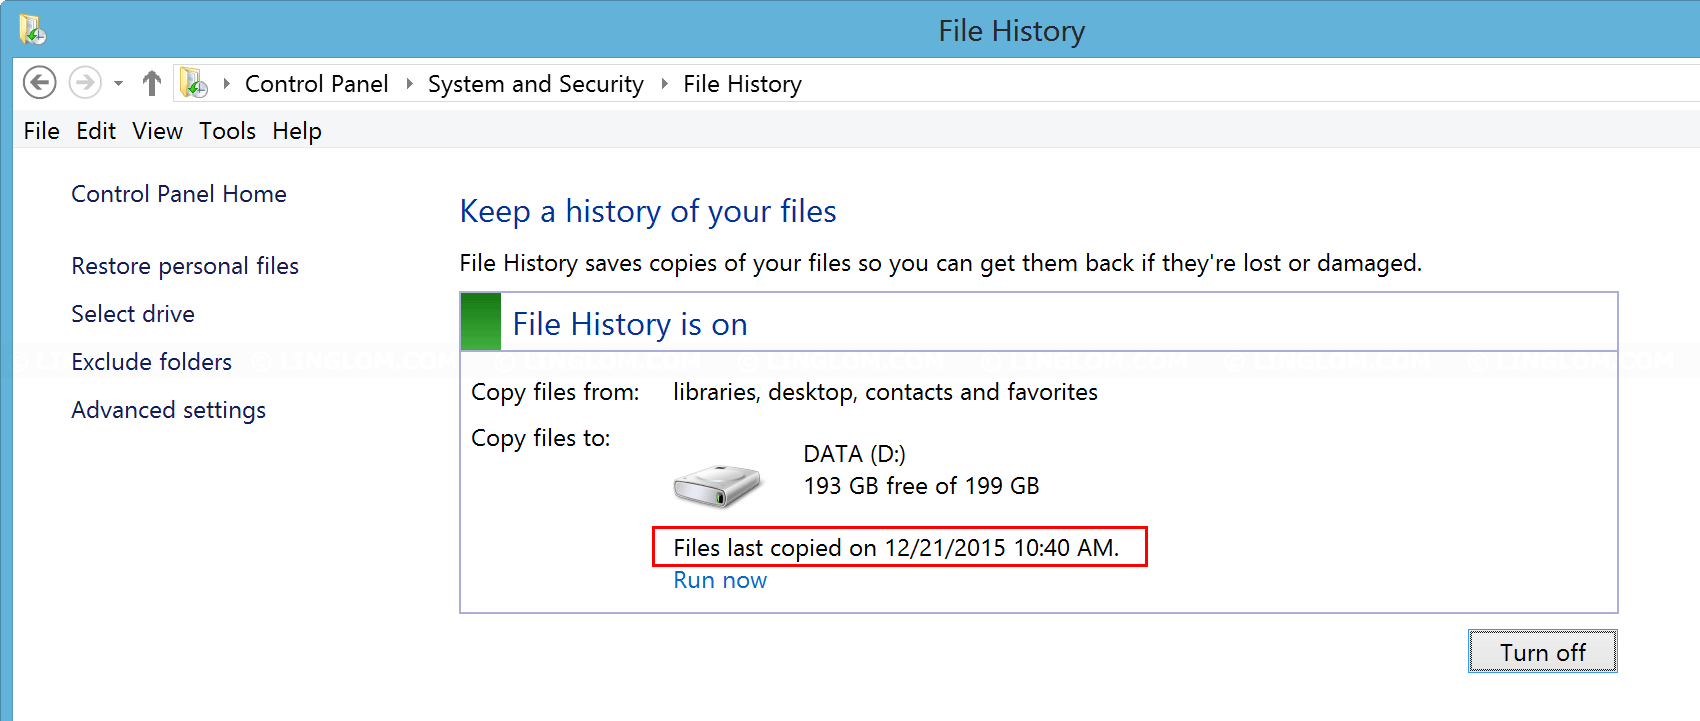
- Backup your files. You can use File History to backup files and documents to other disk.
- Open Control Panel. Select System and Security. And select File History.
- Click Turn on on the drive you want.
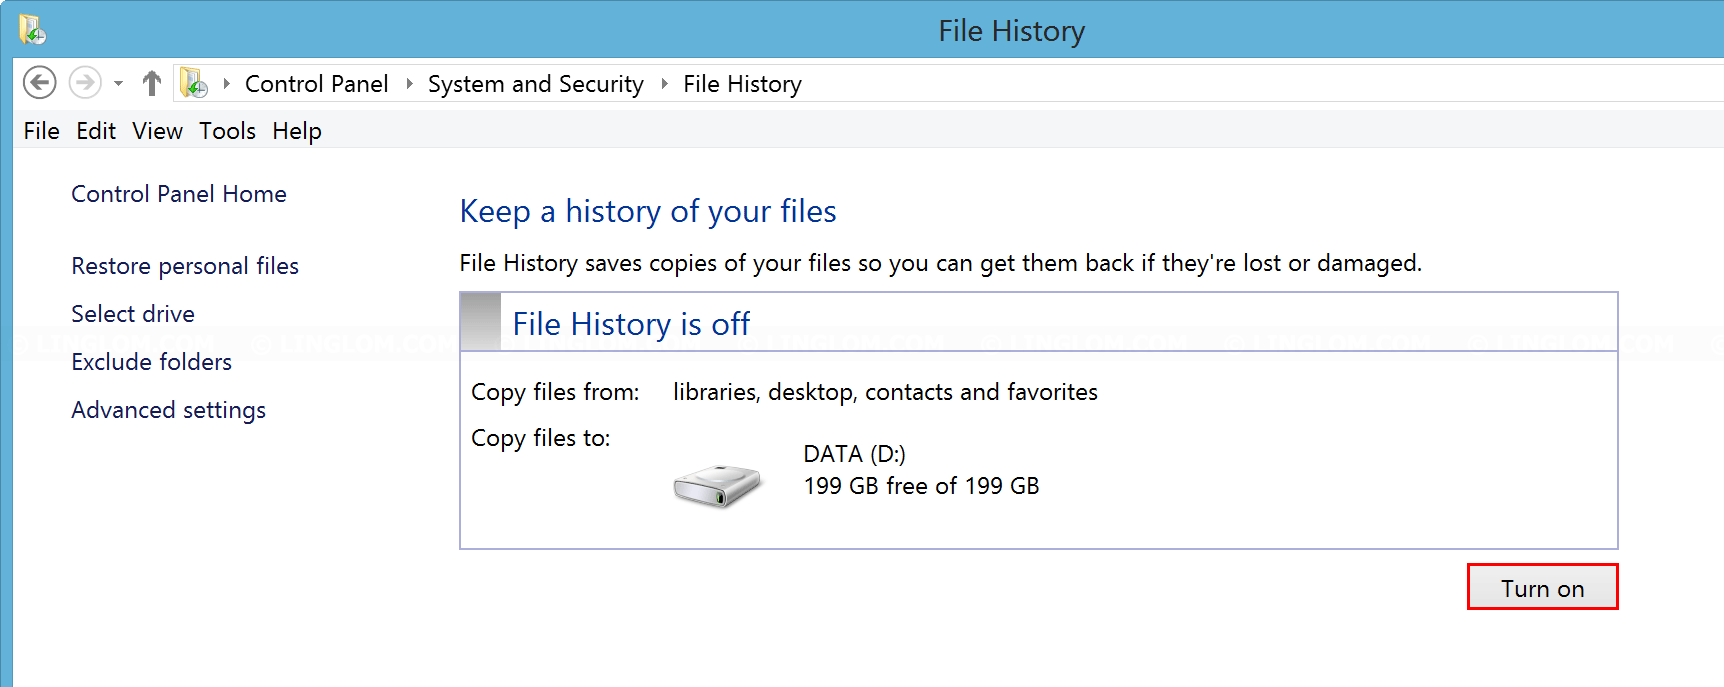
- In this example, it took 15 minutes to backup my files using File History.
- Open Control Panel. Select System and Security. And select File History.
- Download and install latest updates from Windows update.
- Open Windows Update and click Check for updates.
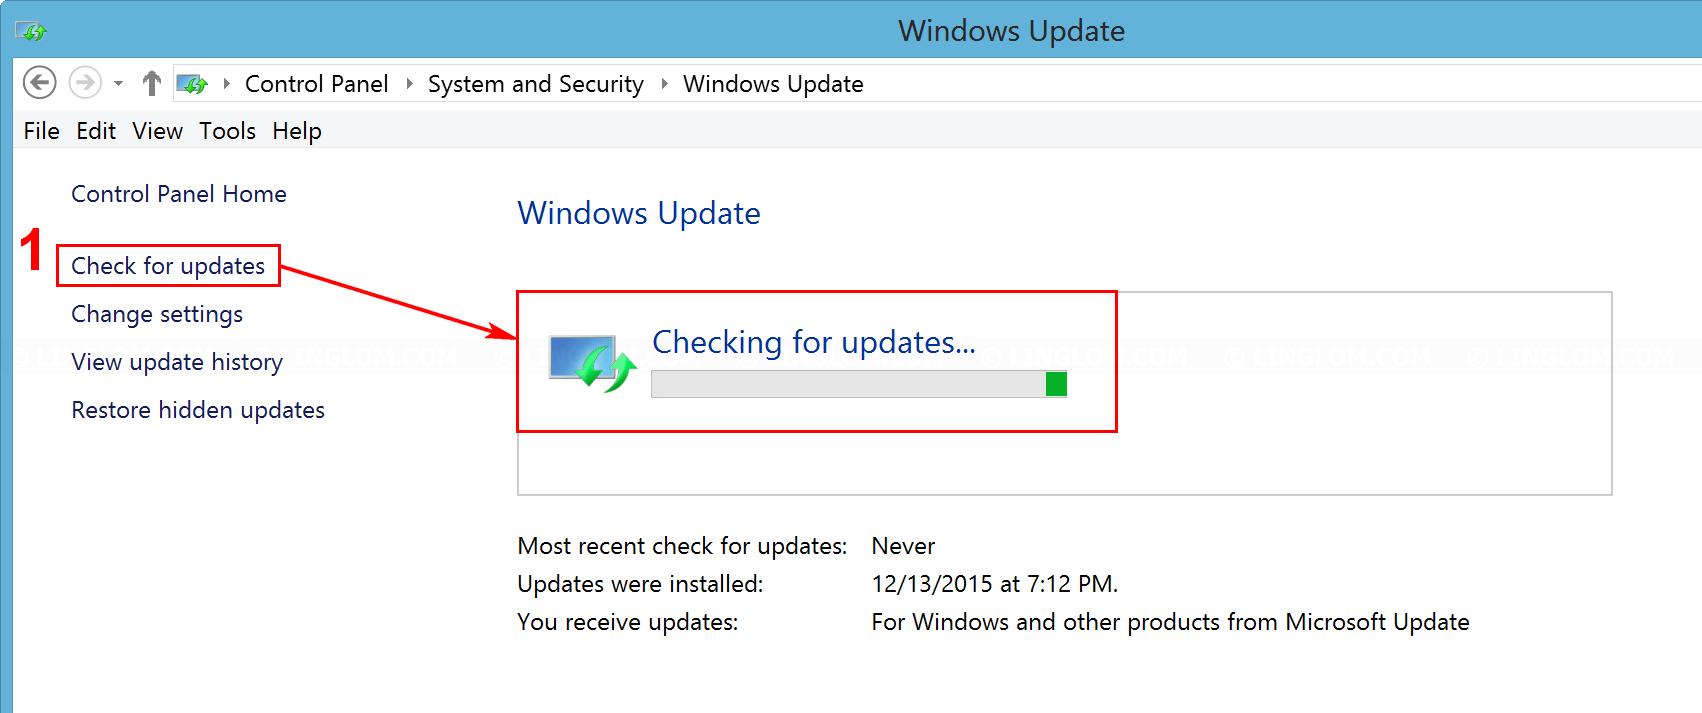
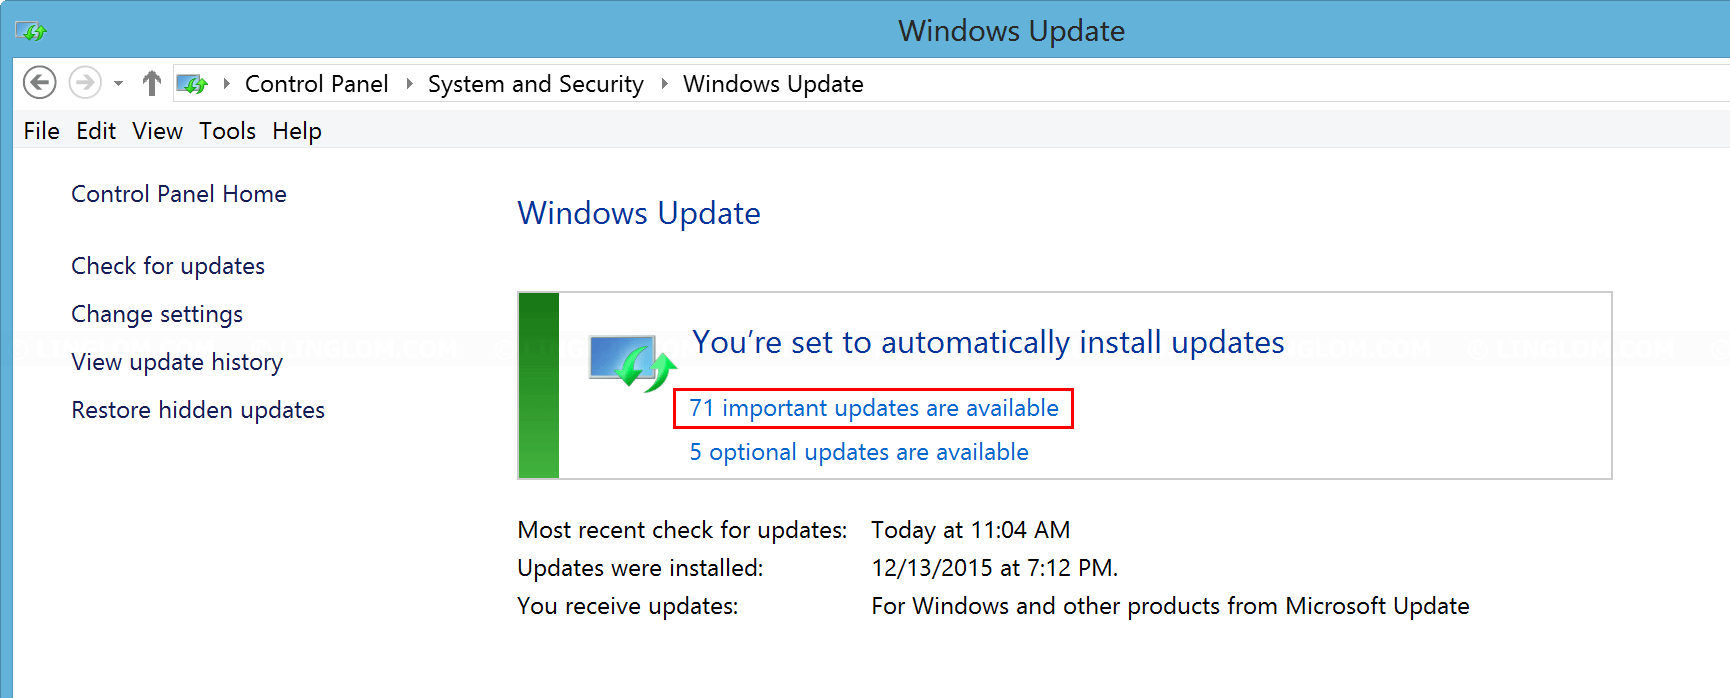
- Click important updates are available to view updates.
Note: If you don’t see this important updates, it means your system is up-to-date. You can skip this step.
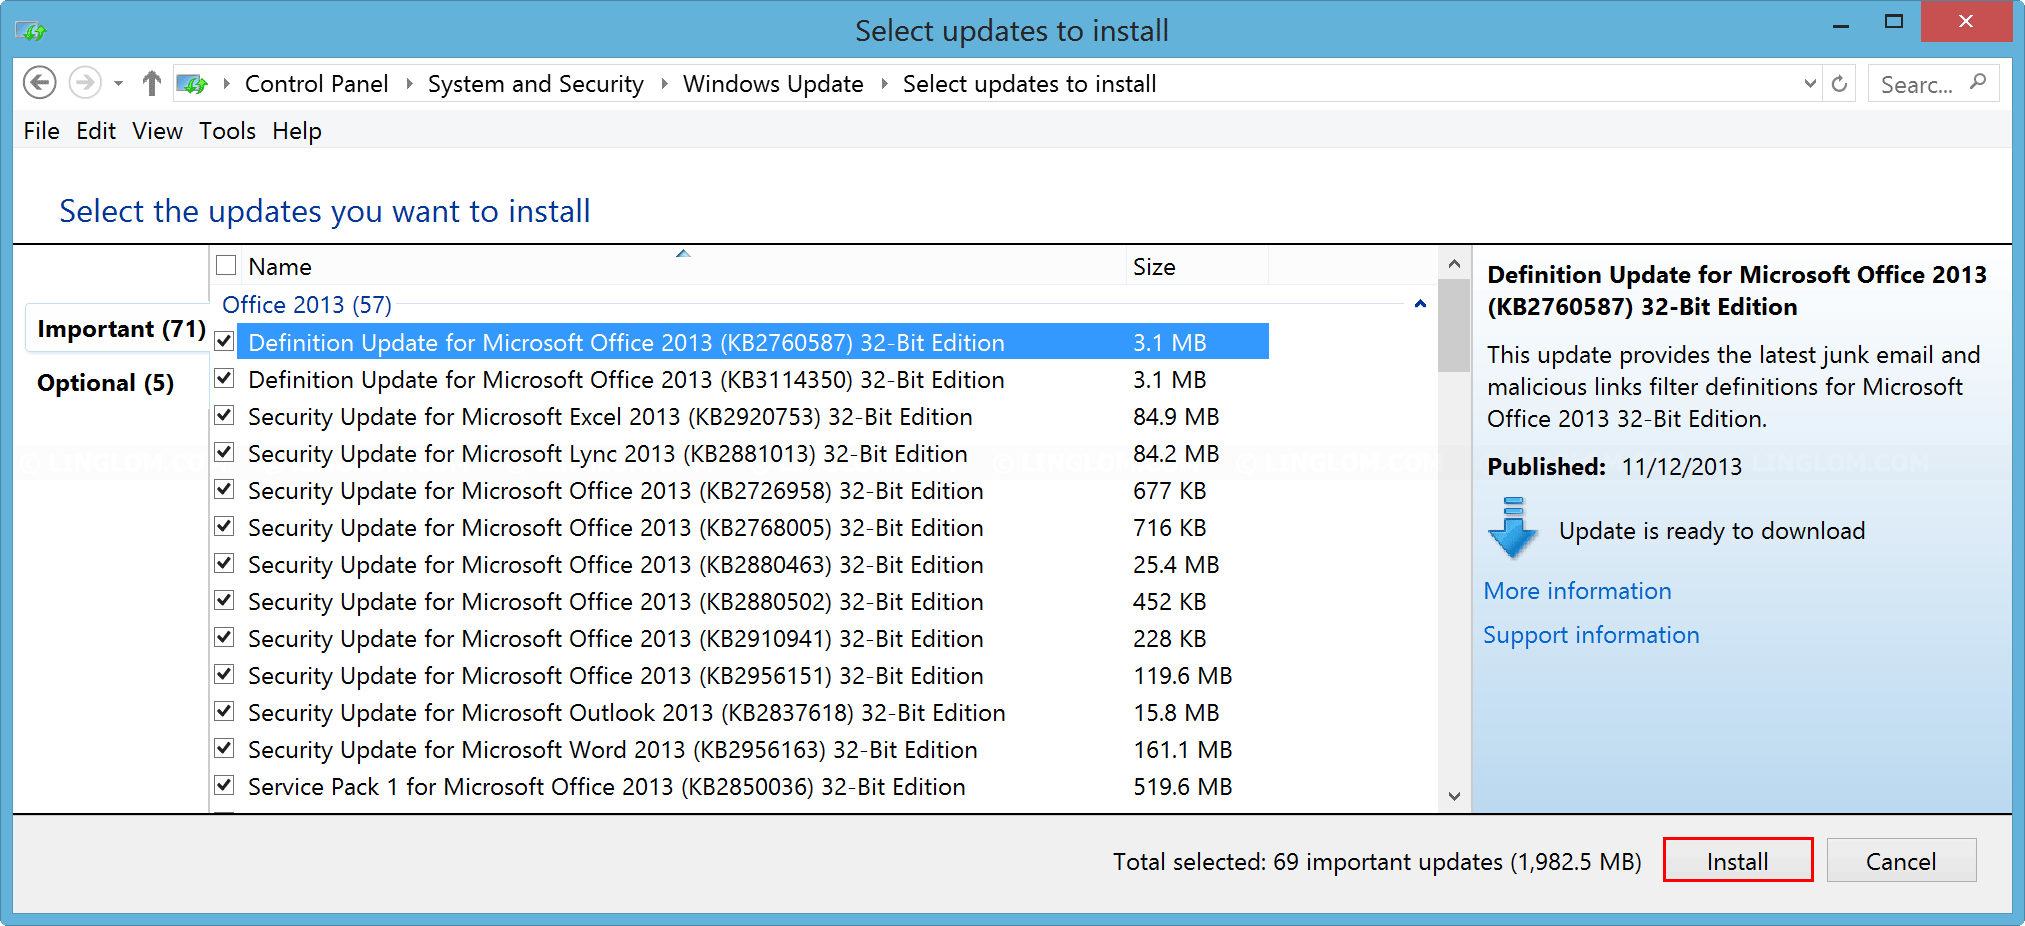
- Here are updates that you have to download and install. Click Install to begin.
In this example, it took about 40 minutes to download and install these updates. Your system may be restarted during the updates.
- Open Windows Update and click Check for updates.
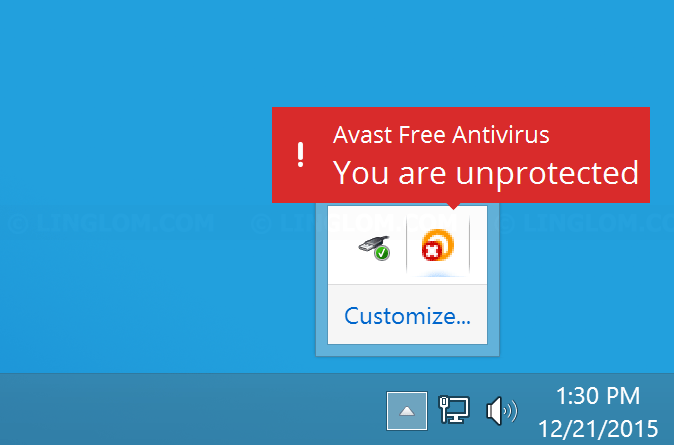
- Temporary disable third-party anti-virus software because it may interfere while updating system.
Note: You don’t need to turn off Windows Defender as it is anti-virus from Microsoft.- In this example, I use Avast anti-virus.
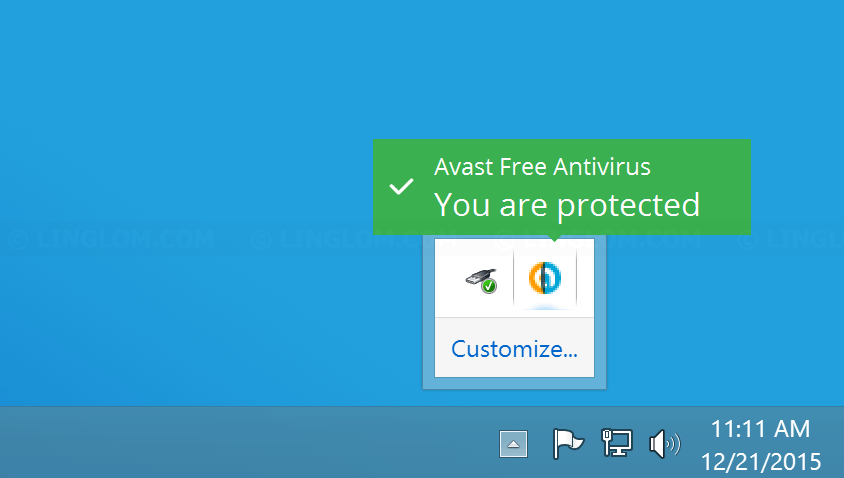
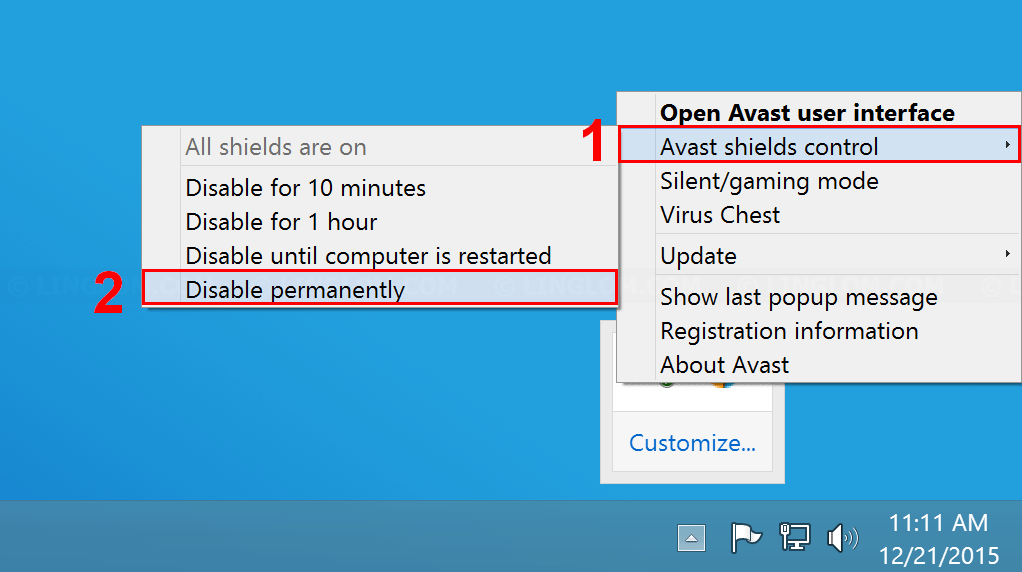
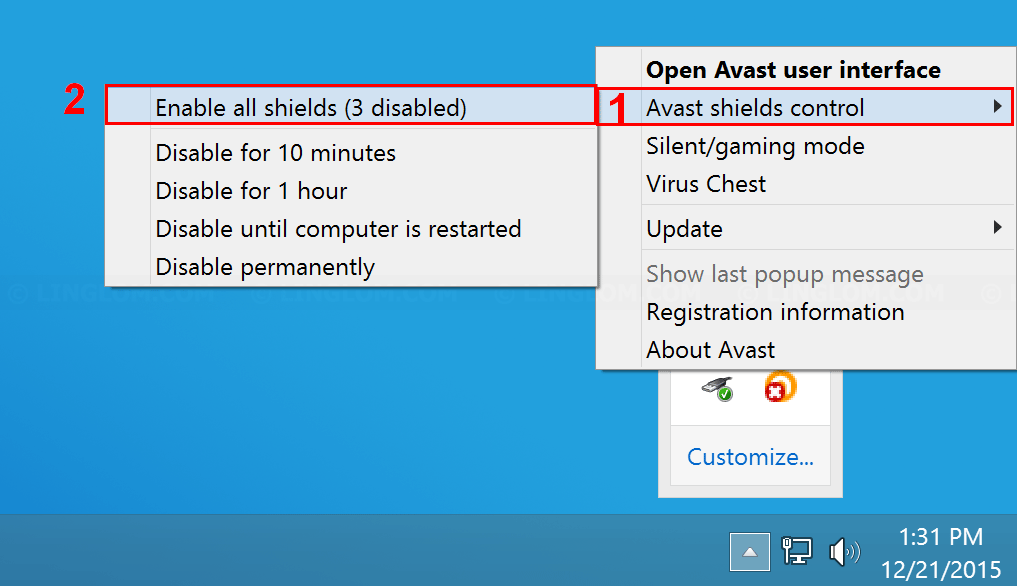
- I’m going to disable it by right-click the icon. Select Avast shield control and select Disable permanently.
- In this example, I use Avast anti-virus.
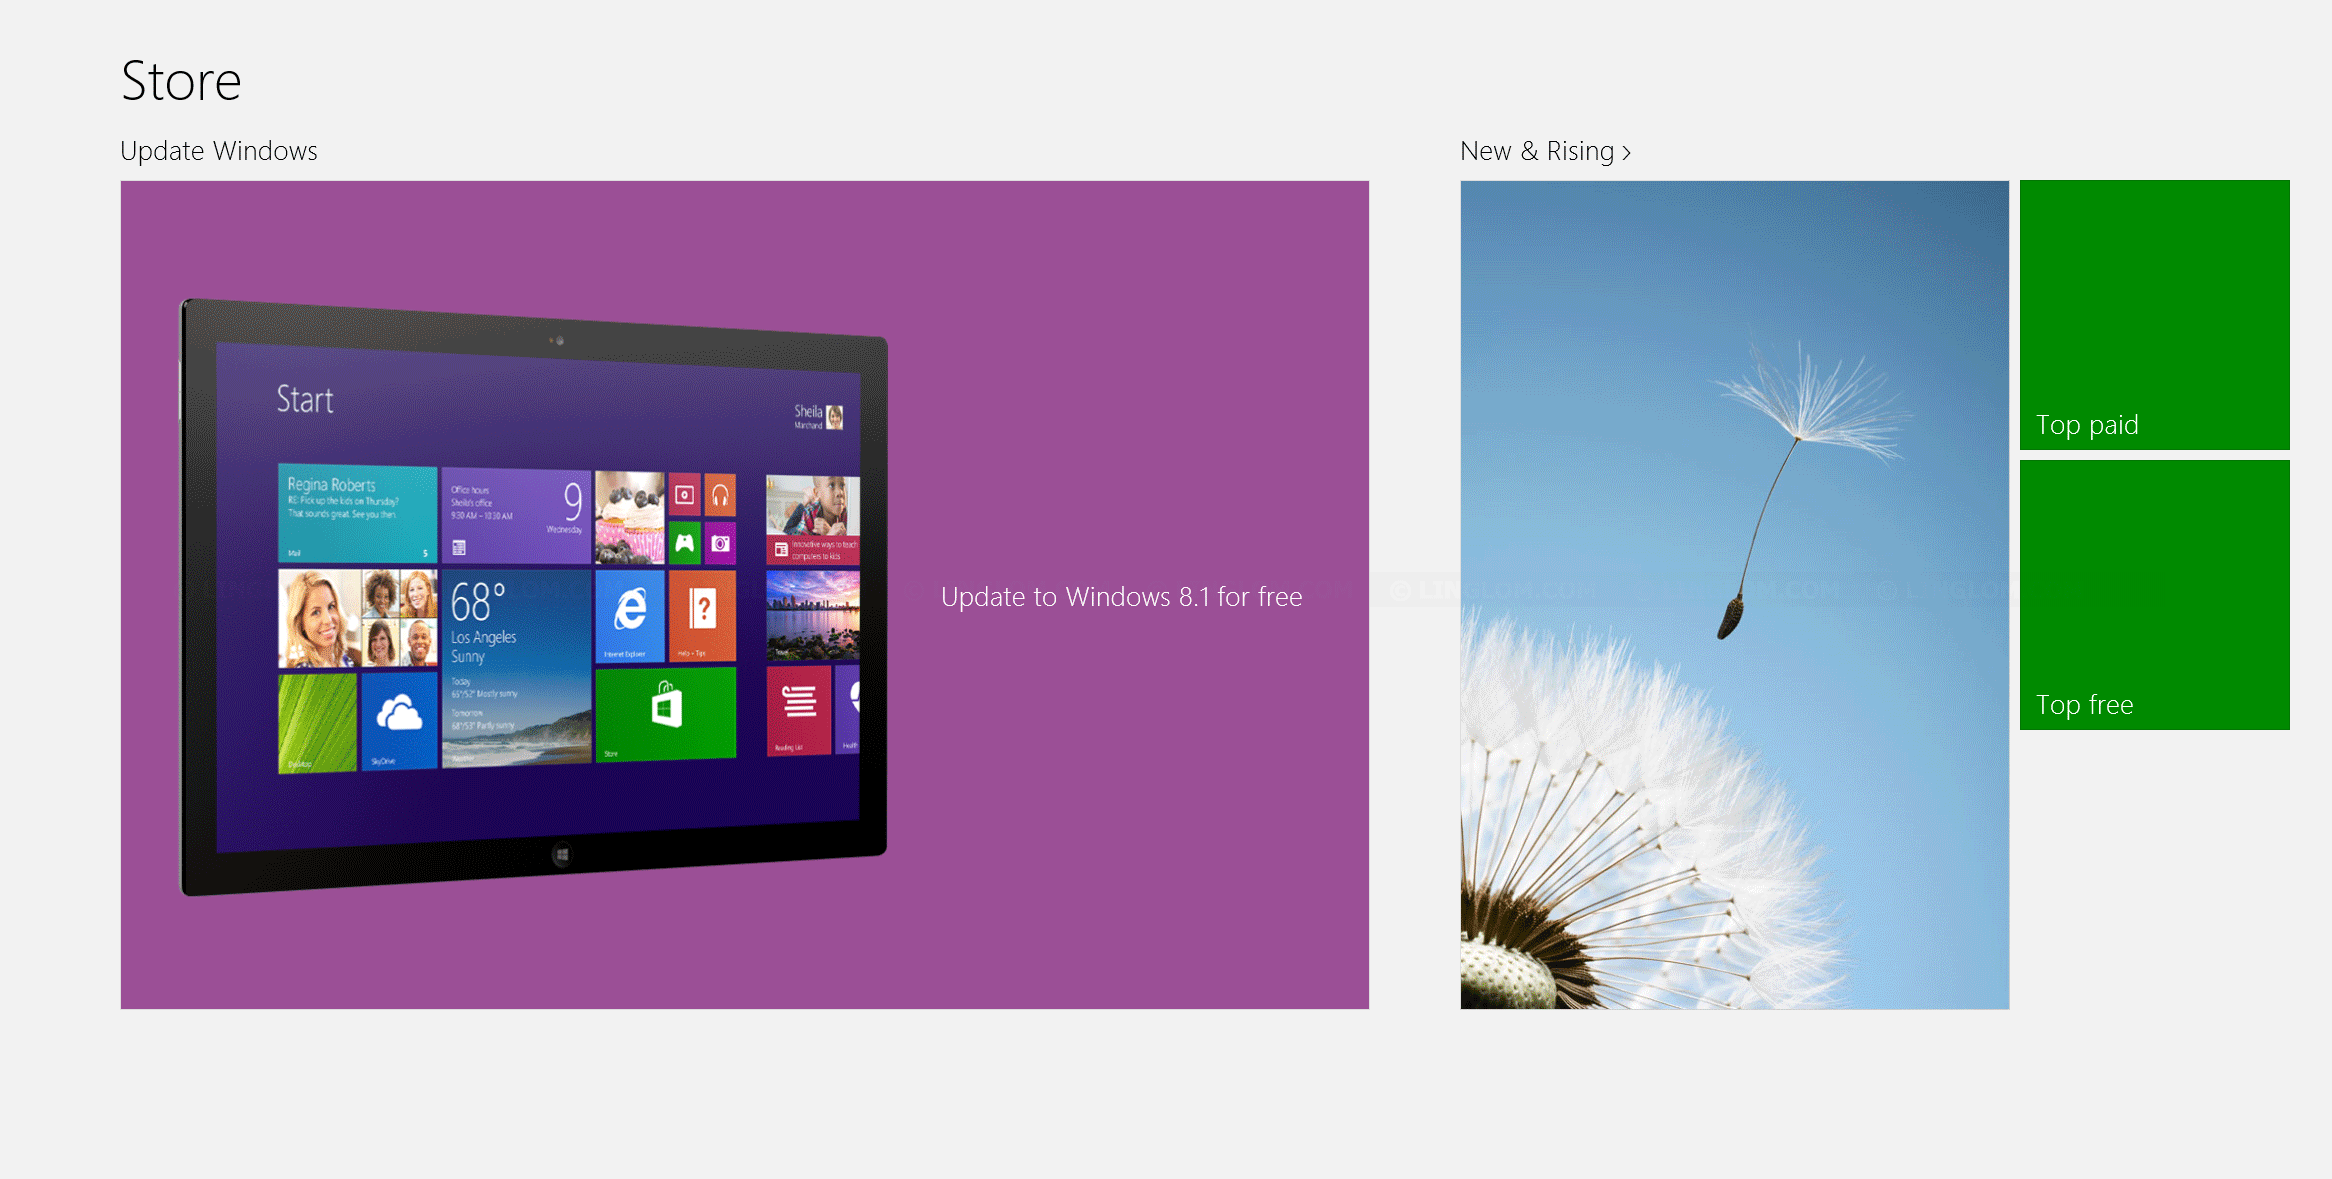
Update Windows 8 to 8.1
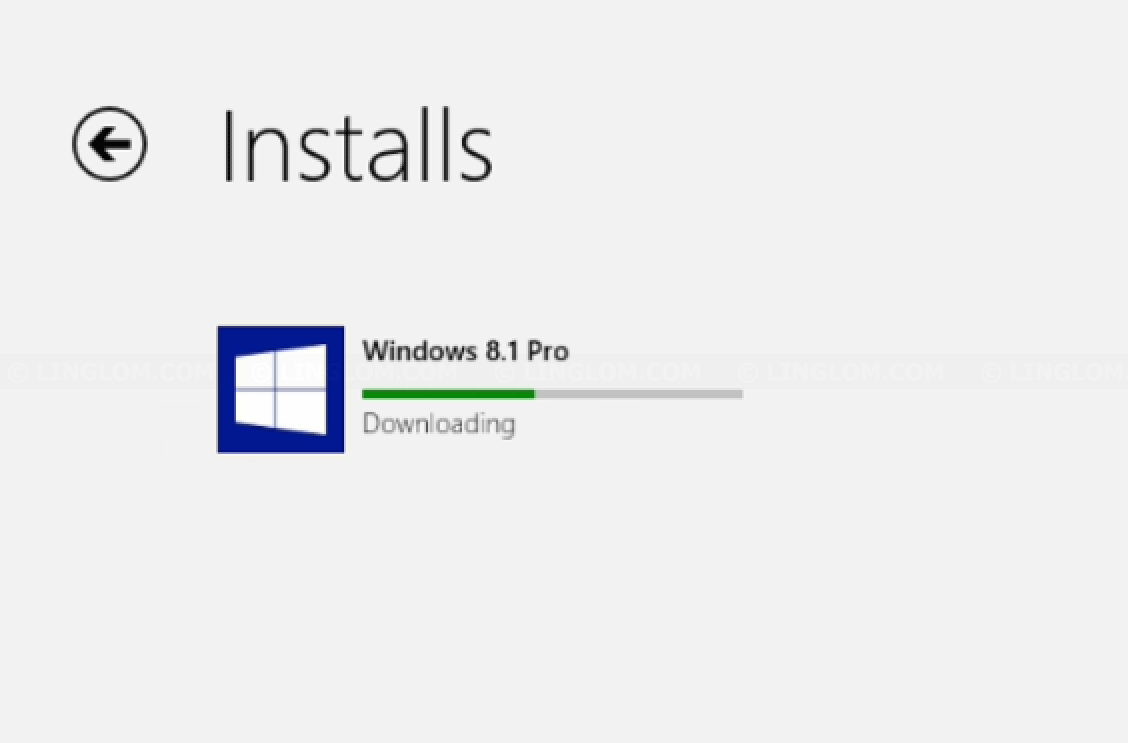
- Now you can begin update Windows 8 to 8.1 by open Windows Store and select Update to Windows 8.1 for free.
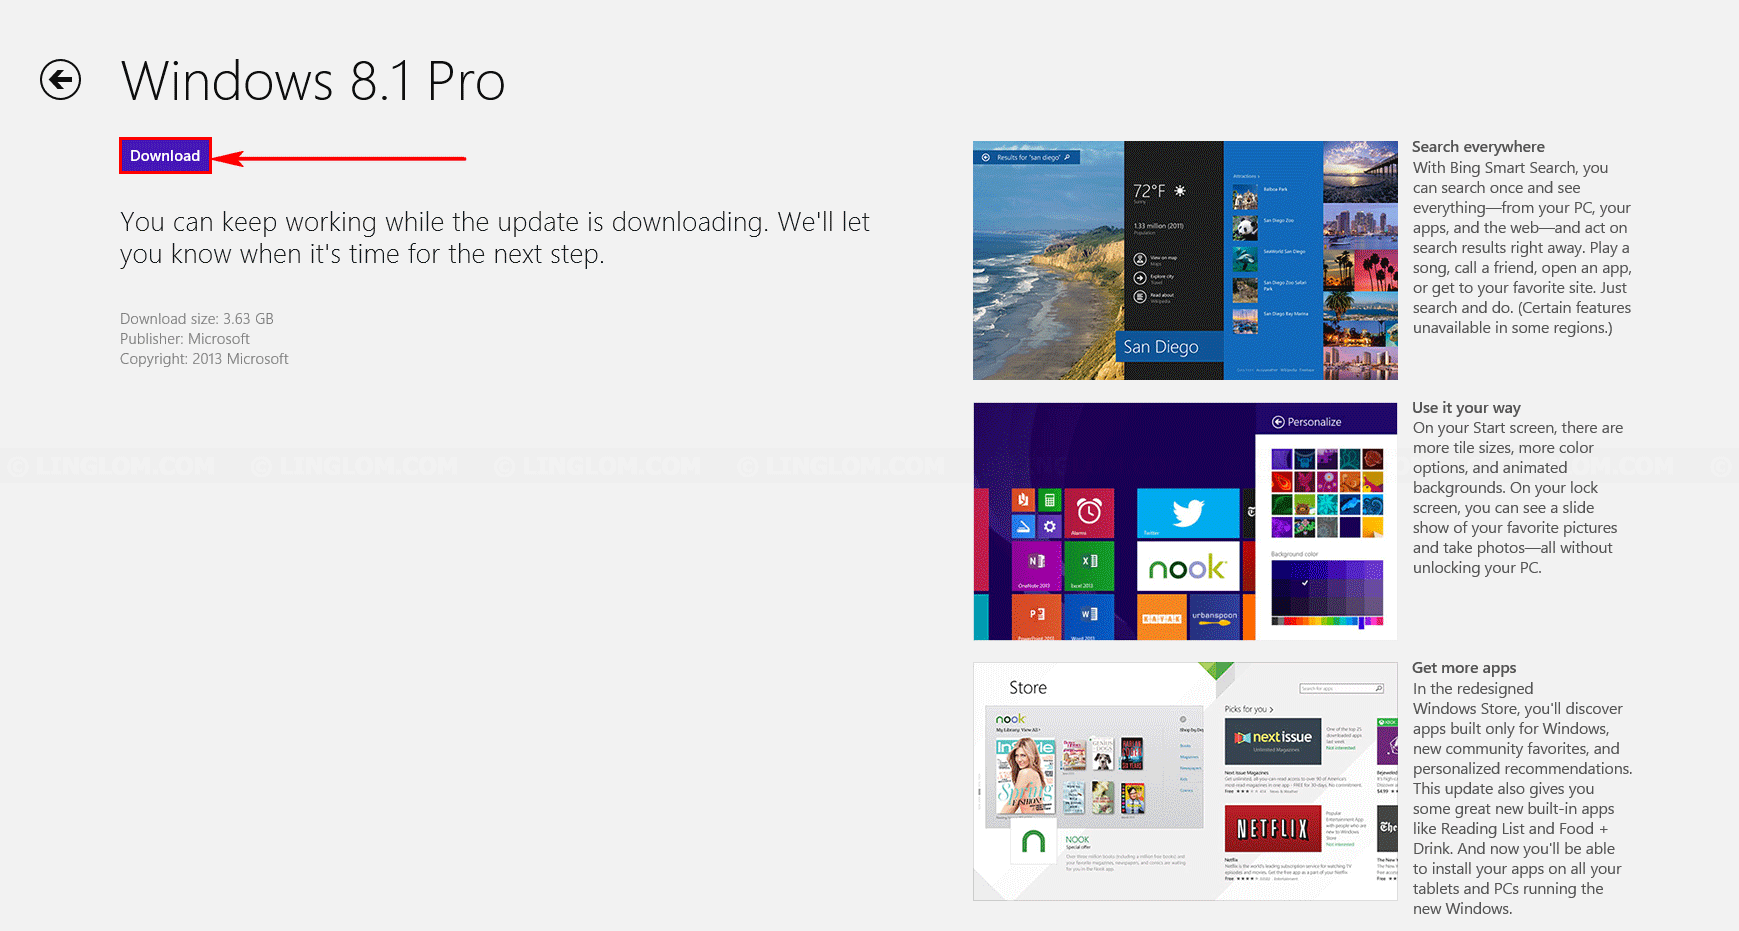
- Click Download to begin.
Note: the download size is about 3.6 GB.
- In this example, it took about 50 minutes to download the update and 15 minutes to install this first phase.
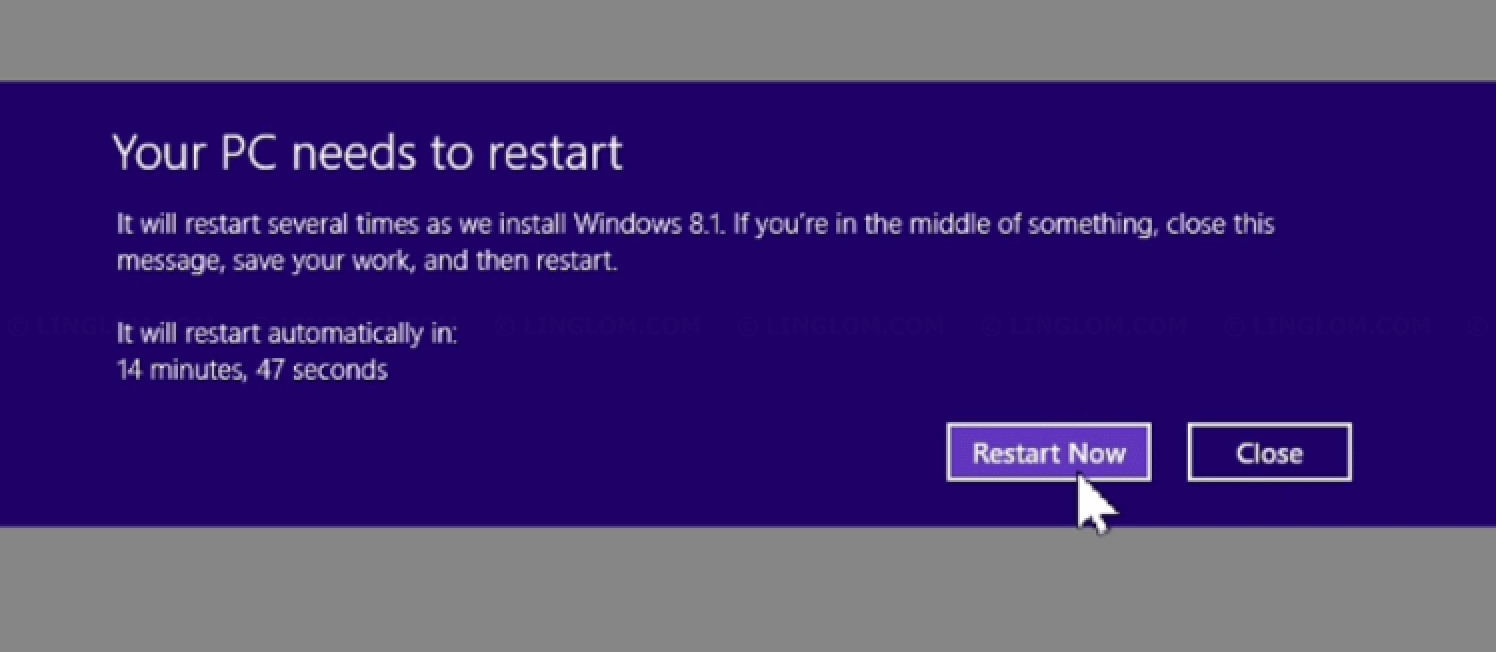
- When finishes, you will be asked to reboot your system. Click Restart Now to proceed.
Note: The update will restart automatically in 15 minutes so if you’re working on something, you have to save your work, or close programs.
- It will configure your system and took about 20 minutes in this step.
- Then, you can configure settings. I choose Use express settings.

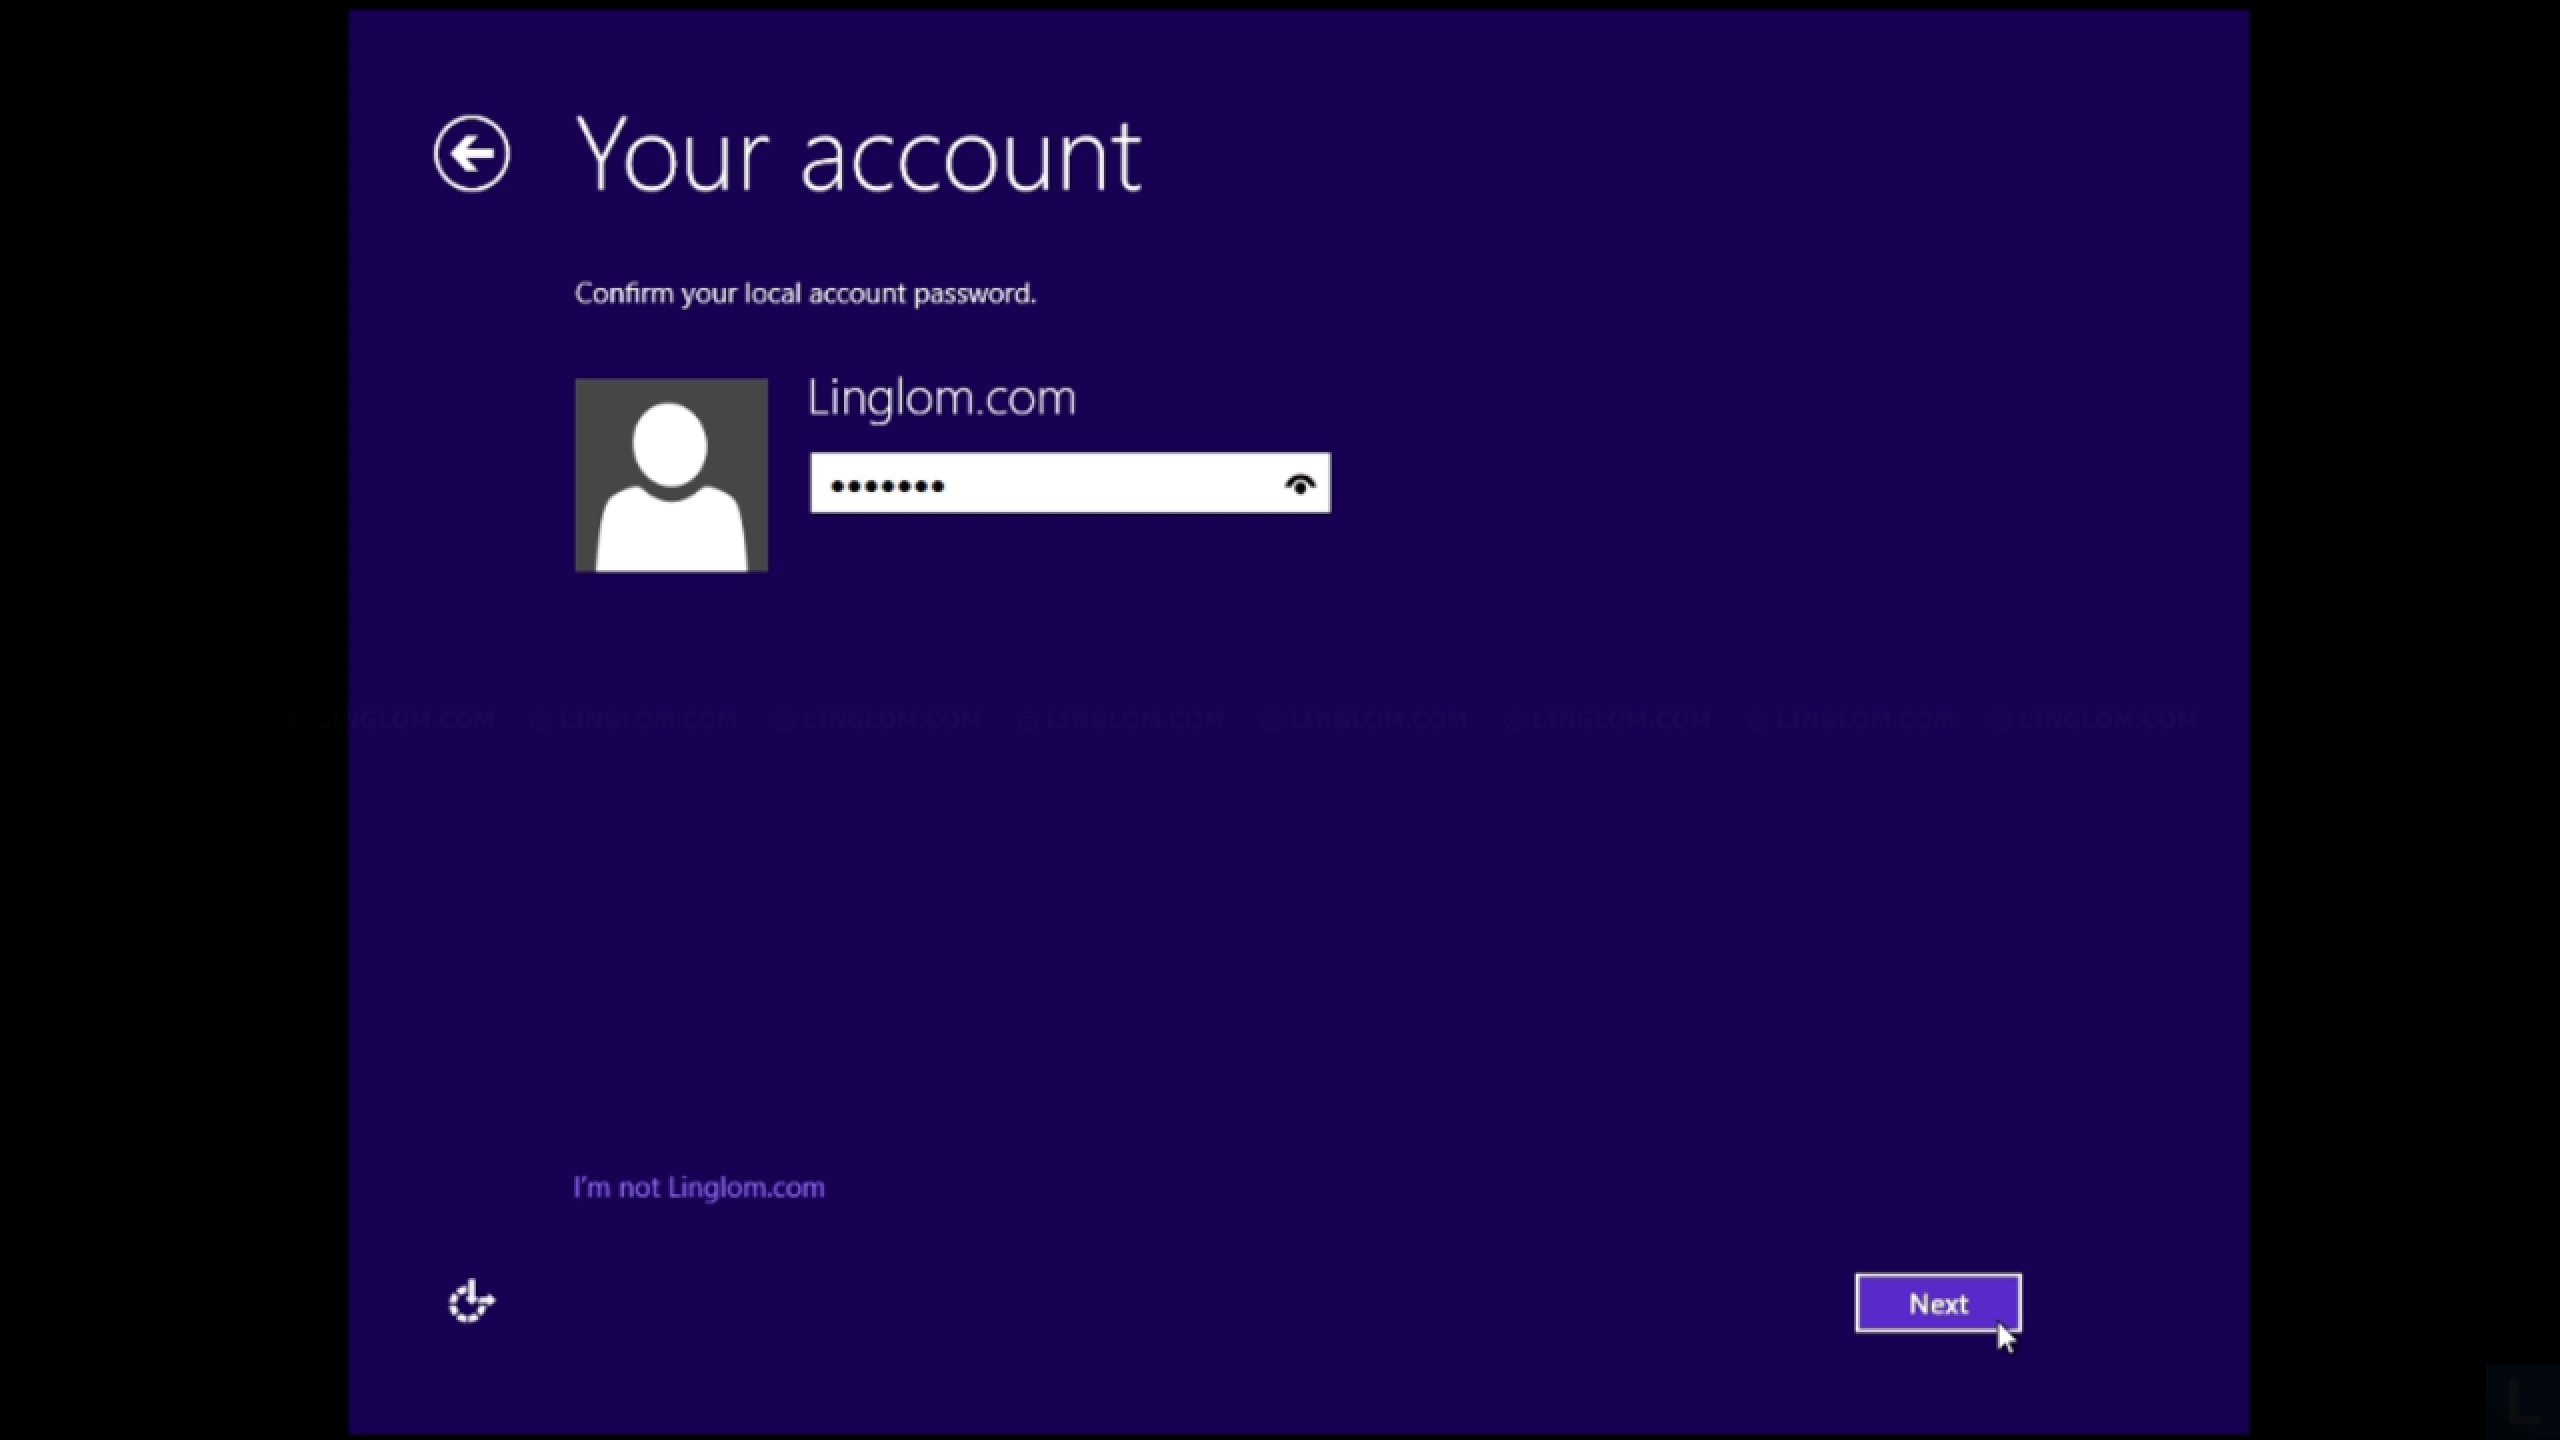
- After that, you will be ask to sign in. Enter your account password and click Next.
Note: If you’re using Microsoft account, you may need to verify user account by enter security code from your email or phone.
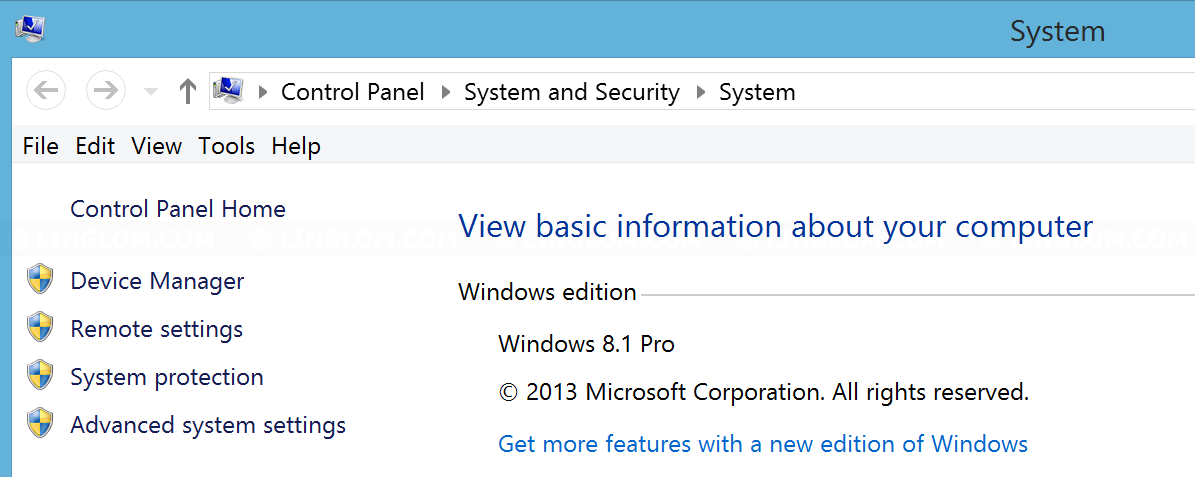
- Finally, you see the desktop and it is now Windows 8.1.
- If you disable anti-virus earlier, you should enable it.
- Right-click the icon. Select Avast shield control and select Enable all shields.
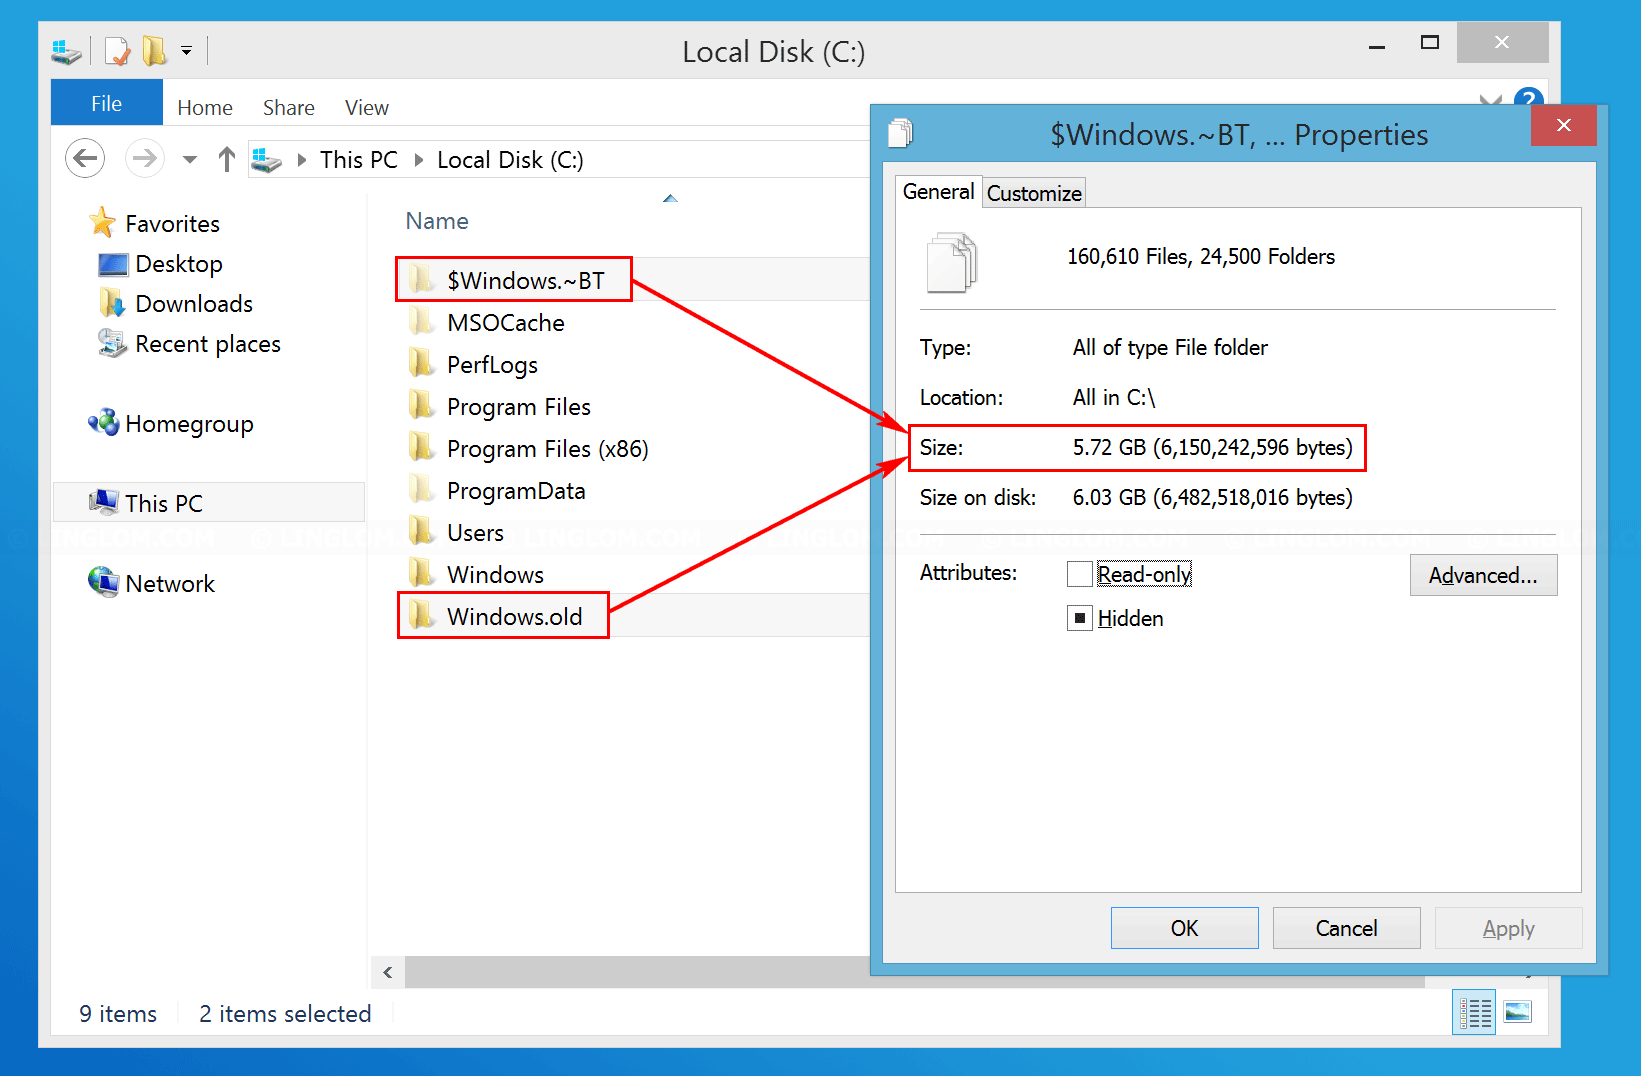
- When you’re done checking your files and programs, if they’re working properly, you can use Disk Cleanup to delete previous Windows and temporary installation files to free up disk space.
Note: If you’re not sure, you should keep these folders for few weeks. If there is no problem with your system after that, you can safely delete these folders.
References
- Windows 8.1 System requirements
http://windows.microsoft.com/en-us/windows-8/system-requirements - Update to Windows 8.1 from Windows 8
http://windows.microsoft.com/en-us/windows-8/update-from-windows-8-tutorial - Why can’t I find the update in the Store?
http://windows.microsoft.com/en-us/windows-8/why-can-t-find-update-store