- Developing Windows Service on VB.NET, Part 1: Introduction
- Developing Windows Service on VB.NET, Part 2: Create Windows Service
- Developing Windows Service on VB.NET, Part 3: Create Setup Wizard
- Developing Windows Service on VB.NET, Part 4: Debug Service
In this part, I’m going to create an installer project for install my windows service ‘MyService’. The installer wizard helps you to install service easily simply click next, next,.. and finish then you are done. With wizard installation, you can also uninstall the service from Add/Remove Program. If you prefer not to create setup wizard, you can install the service manually, too. You can find the detail about manually install the service at the bottom of this post.
Step-by-step to create setup wizard
Create a setup wizard for install a service
- Continue from last part. I’m going to create new project for install the service.
On ‘MyService’ project, add new project to the existing solution by click File -> Add -> New Project.

- On Add New Project page.
- On Project types, expand Other Project Types -> select Setup and Deployment.
- On Templates, select Setup Project.
- Name project as ‘SetupMyService’.
- Click OK.

- You’ll see new project has been added to the existing solution. This is going to be an installer project for ‘MyService’ service.

- On Solution Explorer, right click on SetupMyService -> select Add -> Project Output.

- On Add Project Output Group, the project should be ‘MyService’ because this solution only has 1 project. Then, select ‘Primary Output’. Click OK.

- Now ‘MyService’ project has been added to the installer project as primary output.

- Next, I’ll add some custom actions for MyService to be able install and uninstall. On Solution Explorer, right click on ‘SetupMyService’ project -> select View -> Custom Actions.

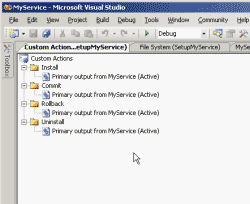
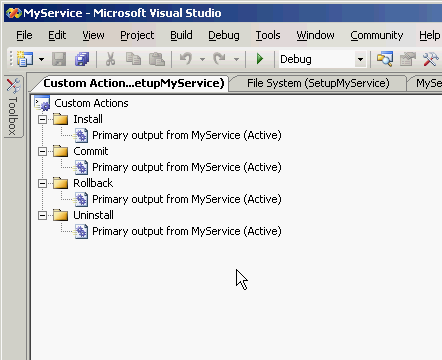
- The Custom Actions page was opened. You’ll see folder Install, Commit, Rollback and Uninstall. Next, I’ll add custom actions on each of these. Start with right click on Install and select ‘Add Custom Action’.

- Double click on Application Folders and select ‘Primary output from MyService (Active)’. Click OK.

- Repeat adding custom actions on Commit, Rollback and Uninstall. You’ll get custom actions as in the figure below.
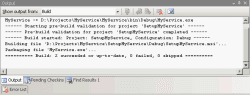
- Next, build the installer project by right click on ‘SetupMyService’ project in solution explorer and select ‘Build’.

- If there is no error, you will have setup file for install the service.
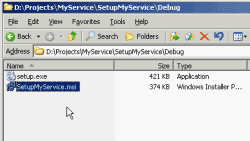
- Navigate to installer project, you’ll see the setup file. There are 2 files, you can choose to use .exe file or .msi file.
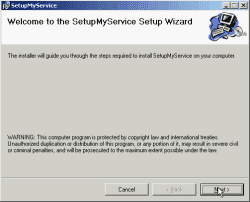
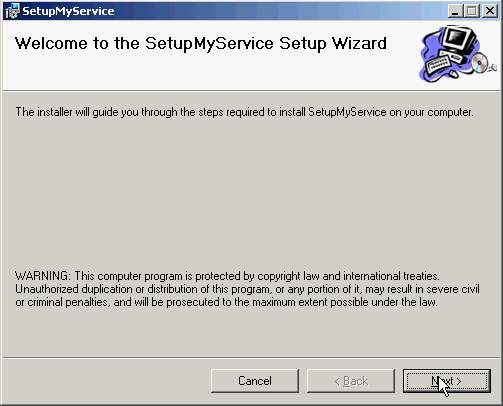
- Double click the setup file to install ‘MyService’. Follow the instruction to install the service.
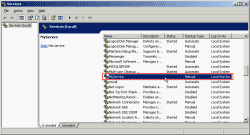
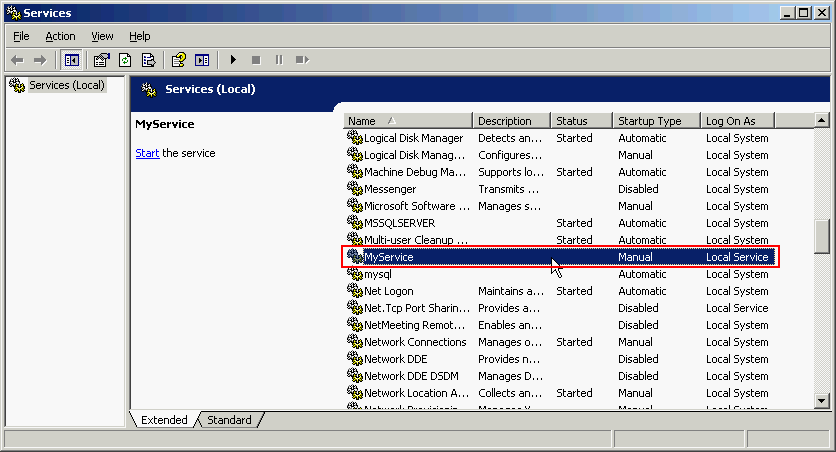
- When the installation has finished, open services (type ‘services.msc’ in command prompt). Find your service name ‘MyService’. You’ll see that the service hasn’t started yet because the startup type is ‘Manual’. Also, notice that log on as is ‘Local Service’ which are the settings that you have configured in part II.
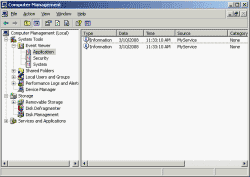
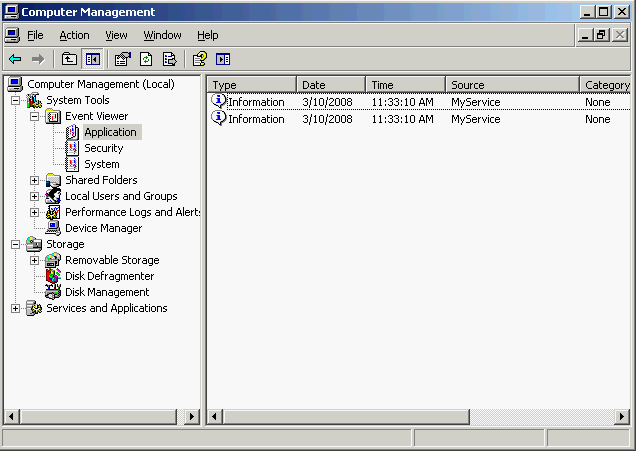
- Right click on the service ‘MyService’. Click Start to start the service. Once the service has started, open application event log in computer management. You’ll see a log tell about the service has been started.
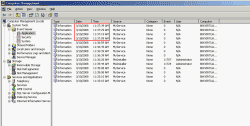
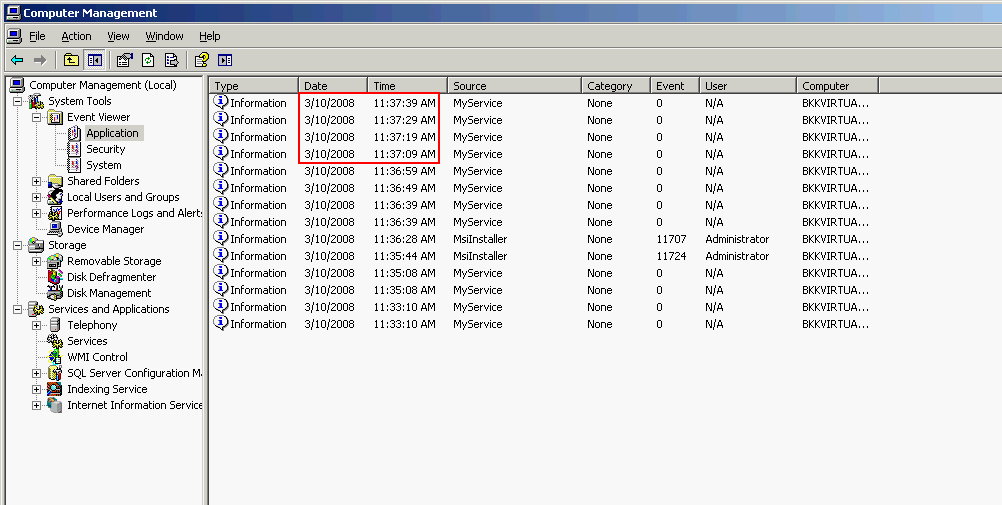
- Wait for service running a while and then refresh event log. You see some messages that are generated from MyService in every 10 seconds.
- That’s it. You have finished creating an installer for a service.


To manually install the service
You can also install your service manaully by open Visual Studio 2005 Command Prompt and type ‘installutil path-to-your-service.exe’. For instance, I have ‘MyService.exe’ in ‘D:\Projects\MyService\MyService\bin\Debug’ so I would type
‘installutil D:\Projects\MyService\MyService\bin\Debug\MyService.exe’
If there is no error, you will see the message as the figure below.
‘The Commit phase completed successfully.
The transacted install has completed.’

To uninstall the service manaully, simply add /u before path to service as the figure below.
‘installutil /u D:\Projects\MyService\MyService\bin\Debug\MyService.exe’
If there is no error, you will see the mesage
‘The uninstall has completed’.

Great,
Linglom very help full blog…….. THANKS….
You give proper screen shot that help me very much……………
Just FYI… on the Custom Actions page, Right click on “Custom actions” and select “Add Custom Action”. This will create all your actions at once; Install, Commit, Rollback and Uninstall – Stewy
Thanks a lot. Finally one site, that clearly states, how the custom actions must be defined, so the service gets registered. Found it after whole frustrating day of browsing and trying.
Thank you so much.That a very lucid explanation.Do Follow this method for any of your blogs.
Thank you very much.Explenation is very clear.Hope all the concepts should be like this.
hi, Thanks for screen shot and well explanation.
please me more guide to .net technology in email id
hi
Your Screen Shot was good but i’ve finished all steps then finally build the project ..it will shown Build failed i dono wat problem
Hi, Anto
Could you provide the failed message?