Create Watermark on photos using Photoshop
I’ve recently added Recent photo’s section on the sidebar with some of my photos. Then, I wanted to add copyright tag to my photos so I decided to write a tutorial about watermarking.
What’s watermarking?
Watermarking is the way to protect photos from others copying without credit to the author by adding some text or logo of the author to the photos themselves.
Step-by-Step
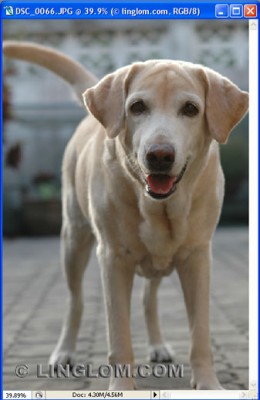
- Open Photoshop and the photo that you want.
- Select color on Swatches window in Swatches tab. In the example, I use 60% Gray.
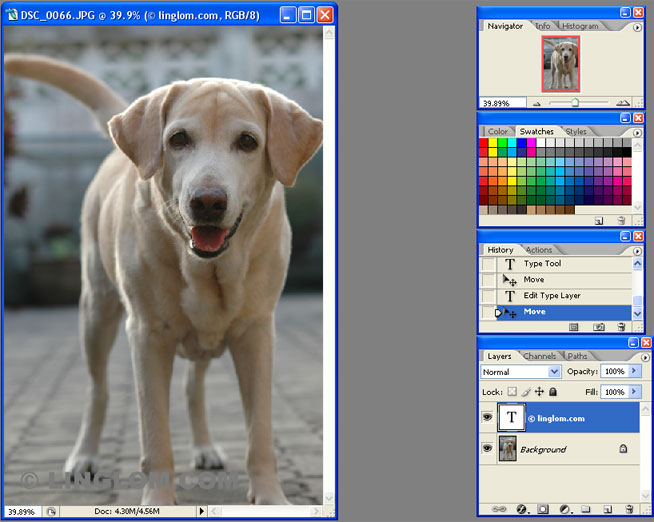
- Select Type Tool
 on Tools window and type text with font style as you want on the image. To type ‘©’, hold Alt and press 0169.

- Right-click on text Layer in Layer window and select Blending Options.

- Check Bevel and Emboss and click OK. You can try change value on the right window as you want.
- That’s it.
- If you plan to add watermark on many photos, try create watermark in new file and use by drag and drop to the photo.


For more details, see related sites