- Accessing MariaDB on NetBeans 8.2 using JDBC, Part 1: Install Employees sample database and grant permission
- Accessing MariaDB on NetBeans 8.2 using JDBC, Part 2: Create a connection
- Accessing MariaDB on NetBeans 8.2 using JDBC, Part 3: Perform SQL Operations
This series shows how to access MariaDB on NetBeans 8.2 using MySQL Connector/J 8.0 on Windows.
I’ll divide into 3 parts:
- Part 1: Install Employees sample database and grant permission
This part, which you’re reading, shows how to install sample database, Employees, on MariaDB. - Part 2: Create a connection
This part shows how to establish a connection between NetBeans and MariaDB. - Part 3: Perform SQL Operations
This part show how to perform basic operations from NetBeans to MariaDB. For instance, send querys as SELECT, INSERT, UPDATE to a database.
In this post, I’ve just installed MariaDB 10.1.34 using XAMPP, but there isn’t any sample database installed so I will install sample Employees database before making connection from NetBeans.
Part 1: Install Employees sample database and grant permission
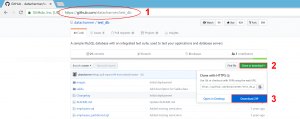
- Download Employees sample database from github:
- Open web browser to https://github.com/datacharmer/test_db
- Click Clone or download
- Select Download ZIP
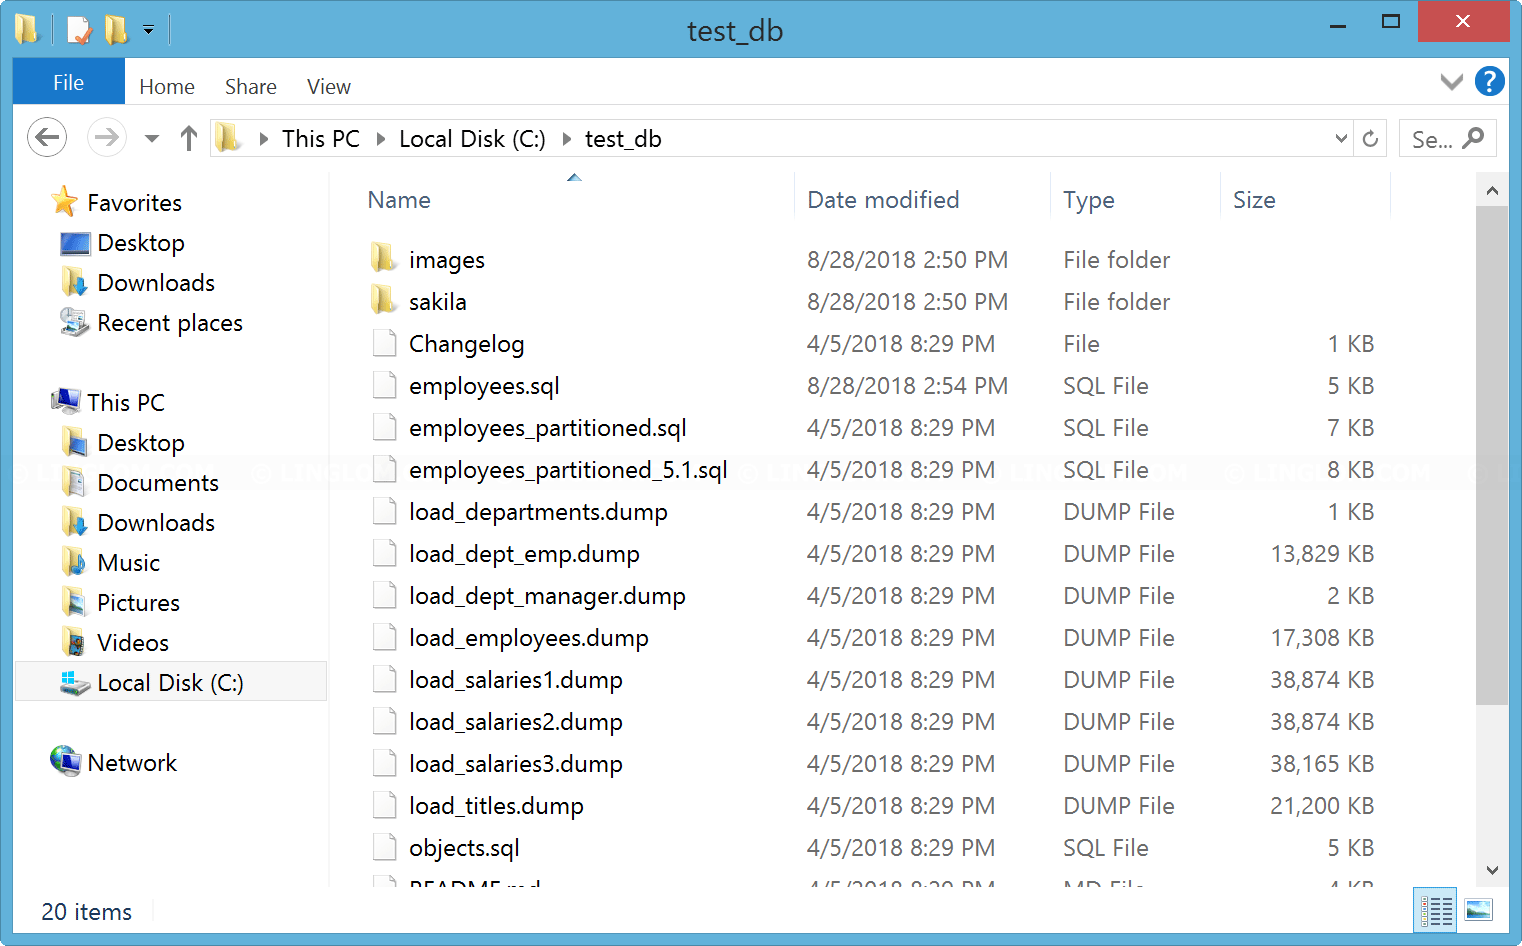
- Extract zip file on the database server. In this example, I extract to c:\test_db.
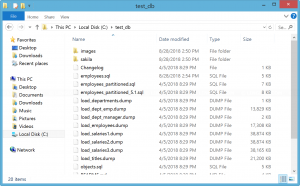
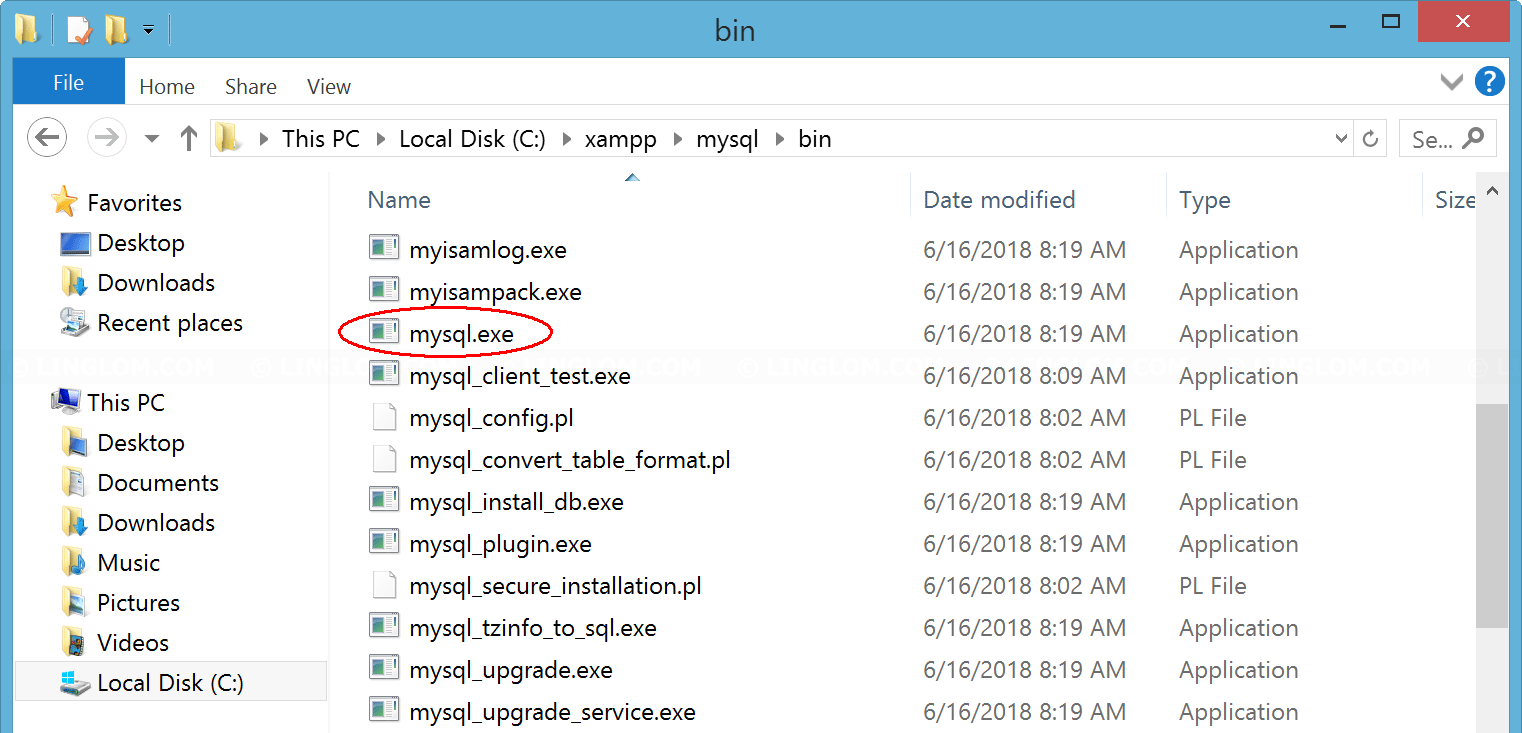
- Locate where mysql executable is. In this example, it is installed by XAMPP and the default path is c:\xampp\mysql\bin\mysql.exe

- Open command prompt by right-click Windows icon at bottom left and select Command Prompt
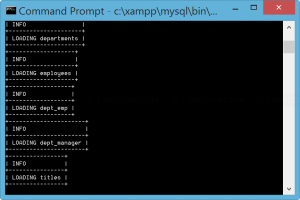
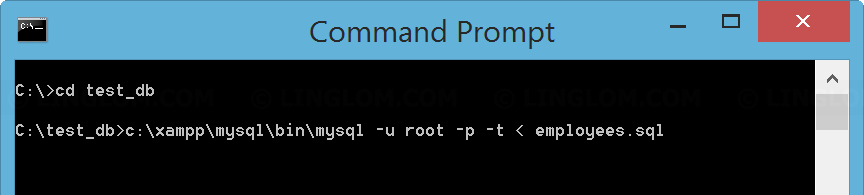
- Navigate to the folder where you extract the zip file and type this command:
c:\xampp\mysql\bin\mysql -u root -p -t < employees.sql
Parameter explanation:
- c:\xampp\mysql\bin\mysql – replace this path to mysql executable if you have installed it in different folder.
- -u root – this is the username for logging-in to the database server.

- Enter password for the username and press Enter.
If you typed the command correctly, you will see the output similar to this figure which indicates that it’s importing the sample database.
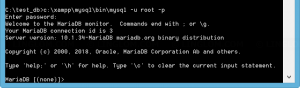
- Next, let’s create a new user and grant permission for the database. Login to mysql server by type this command. You should see text “MariaDB” at left if you have successfully login.
c:\xampp\mysql\bin\mysql -u root -p
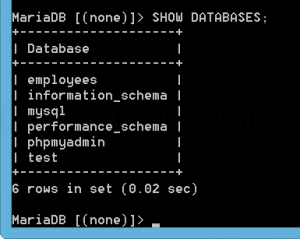
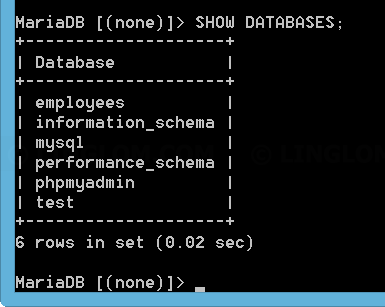
- Type this command to list all databases. You should have the database employees in the list.
SHOW DATABASES;
- Create a new user “user_employees” with password “mypassword1234” with this command.
CREATE USER 'user_employees' IDENTIFIED BY 'mypassword1234';

- Grant all permissions for “user_employees” to employees database by type this command.
GRANT ALL ON employees.* TO 'user_employees';
You can see details of GRANT syntax from MySQL manual

- Now you’re ready to create connection from NetBeans, see Part 2: Create a connection.


The Employees sample database is such an underrated learning tool. Working through JDBC against something with real foreign keys and decent row counts beats every toy schema. Looking forward to the next part with the actual connection code.