- Accessing MariaDB on NetBeans 8.2 using JDBC, Part 1: Install Employees sample database and grant permission
- Accessing MariaDB on NetBeans 8.2 using JDBC, Part 2: Create a connection
- Accessing MariaDB on NetBeans 8.2 using JDBC, Part 3: Perform SQL Operations
From part 1, I already installed MariaDB using XAMPP and import employees sample database. Now I’m ready to write JAVA code to establish a connection to the database from NetBeans.
Requirements
Part 2: Create a connection
- Download and install NetBeans 8.2.
- Download MySQL Connector/J
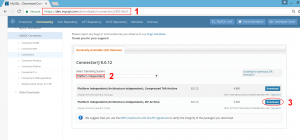
- Open web browser to https://dev.mysql.com/downloads/connector/j/8.0.html
- Select Platform Independent in Operating System drop down option.
- Click Download for Platform Independent (Architecture Independent), ZIP Archive
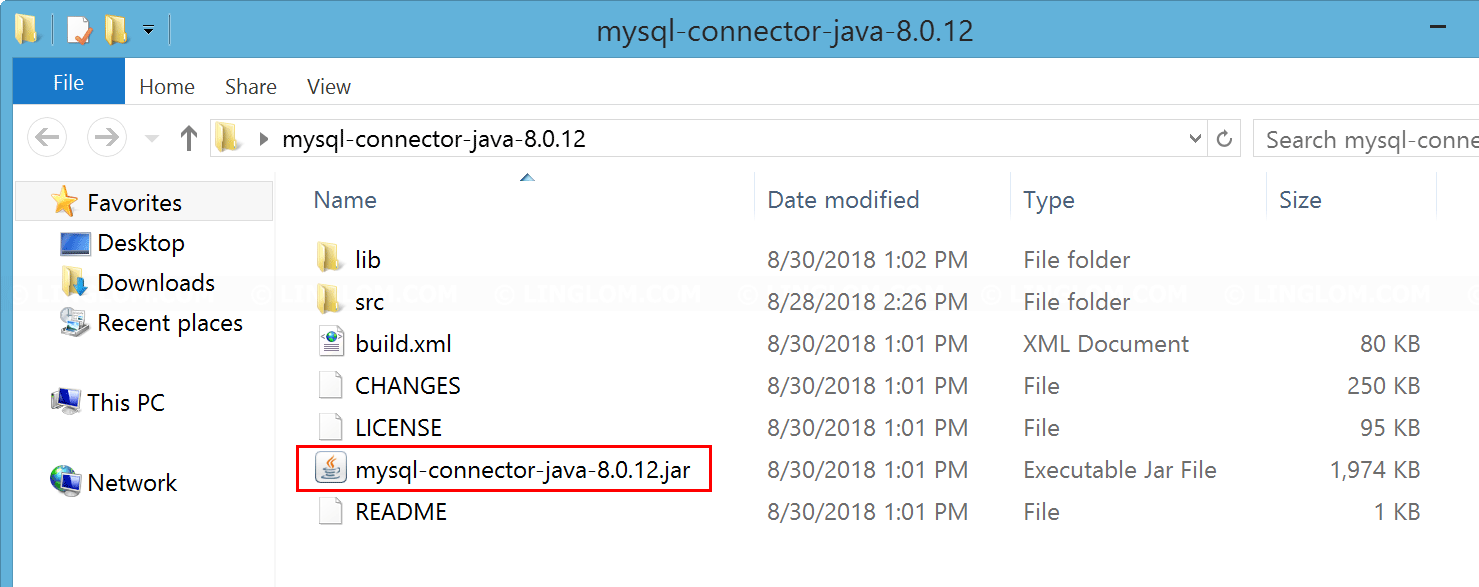
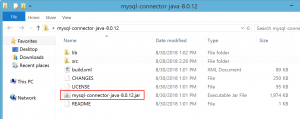
- Extract the zip file to a folder, you’ll see mysql-connector-java-8.0.12.jar which is the library file that we want. Just copy the file to a library folder, for example to “C:\Program Files (x86)\Java\jdk1.8.0_144\lib” directory.
Note: You should place mysql-connector-java-8.0.12.jar in the directory that you won’t delete it later (ex. not in temp folder). It should be in the same directory that keep JAVA’s common library files. If you delete the file without delete a link from the project, the project will display error about missing library.
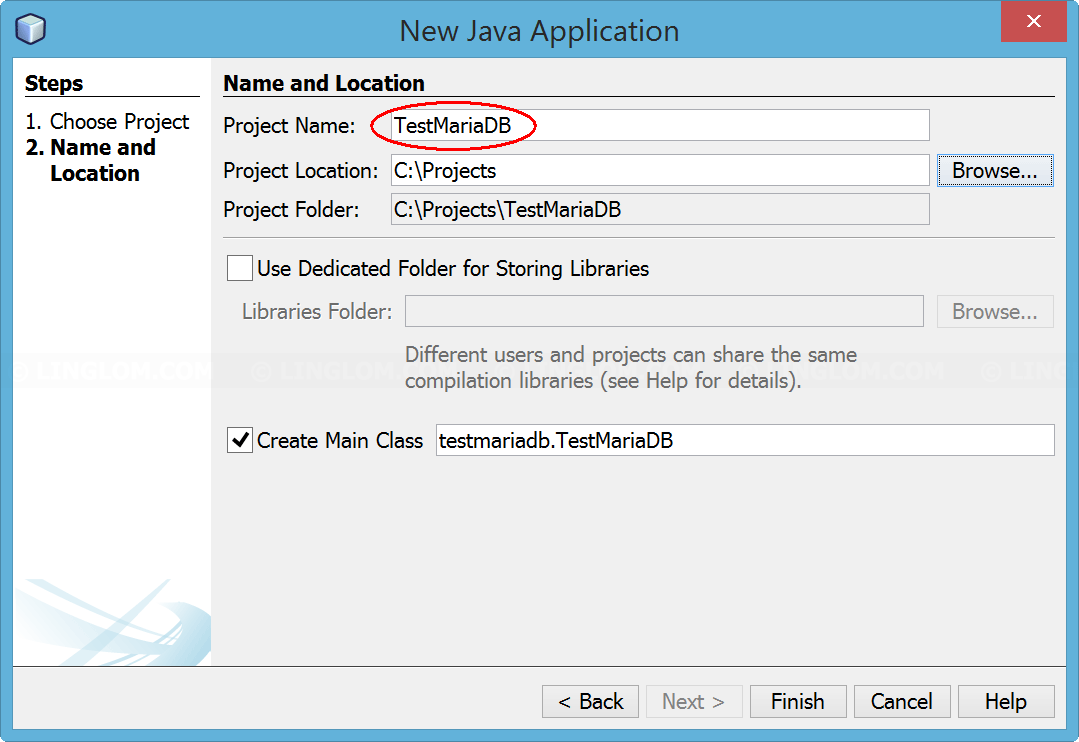
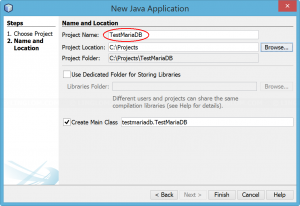
- Open NetBeans and create a new project TestMariaDB.
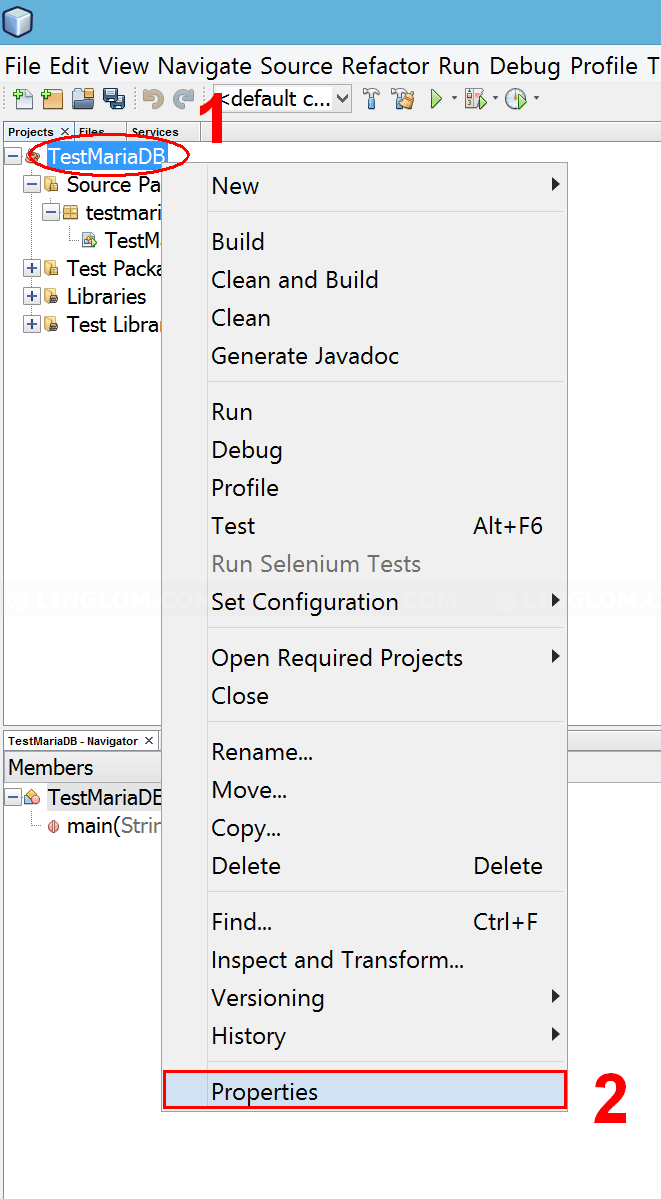
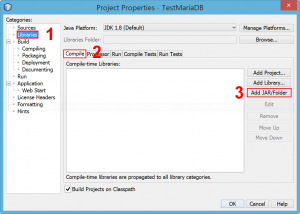
- Add the JAR file to the project’s library
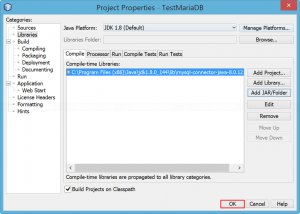
- Right-click the project name and select Properties.

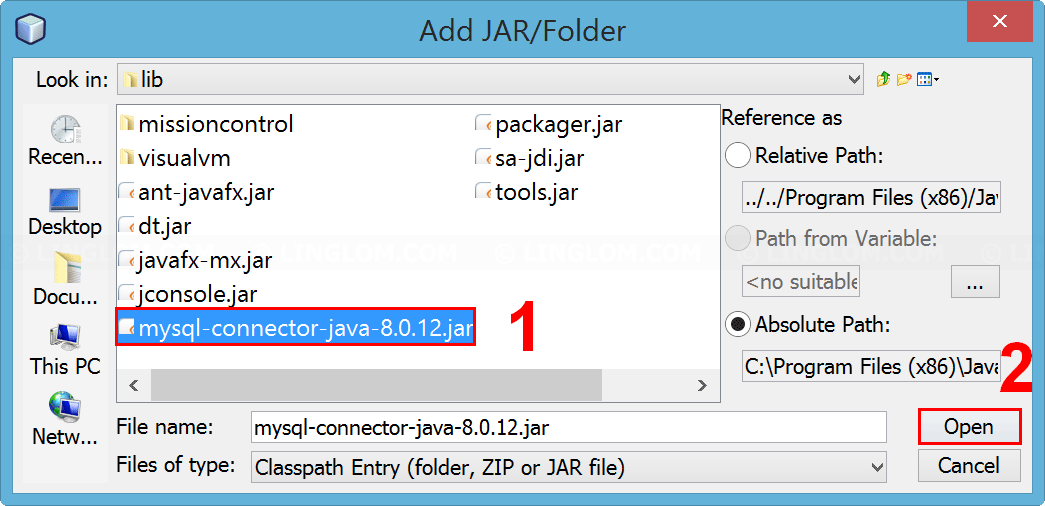
- Select Libraries on left window and click Add JAR/Folder.
- Select the JAR file in 3 and click Open.
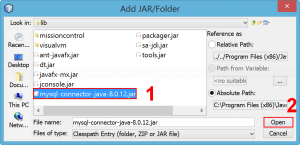
- Click OK.
- Right-click the project name and select Properties.
- Now I’m ready to create a connect to MariaDB.
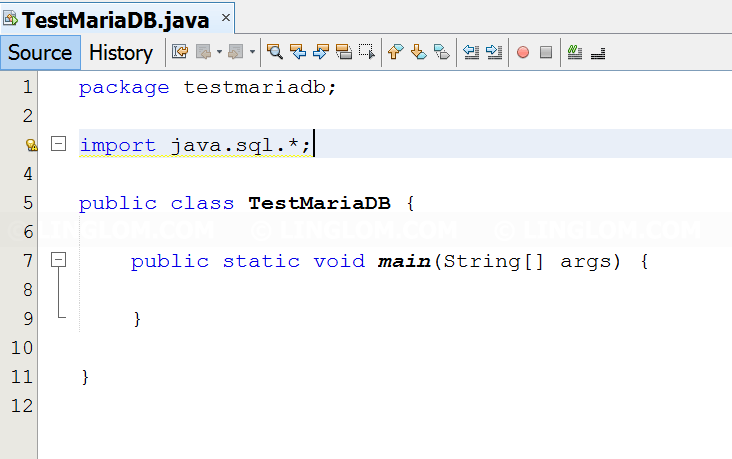
- Import some library.
import java.sql.*;

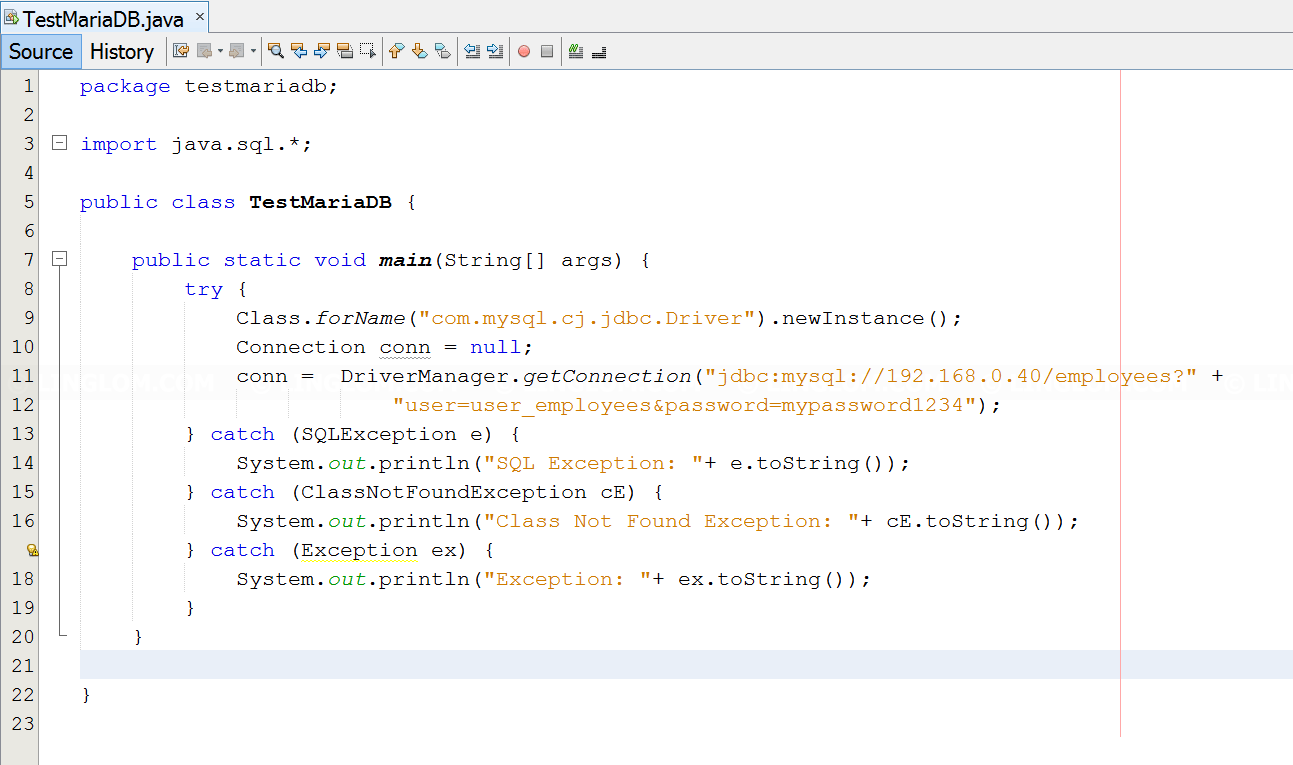
- Add these code in main method.
8
9
10
11
12
13
14
15
16
17
18
19
try {
    Class.forName("com.mysql.cj.jdbc.Driver").newInstance();
    Connection conn = null;
    conn =  DriverManager.getConnection("jdbc:mysql://192.168.0.40/employees?" +
                "user=user_employees&password=mypassword1234");
} catch (SQLException e) {
    System.out.println("SQL Exception: "+ e.toString());
} catch (ClassNotFoundException cE) {
    System.out.println("Class Not Found Exception: "+ cE.toString());
} catch (Exception ex) {
    System.out.println("Exception: "+ ex.toString());
}
Code explanation:
- Line 9: this for registering the driver with DriverManager interface.
- Line 10-12: Declare connection string for connecting to the database. In this example, my database server is 192.168.0.40. If your database server is on the same computer, you can use locahost or 127.0.0.1.
My database name is employees. If you want to connect to other database, simply change text ’employees’ after ‘192.168.0.40/’ to your database name.
The user/password are user_employees/mypassword1234 which is created in Part 1. You have to change these values to match your database information.

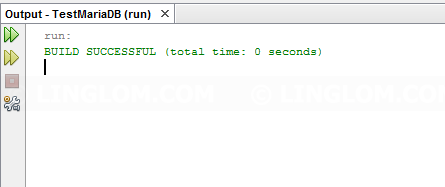
- Compile and run the project. If no error occurs, it means that the connection has established successfully.

- Import some library.