- Getting Started on Virtualization with Microsoft Virtual PC 2007, Part 1: Introduction
- Getting Started on Virtualization with Microsoft Virtual PC 2007, Part 2: Installation
- Getting Started on Virtualization with Microsoft Virtual PC 2007, Part 3: New Virtual Machine
- Getting Started on Virtualization with Microsoft Virtual PC 2007, Part 4: Install Guest OS
- Getting Started on Virtualization with Microsoft Virtual PC 2007, Part 5: Install Virtual Machine Additions
- Getting Started on Virtualization with Microsoft Virtual PC 2007, Part 6: Configure Virtual Machine Settings
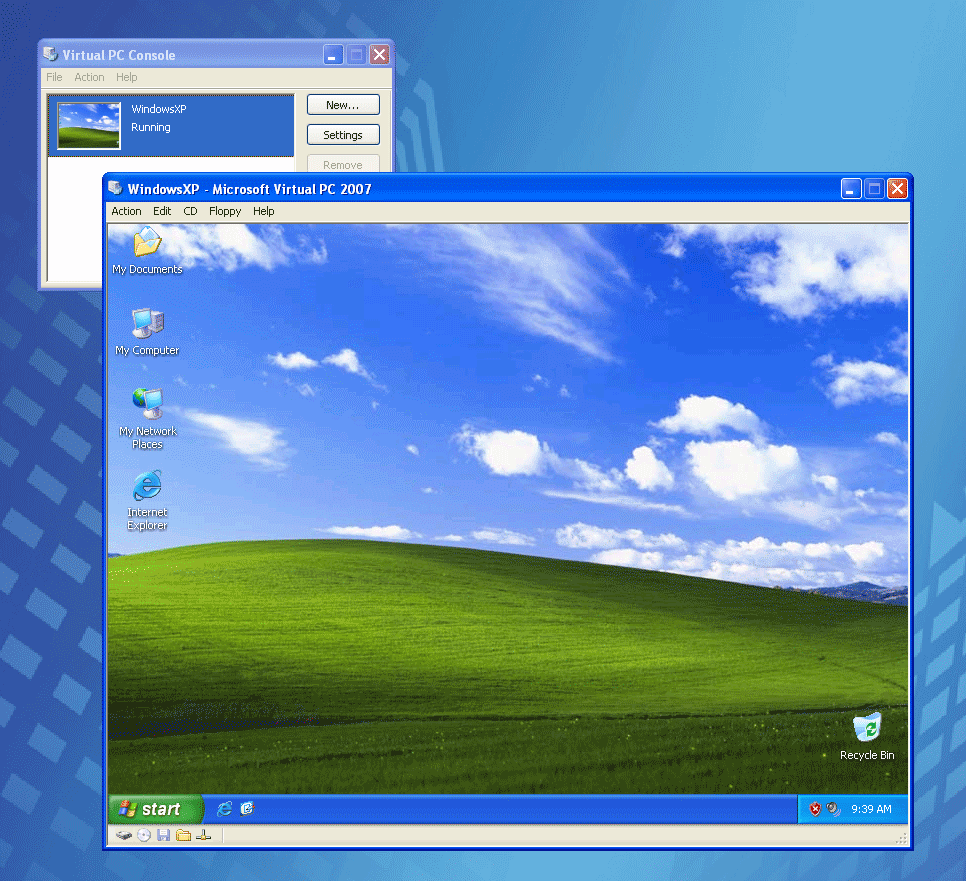
After 5 parts have been passed, you know how to create a virtual machine, install a new operating system, install virtual machine additions. But when you’re using a virtual machine, you may want to change configurations of the virtual machine. For instance, add new hard disk, increase RAM size of the virtual machine, configure network adapter, etc. You can change configurations in Virtual Machine Settings.
Let’s see what you can do in a virtual machine’s settings.
- Change the virtual machine name.
- Adjust Memory (RAM) size.
- Add/Remove Hard Disks.
- Enable/Disable Undo Disks.
- Add/Remove ports (COM1, COM2 and LPT1).
- Configure Networking Interfaces.
- Enable/Disable Sound.
- Add/Remove Share Folders.
In this part, I’ll show how to change only some configurations. You can try to change these configurations on your own. It’s not too difficult.
Step-by-step to configure virtual machine settings
- Close a virtual machine if it is running. Click Close button to close the virtual machine.

- You can choose how to close the virtual machine.
- Save state. This option, it will save the current state of the virtual machine. So when you restore it back in a later time, you’ll see this screen again as if it weren’t close. But this option may requires additional spaces on the physical disk to keep the current state.
- Shut down Windows XP. The virtual machine will shutdown a guest operating system (Windows XP).
- Turn off. This option will turn off the virtual machine right now without shutting down the guest operating system. This similar to Power Off. You may lost all unsaved documents in the virtual machine
In this sample, let do it in the common way. Select Shut down Windows XP.

- When the guest operating system is shut down. On Virtual PC Console, select the virtual machine and click Settings.

- On Settings, these are configurations of the virtual machine which you can change. Some may require you to shut down the virtual machine before editing them. That’s why I’ve shut down the guest operating system in the previous steps. On the first line, select File Name on the first line. Here you can change the name of this virtual machine.

- On the second line, select Memory. You can adjust memory size of the virtual machine.

- On the third to fifth lines, select Hard Disk. You can add/remove virtual hard disks. Currently, I have only one virtual hard disk. You can add more virtual hard disks if you need more drives on the virtual machine.

- On the sixth line, select Undo Disks. Here you can enable or disable undo disks feature. If this feature is enabled, when you closing the virtual machine, you can choose to save all changes that you’ve made in the virtual machine to the disk or discard it. This feature is really useful if you want to test some applications or configurations. If something goes wrong, you can just discarded them.
Note: When you enable this feature and you’re going to save changes to the disk, you notice that it takes more time to save changes to the disk compare when this feature is disabled.

- If the Undo Disks feature is enabled, you’ll see these options when you’re closing the virtual machine.
- Save state and save changes.
- Shut down Windows XP and save changes.
- Turn off and save changes.
- Turn off and delete changes.
These options are similar to the options before you’ve enabled undo disks feature. Only the last one is new. If you select the last options, all changes that you’ve made in the virtual machine will be discarded. So use it with caution.

- On the ninth to eleventh lines, select COM1, COM2 or LPT1. You can add/remove COM and LPT ports to the virtual machine. Also, you can select whether to map to physical port, named pipe or text file to connect to these ports.

- On the twelfth line, select Networking. You can add/remove virtual network adapters on the virtual machine. On each virtual network adapter, you can choose network adapter to be one of these types:
- Not Connected. No connection.
- Local only. If you select this type, the network card can only communicate with the localhost (host operating system) and other virtual machines running within this physical PC. You can’t communicate to others through physical network connection.
- Intel(R) 82566DM Gigabit Network Connection. This is the physical network card and the name may different depends on the physical hardware. This type, the network card will connect to physical network using a new MAC Address generated within virtual machine (Different IP Address compares to physical machine).
- Shared Networking(NAT). This type, the network card will connect to physical network using physical IP Address (Share same IP Address with physical machine).

- Now, start the virtual machine. Next, I configure about shared folder between host and guest operating system.
Note: This feature may not be need if you’ve installed a Virtual Machine Additions which I’ll show in the later post. You can drag and drop files or folders between host and guest operating system.

- Open Settings again. There will be a pop-up message warn that some configurations cannot be changed while the virtual machine isn’t turn off.

- On the sixteenth line, select Shared Folders. You can add/remove shared folders between host and guest operating systems. Click Share Folder to create a new one.

- On Browse for Folder, select the physical folder you want to share. And select drive letter to map on the virtual machine.
Note: You can check Share every time to make this share persistent.

- Now you have a shared folder.

- Open My Computer in the virtual machine, you notice a network drive which mapped to the path on host operating system.


Is there any information about this subject in other languages?
No.