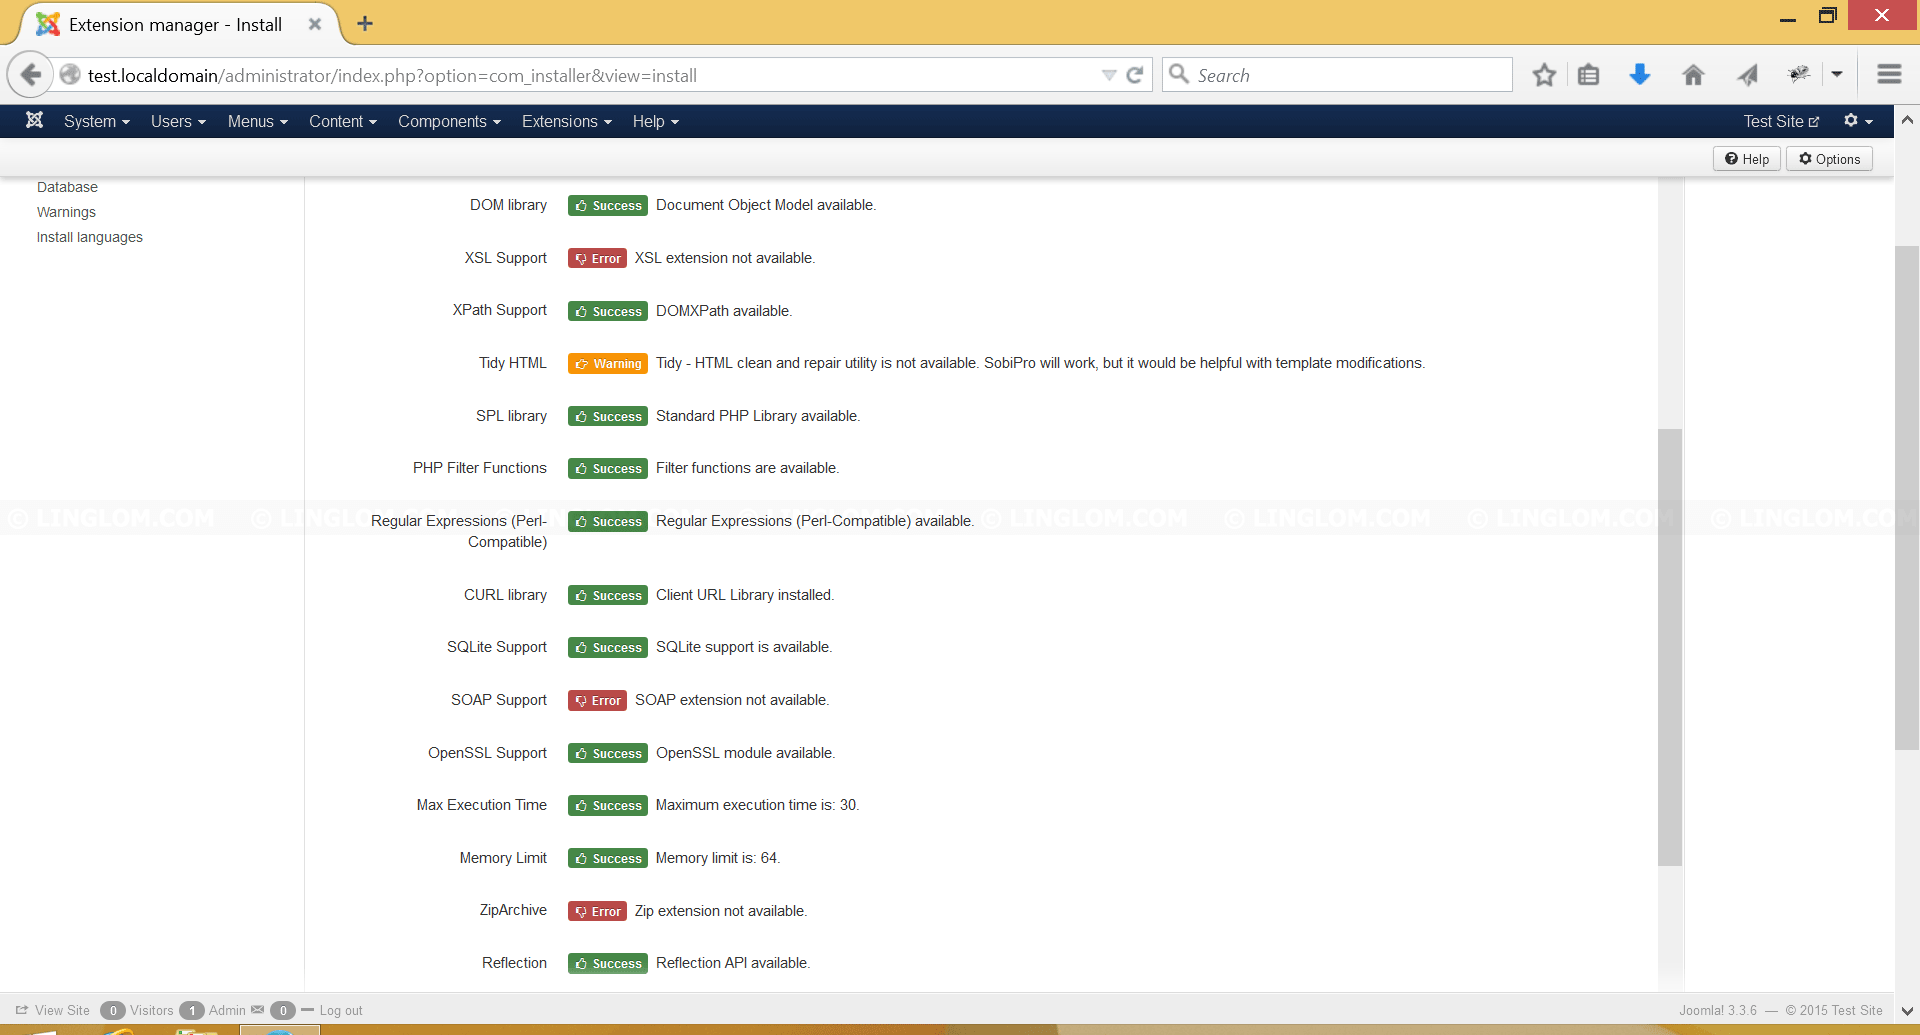
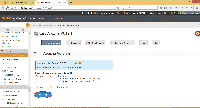
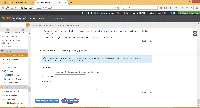
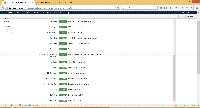
If you manage PHP website, it sometimes requires additional PHP extensions that aren’t enabled by default WHM installation so you have to to modify PHP configuration. For example, if you’re going to install Magento eCommerce, you need these additional PHP extensions: Mcrypt, Hash, GD, PDO, Mhash, and SOAP. If you’re going to install SobiPro on Joomla, you need these additional PHP extensions: XSL, Tidy HTML, SOAP, and ZipArchive. The below screenshot displays what PHP extensions are required to be enabled before you can use SobiPro 1.1.11 on Joomla 3.
If you have VPS or dedicated hosting, you usually have access to WHM cPanel which you can simply modify server and PHP configuration by yourself with EasyApache. However, if your website is on shared hosting, you are not likely to have access to WHM. In this case, you should contact your hosting support how to enable PHP extensions.
This article shows step-by-step guide how to enable PHP extensions with EasyApache on WHM cPanel. The PHP extensions that will be enabled in this example are XSL, Tidy HTML, SOAP, and ZipArchive.
Watch on YouTube
Step-by-step
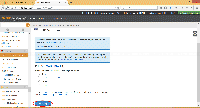
- Login to WHM control panel. The URL usually be your web server IP address and port number, e.g. https://x.x.x.x:2087. This information can be obtained from your hosting support.
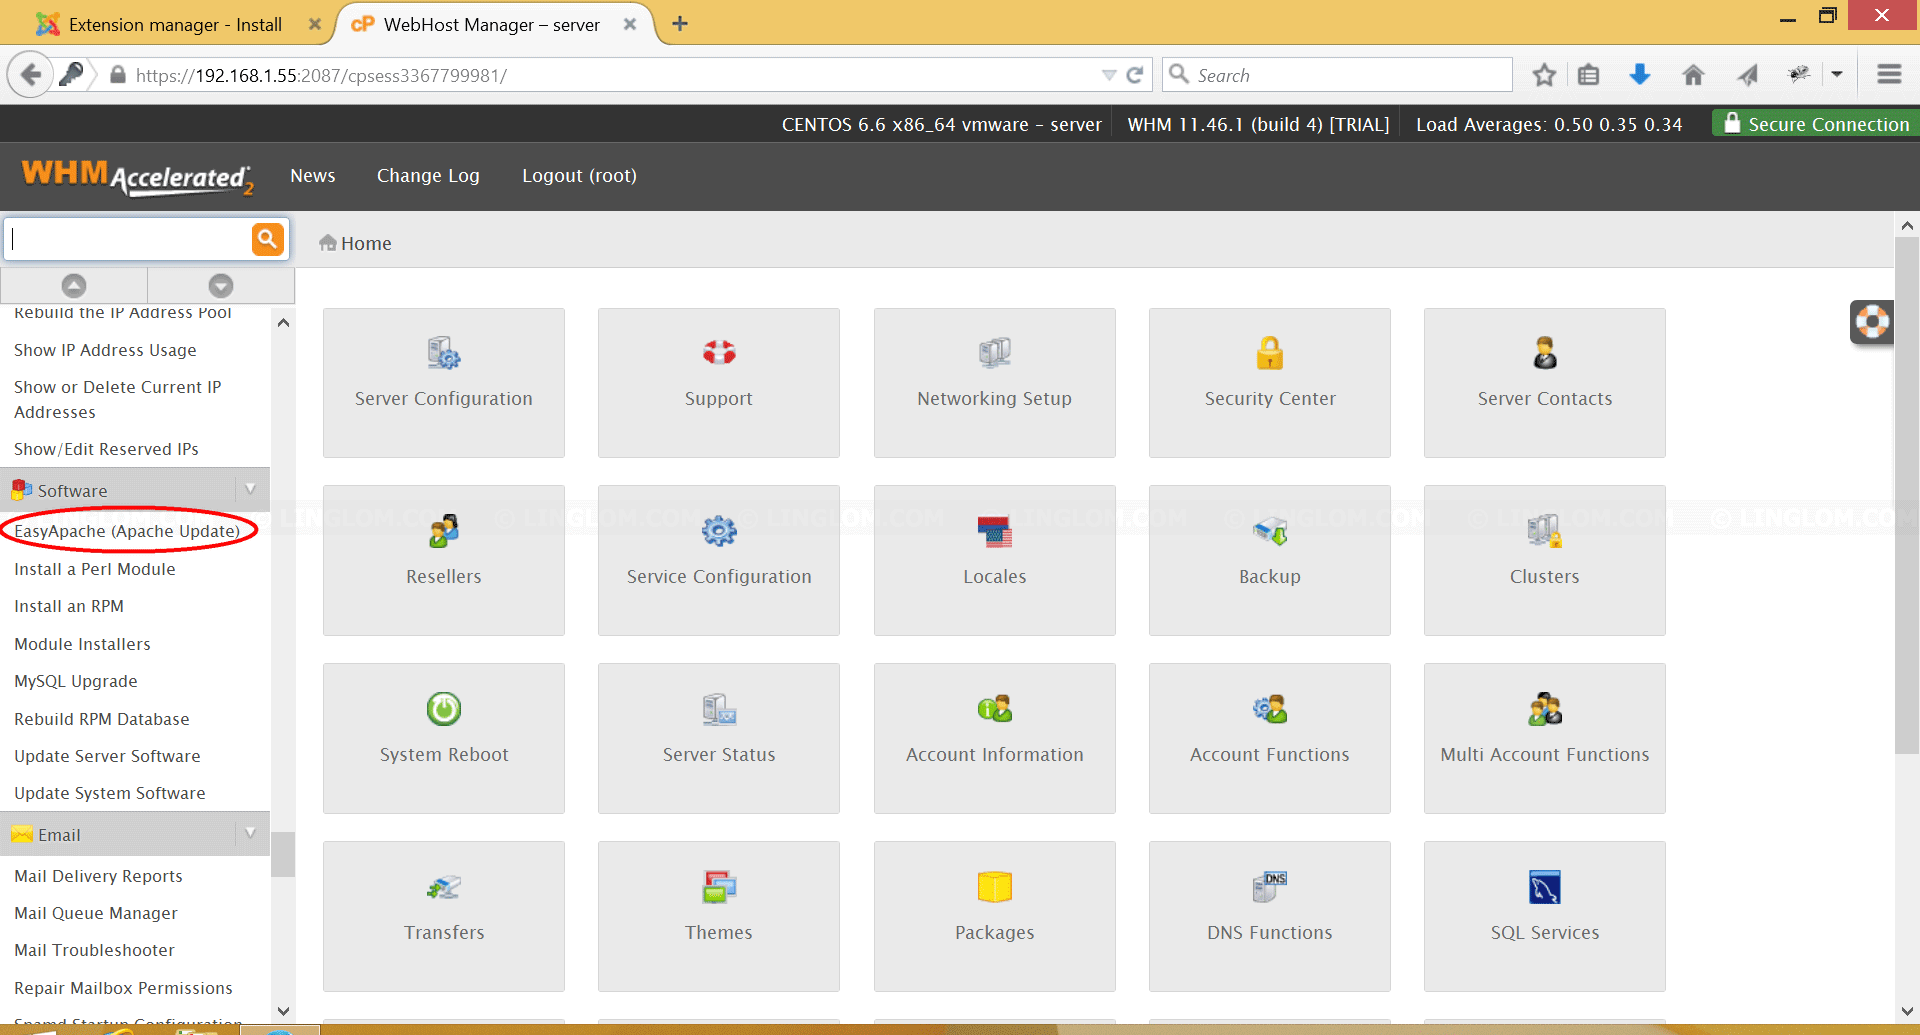
- Scroll down to Software section on the left menu and select EasyApache.
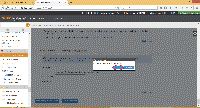
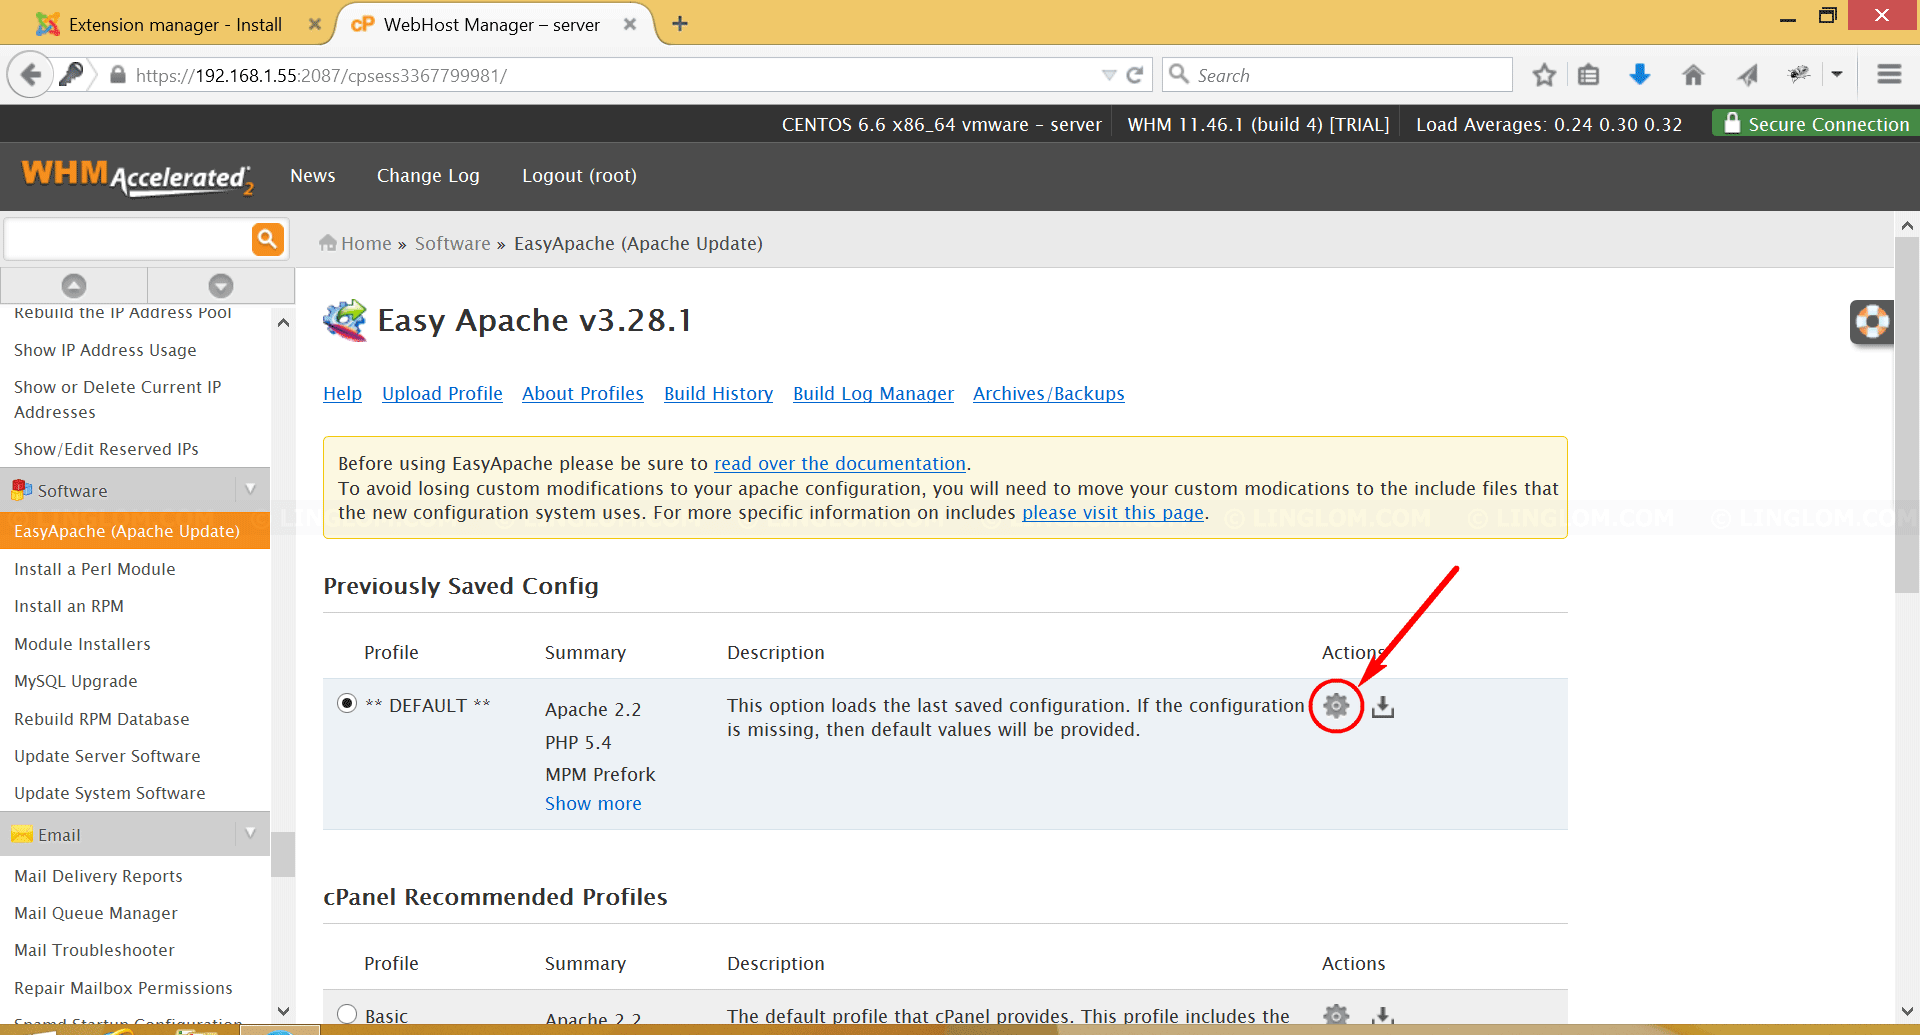
- On EasyApache, click on the gear icon on default profile under Previously Saved Config section.
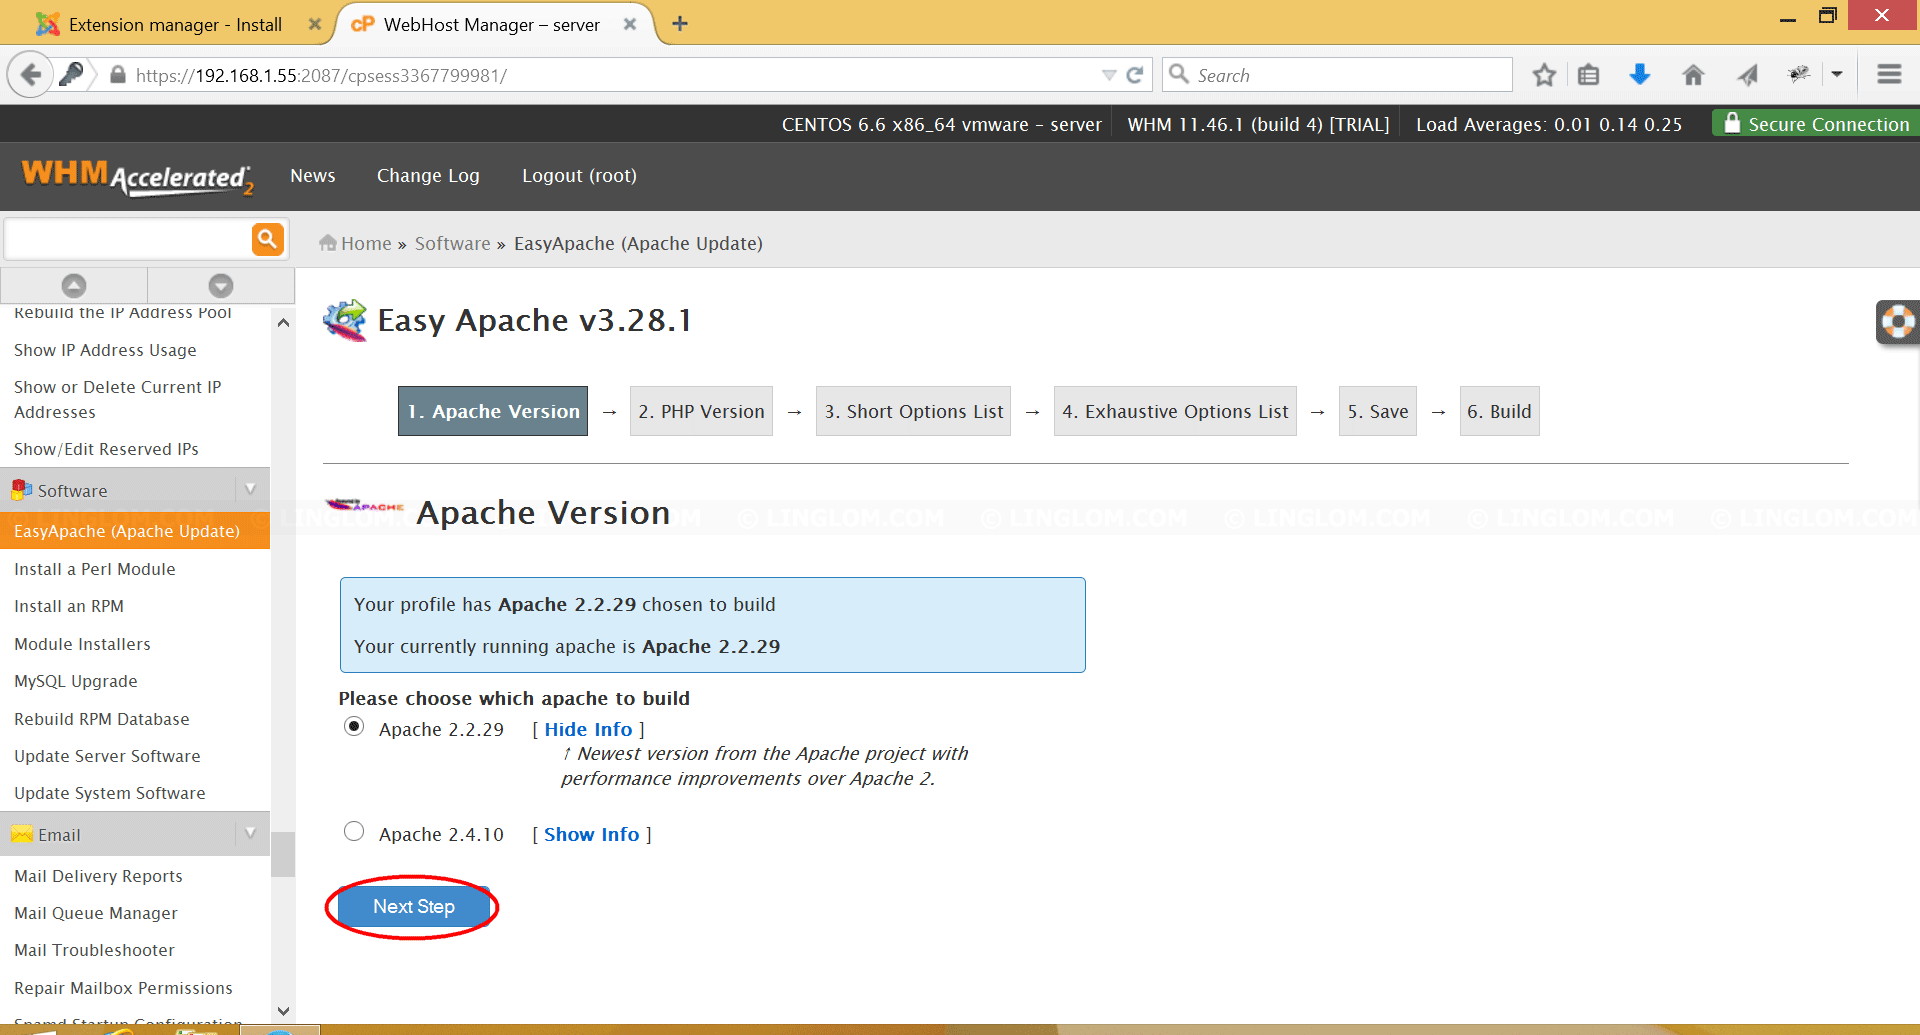
- On Apache Version, click Next Step.
- On PHP Version, you can also downgrade/upgrade your PHP version. In this example, I don’t need to change PHP version so click Next Step to continue.
Note: Modify PHP version will affect all websites on the server. Therefore, you should check if PHP scripts support it. Otherwise, error will occur.
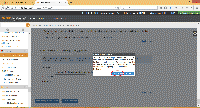
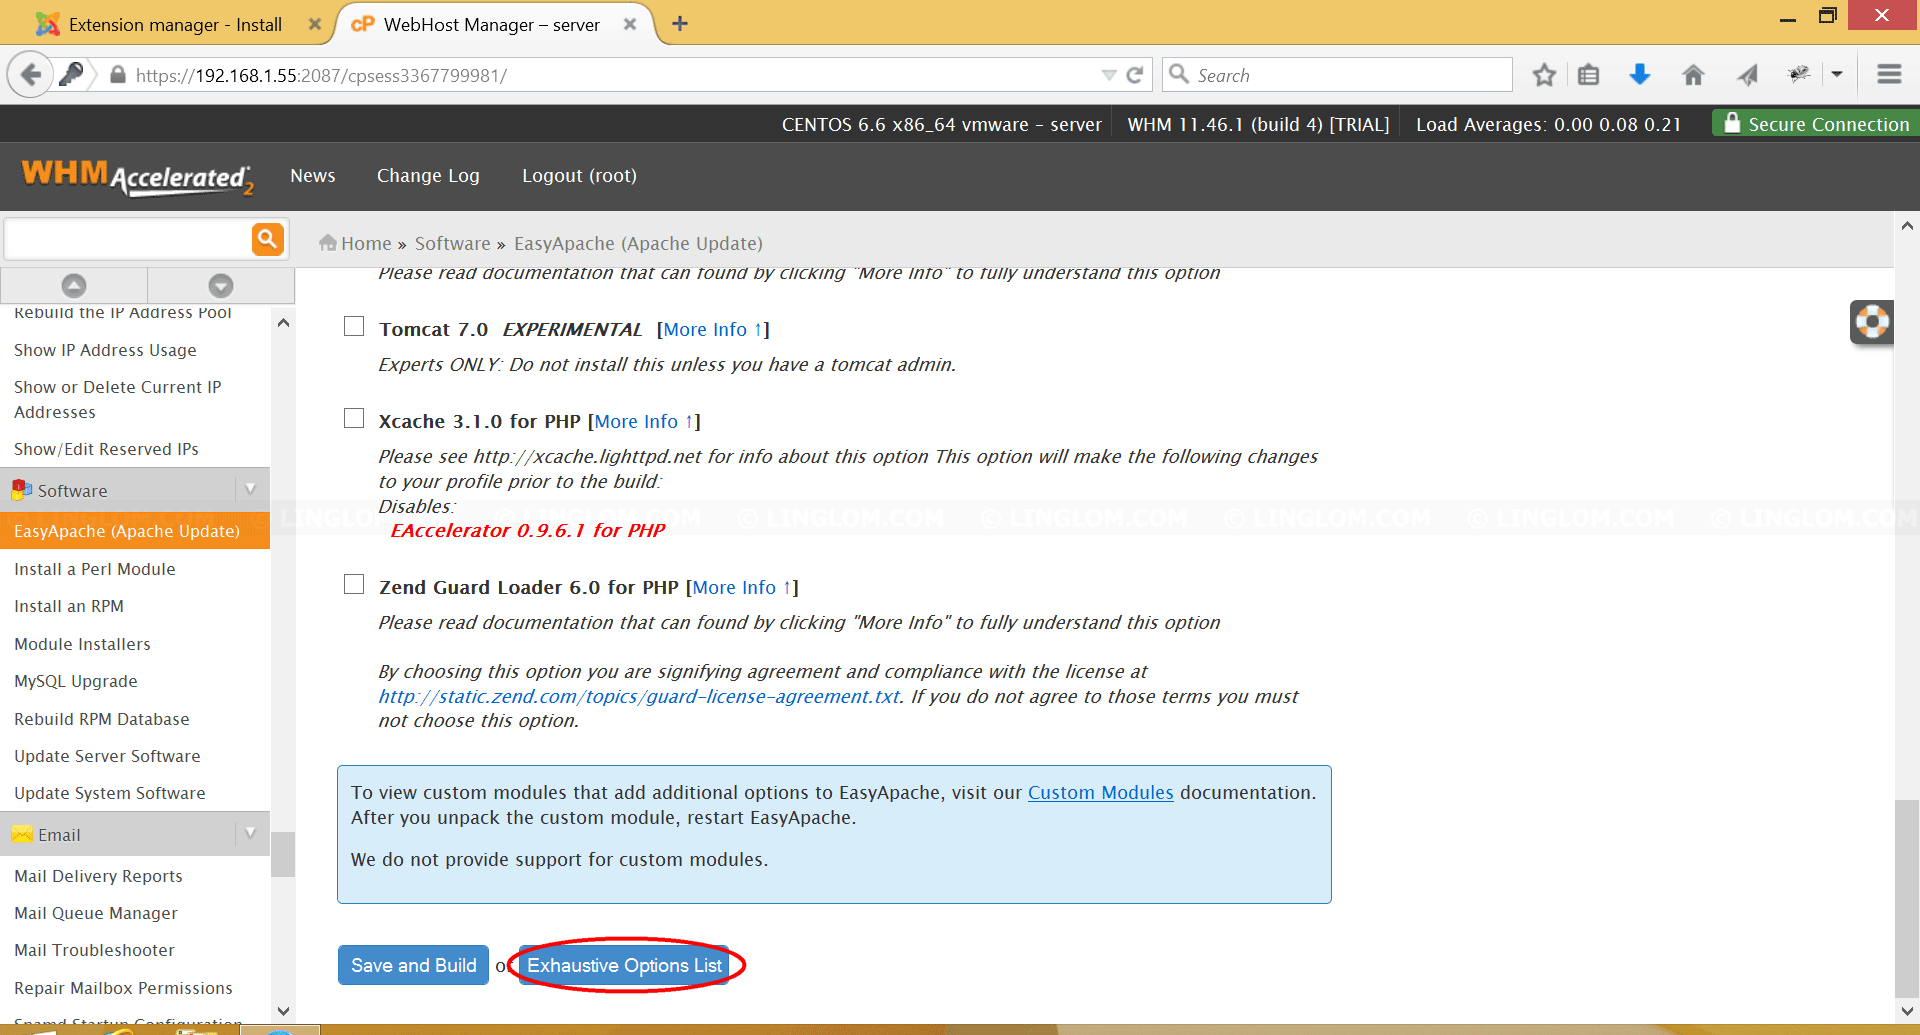
- On Short Options List, scroll down to bottom of the page and click Exhaustive Options List.
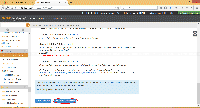
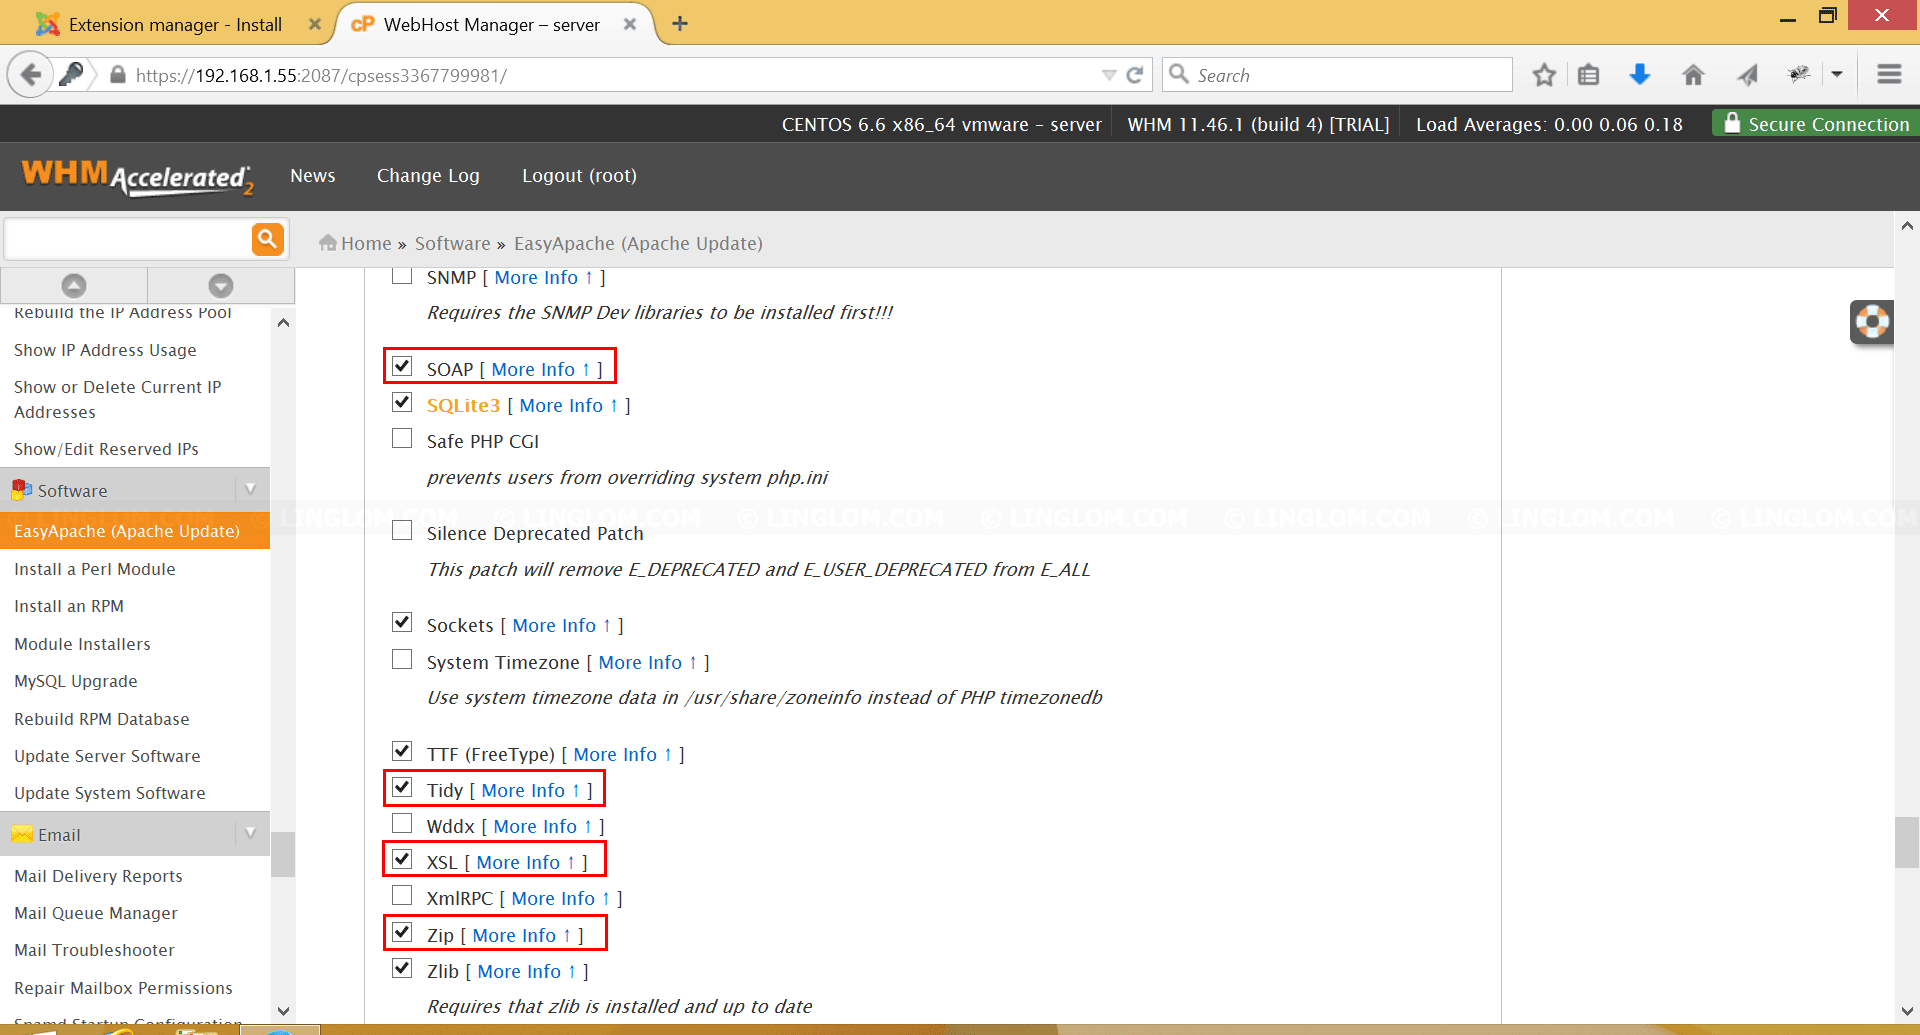
- On Exhaustive Options List, scroll down to PHP section and select which PHP extensions that you want. In this example, I select SOAP, Tidy, XSL, and Zip as these are required extensions.
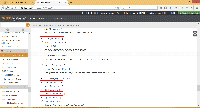
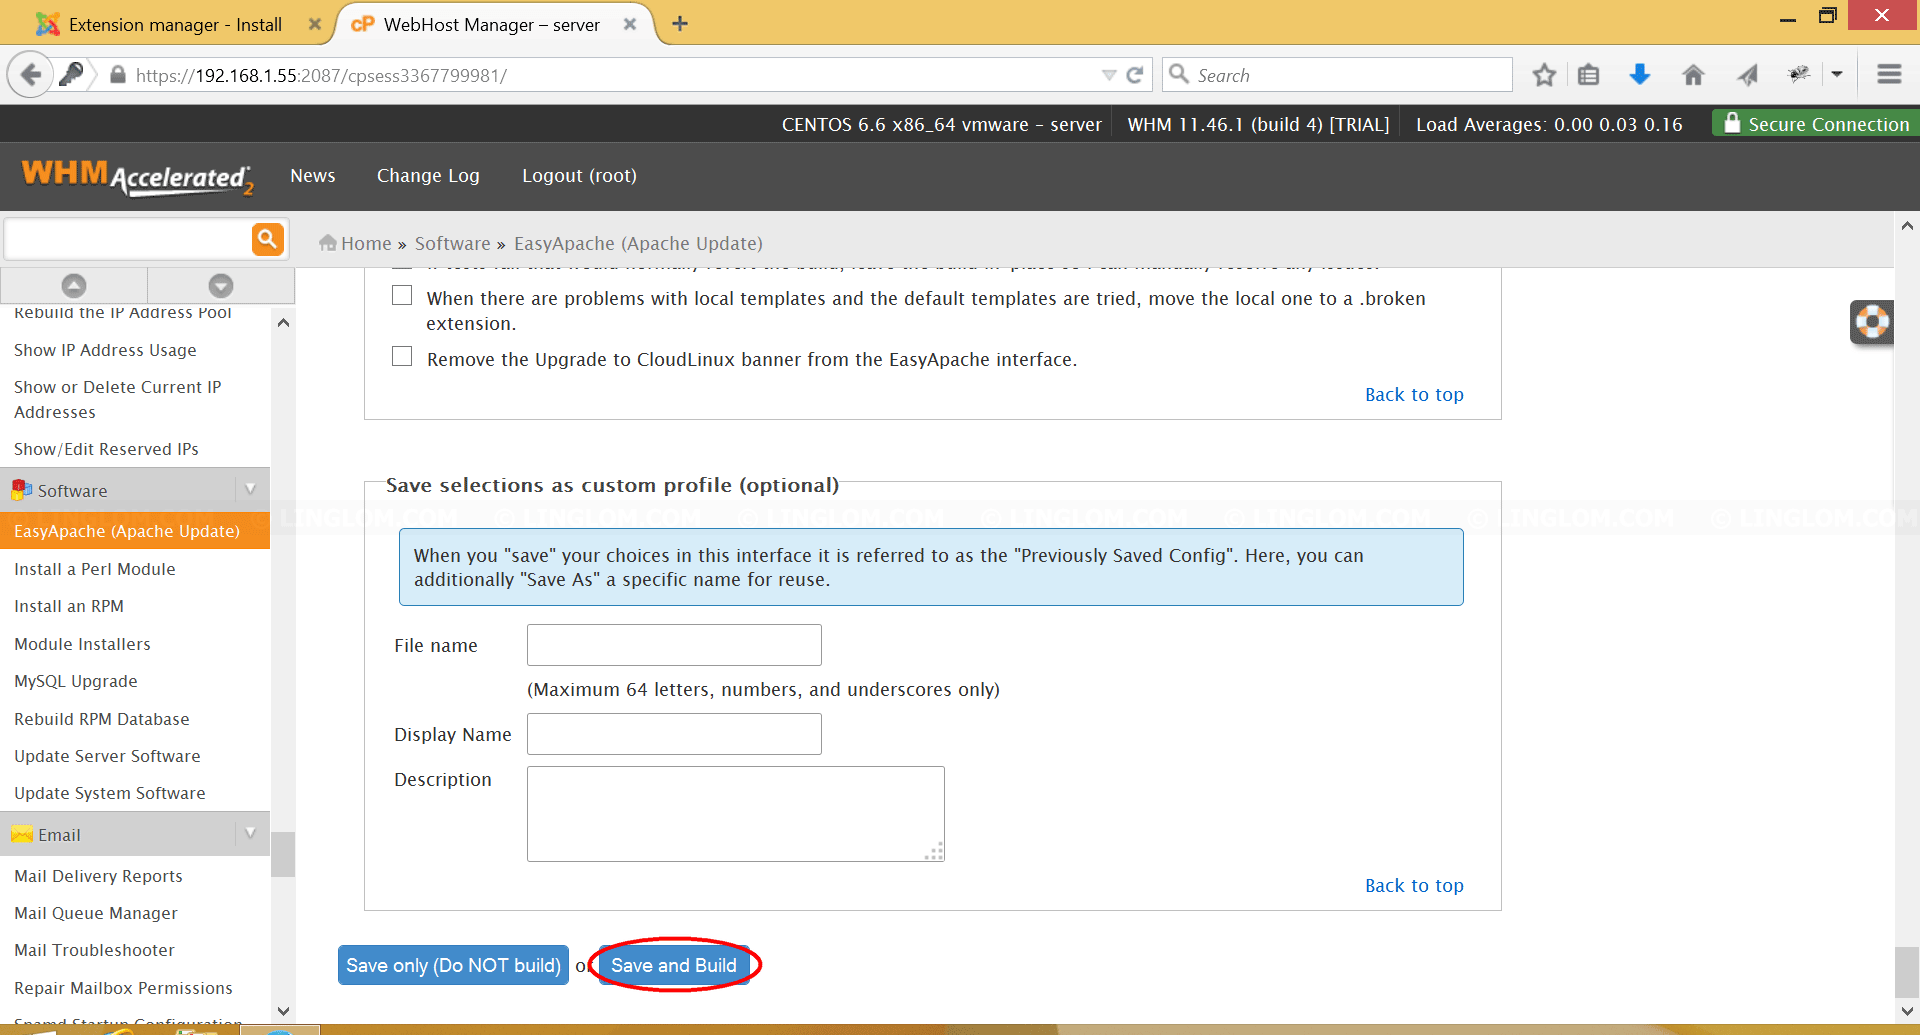
- Once you finished selecting extensions, scroll down to bottom of the page and select Save and Build.
Note: If the server is on production and there are users using services, you should consider build (compile) in maintenance hours. You can select Save only (Do Not build) to postpone the build process at later time.
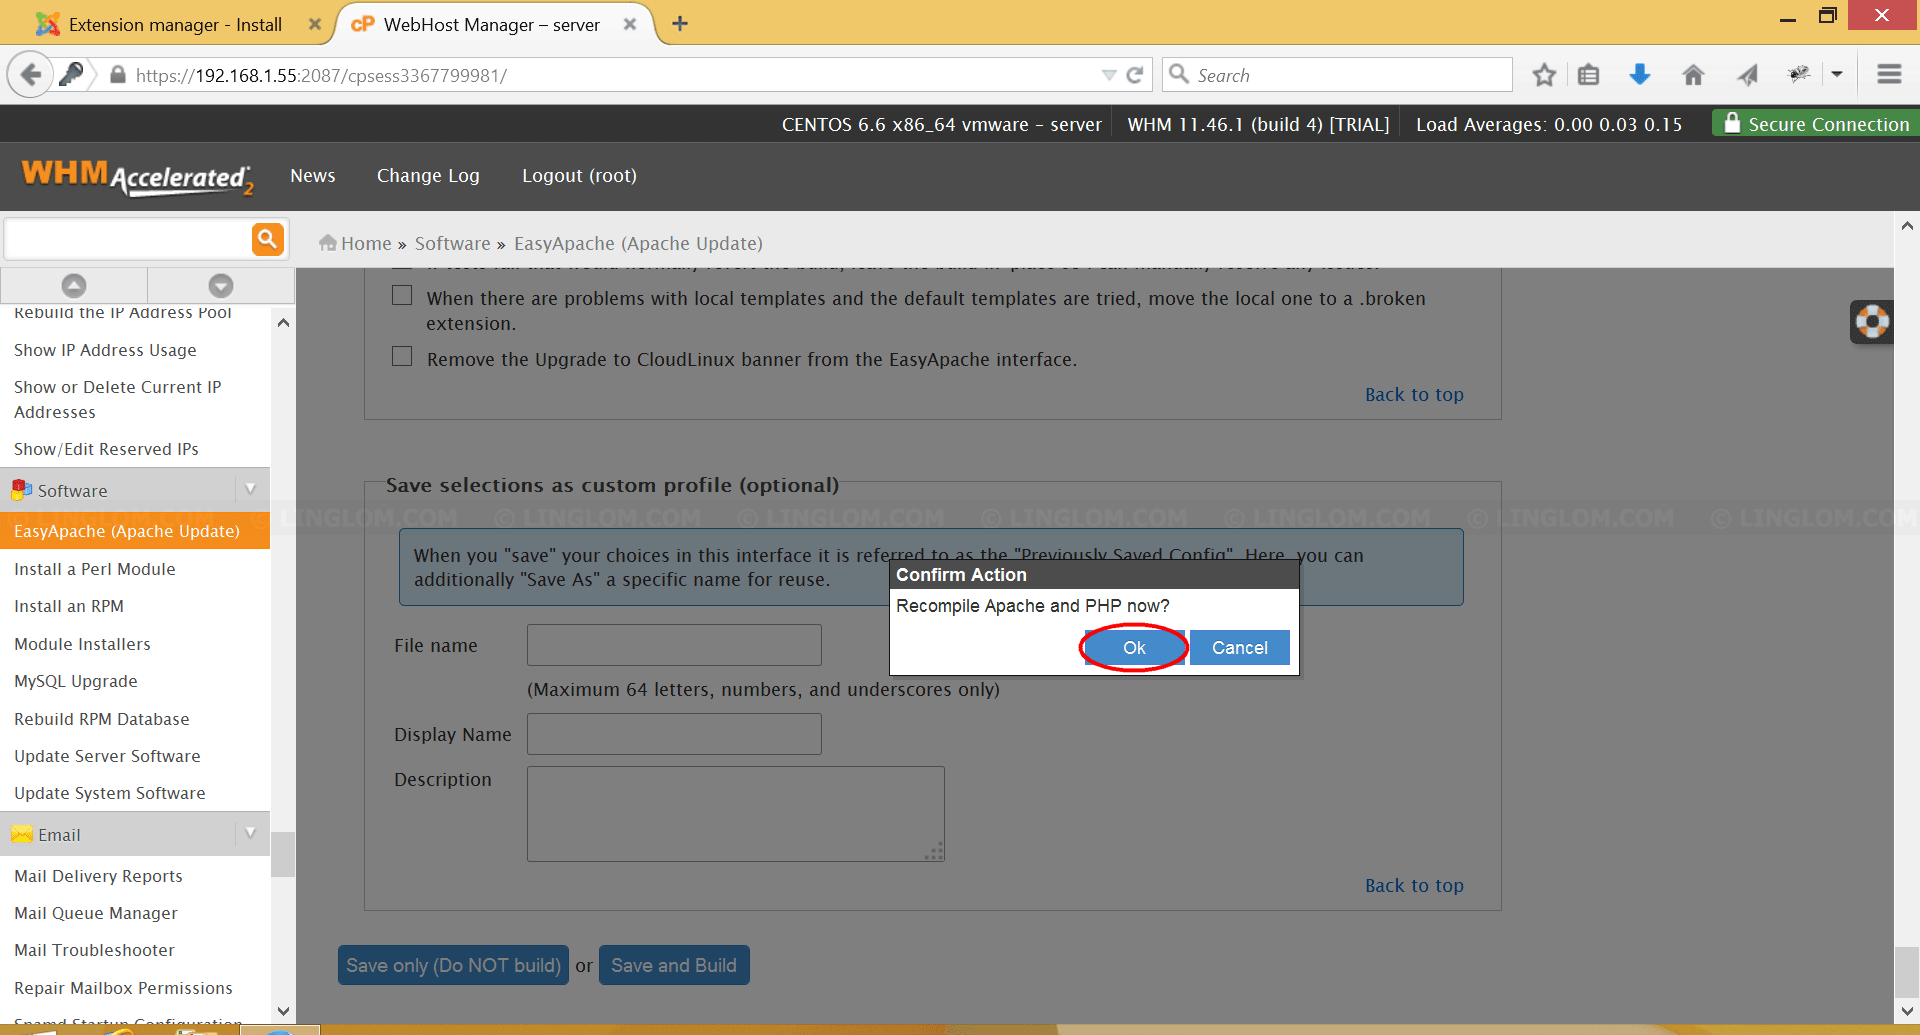
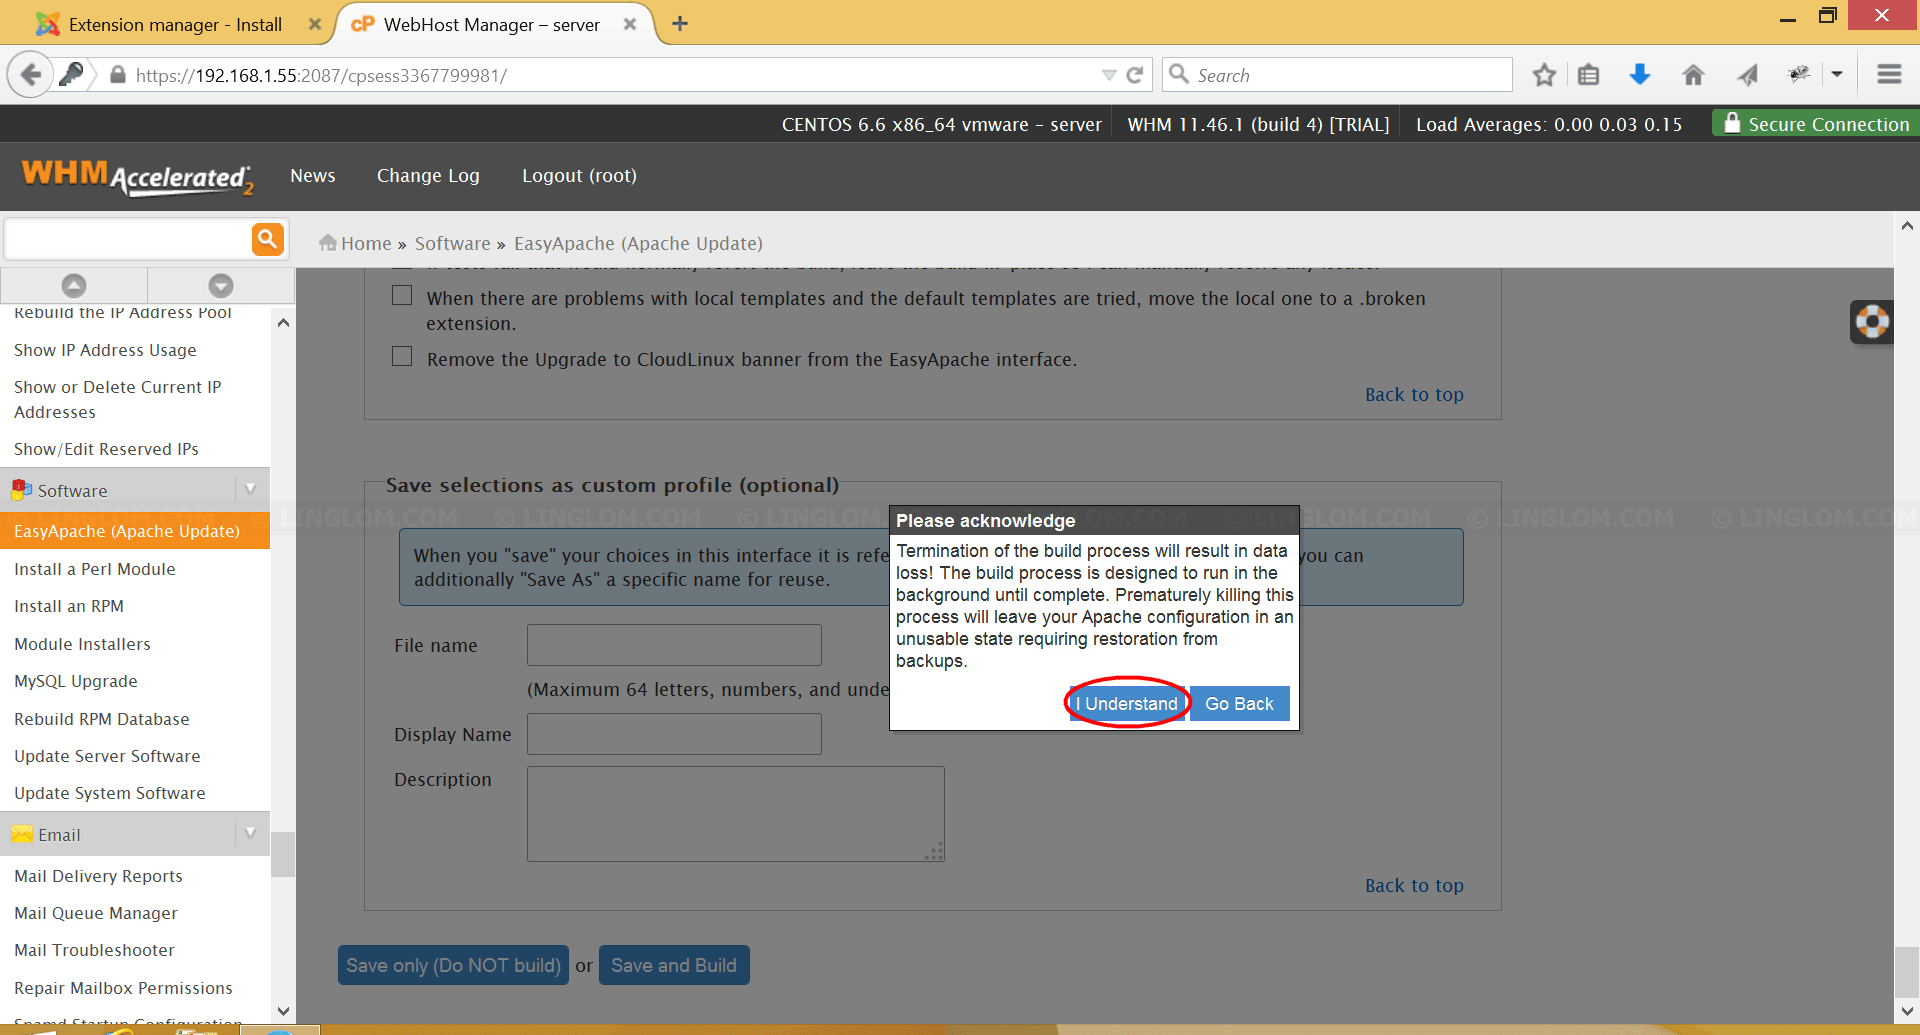
- On Confirm Action, click OK to confirm recompile Apache and PHP now.
- On Acknowledge, click I Understand.
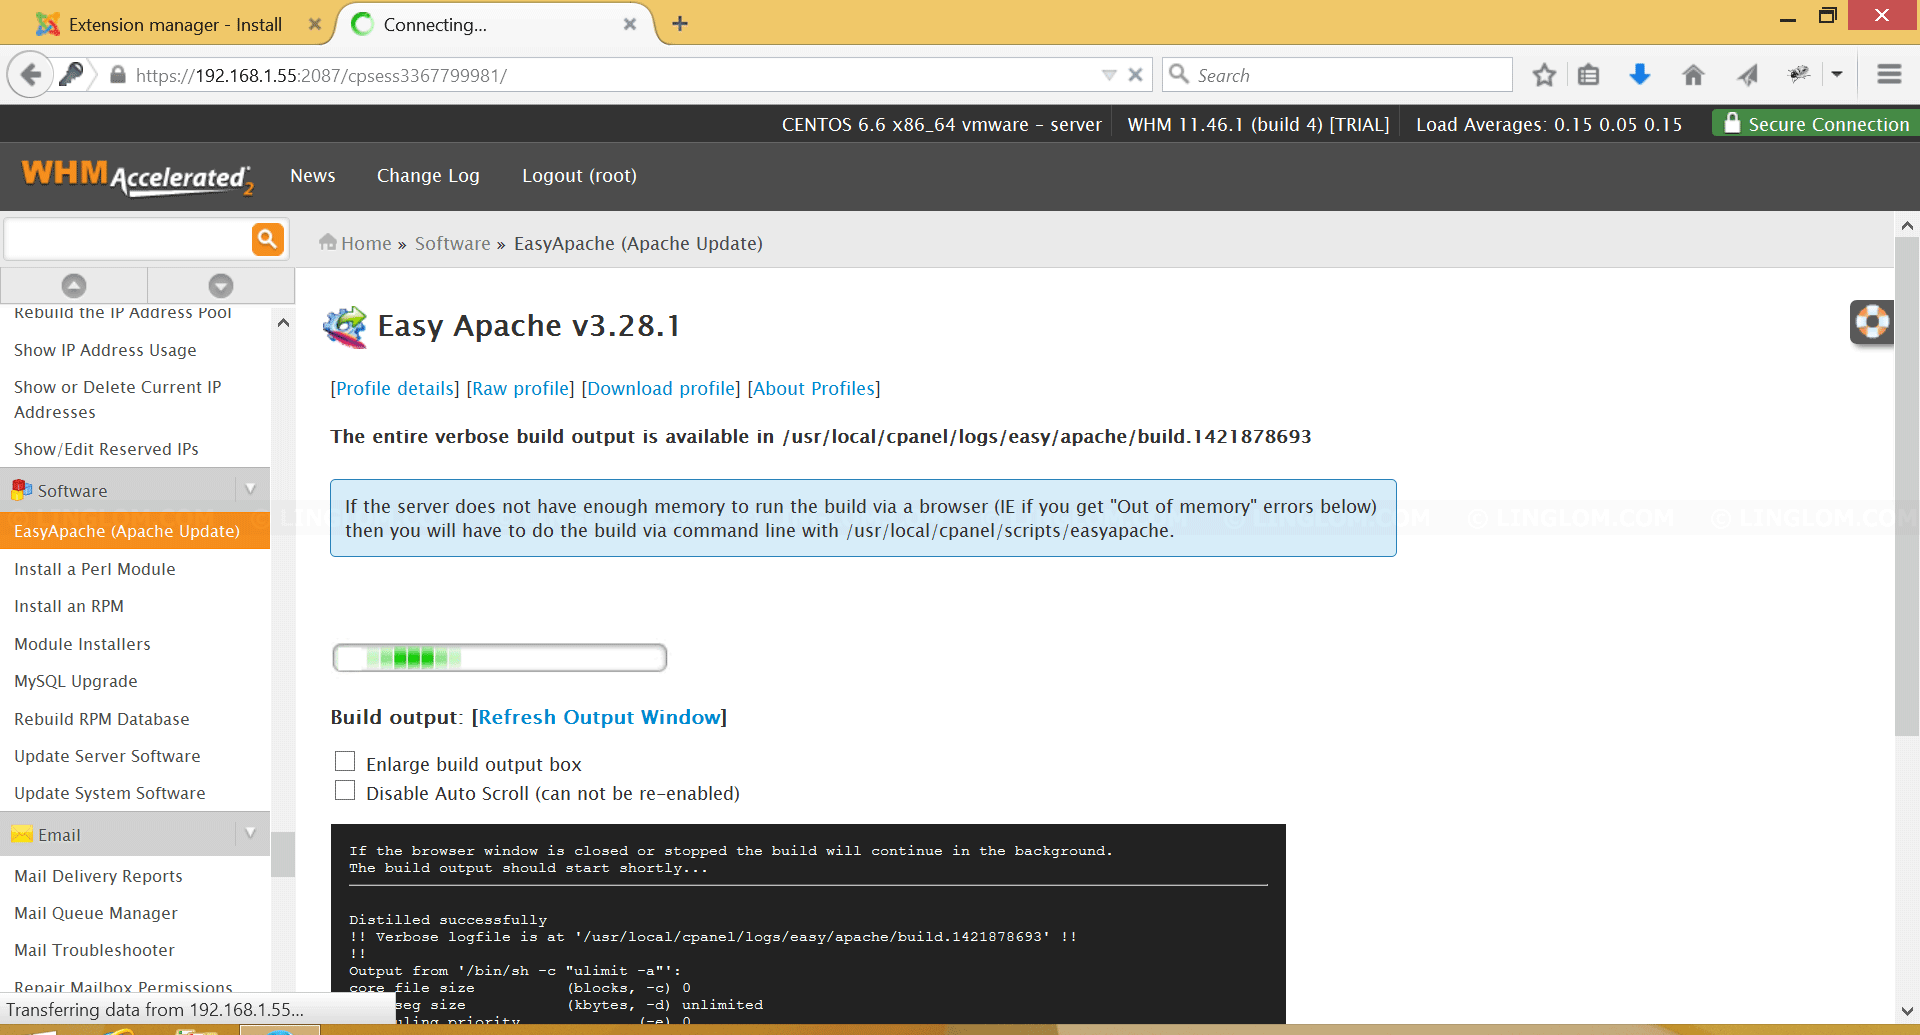
- EasyApache is now rebuilding (compile). This process may take a while.
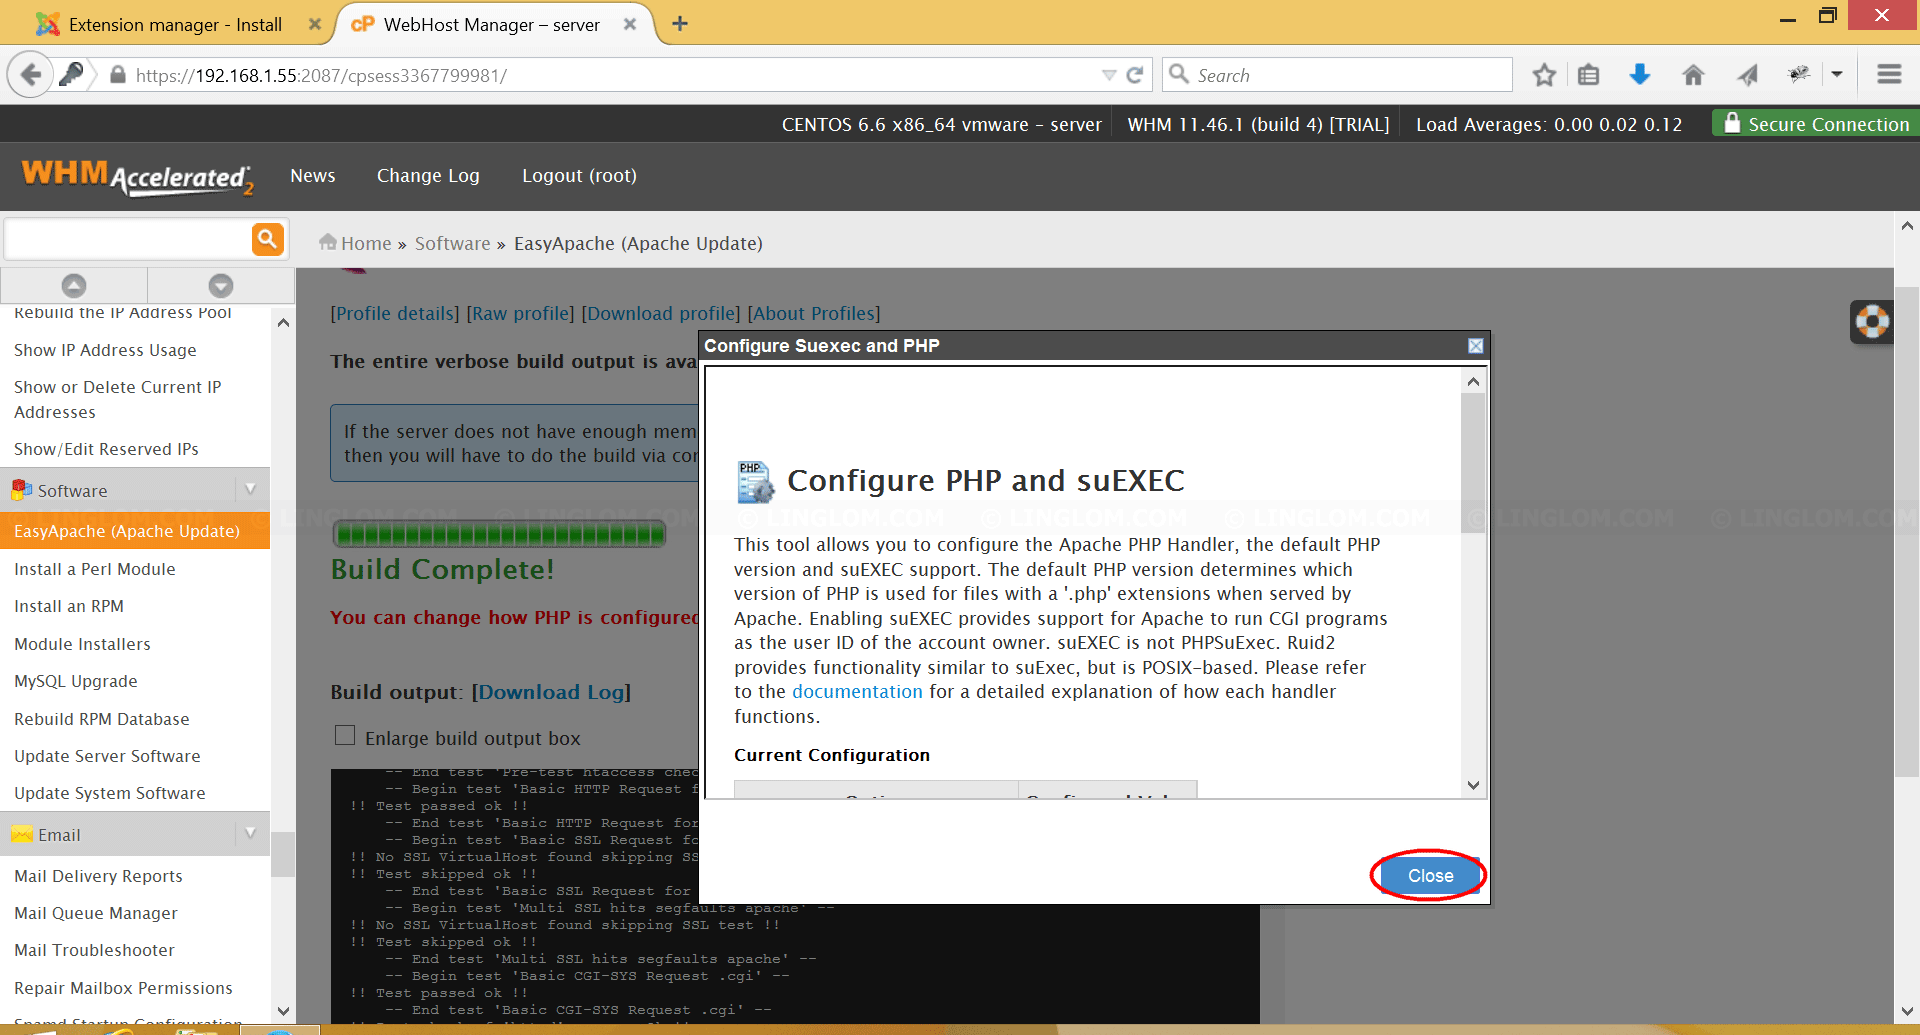
- Once the build process is complete, you will see a new window to configure PHP and suEXEC. In this example, I modify only PHP extensions. I don’t need to configure PHP so I click Close to continue.

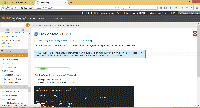
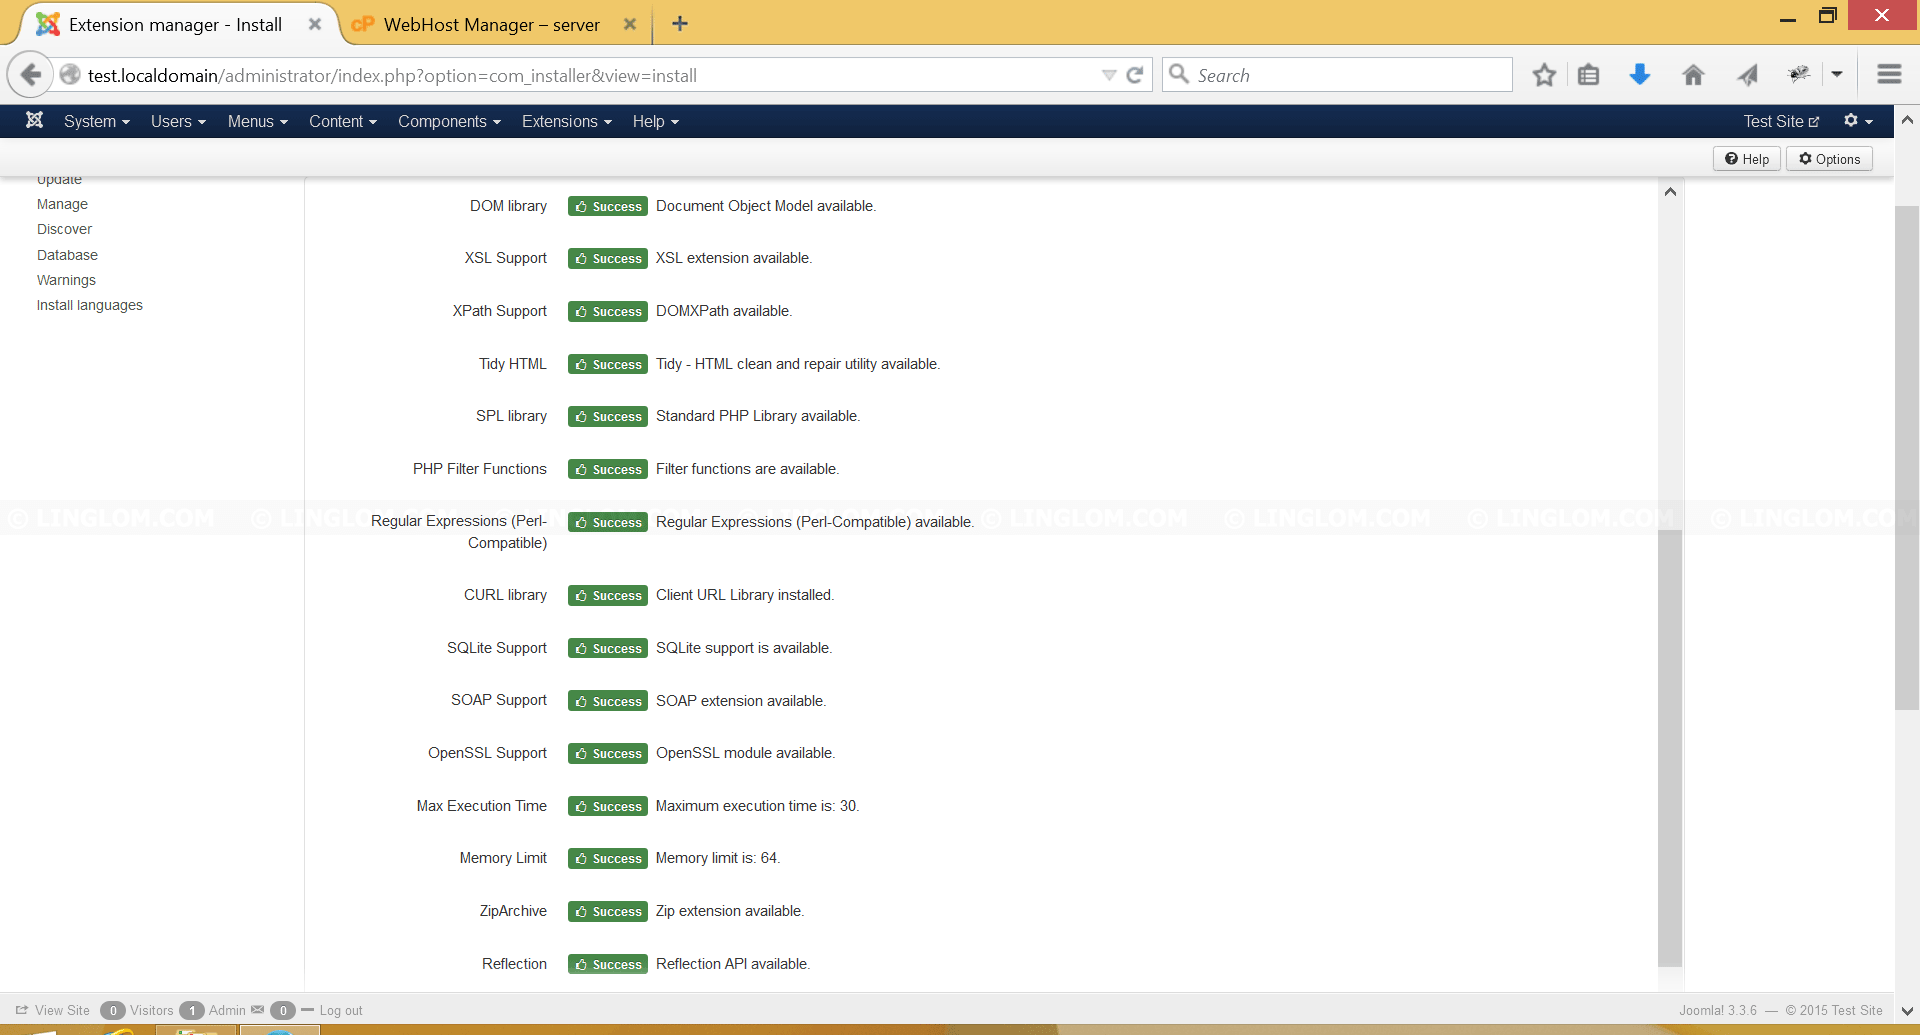
- Now check the requirement again. You will see the required extensions have been enabled.


Thanks, excelent tutorial.
Why does sobi display funny characters on screen?
really helped me out
Hi, Vincent
What did the funny characters you refer? Could you show the screenshot? Or was there any other error message?
excellent,thanks for the detail information.
Thank a lot 🙂
I cant able to enable SAOP on cent OS 6.4 but using these steps my problem solved in 10 minutes… Thank you again …
Excellent ! Thanks mate
Thanks. Helped me a lot. 🙂
Thank you. Excellent. Very helpful.
Nice tutorial.. Thanks a lot
Excellent!!! Thanks