Recuva is a free software (also has paid version) which recovers deleted files (document, music, photo, etc) on Windows.
Note: It is important that you do not write any data to the disk that will be recovered. Otherwise, there is a chance that you could overwrite the data you’re trying to recover.
Watch on YouTube
Step-by-step
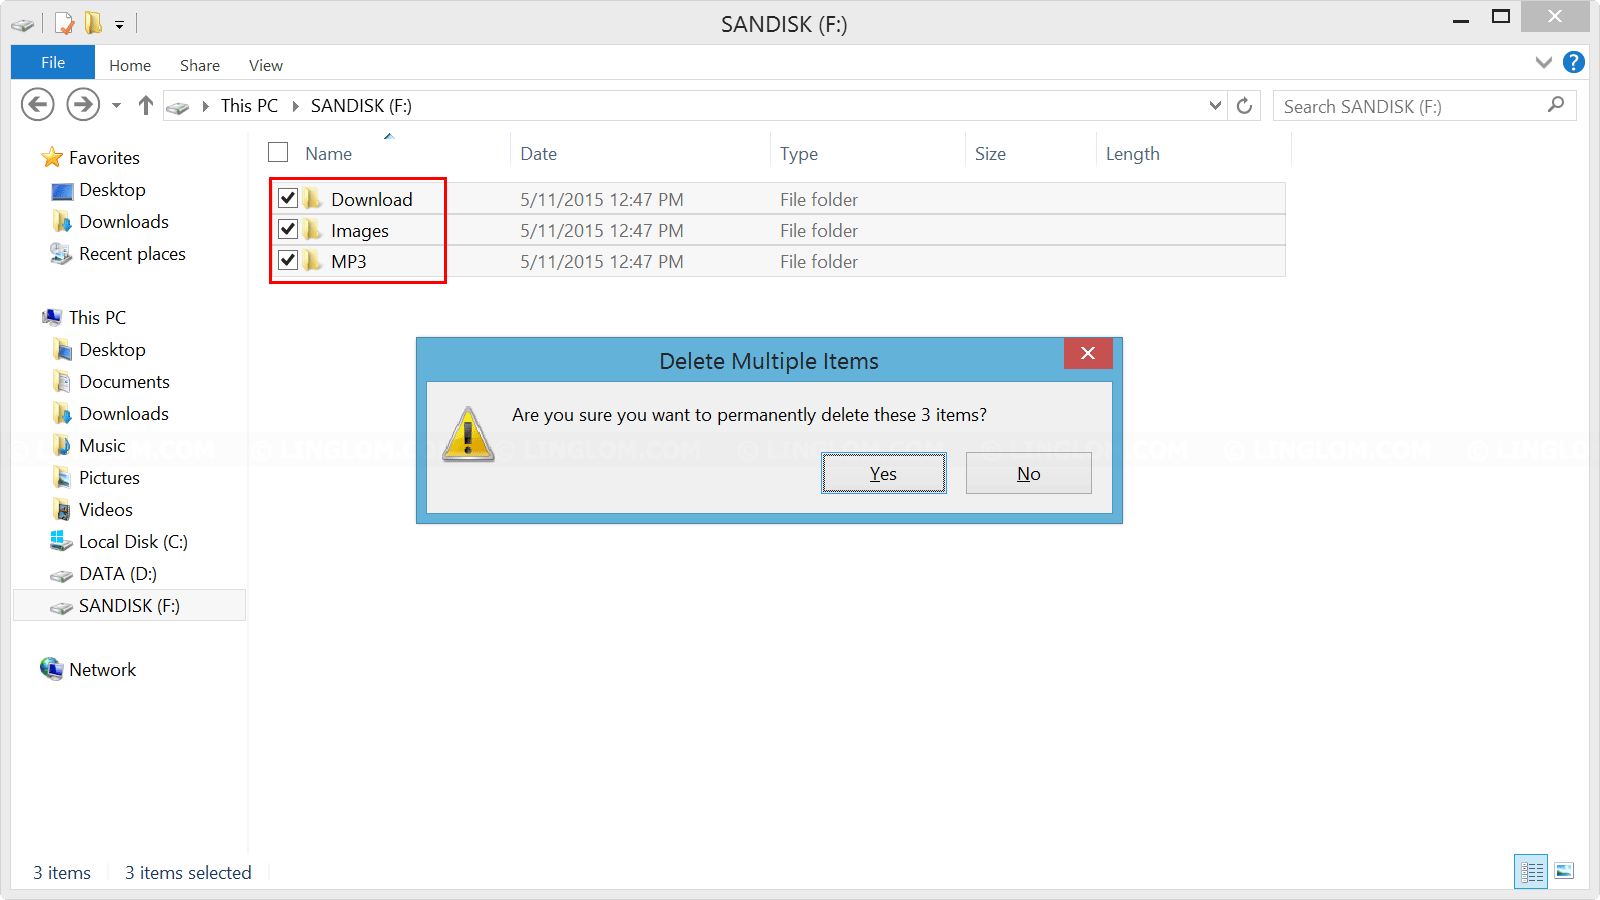
- I will delete my files on the flash drive as example.
- Download and run Recuva from https://www.piriform.com/recuva.
On the welcome page, click Next.

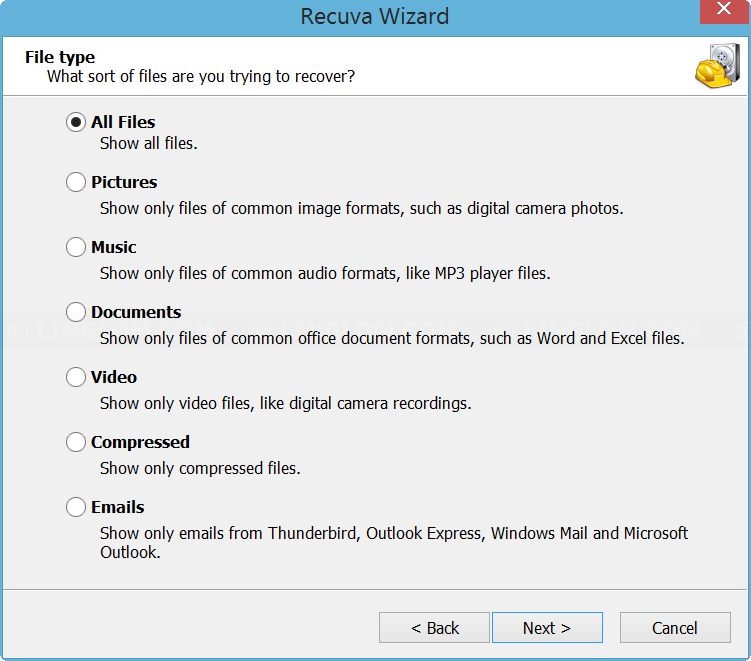
- Select specific file type that will be recovered. If you don’t know or you want to recover multiple file formats, select All Files.
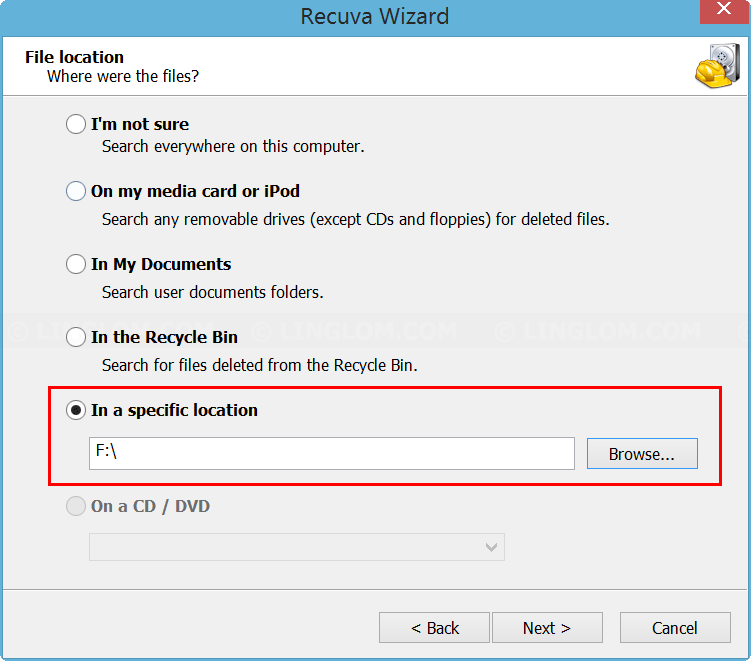
- On File location, specify where do you want to scan for the lost files. It will reduce
scanning time if you narrow down to specific disk or folder. In this example, I select
In a specific location and click Browse to select my USB drive.
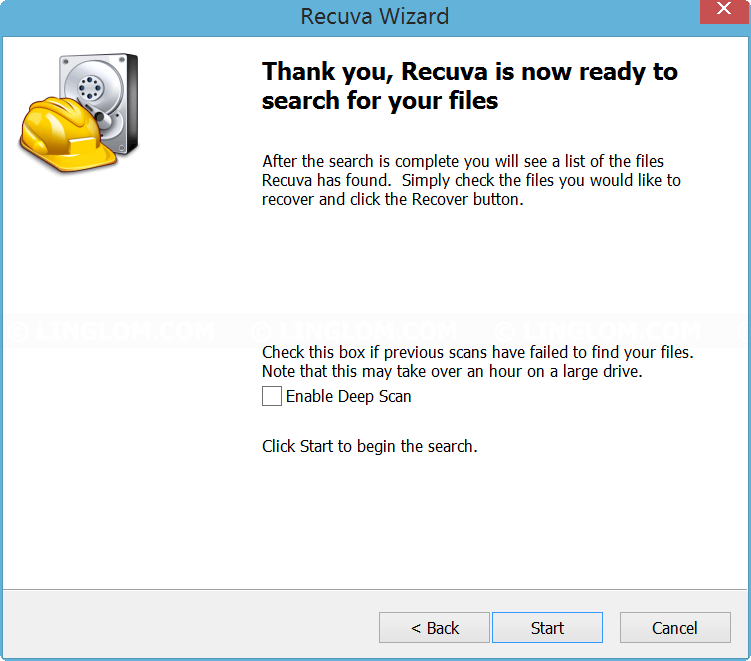
- Click Start to begin normal scan.
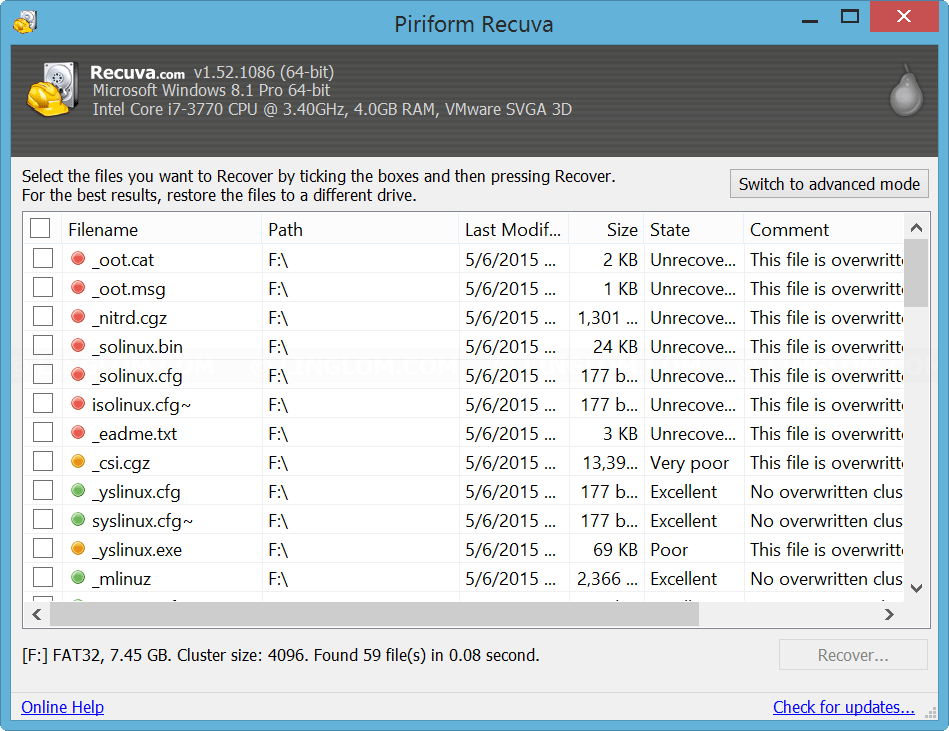
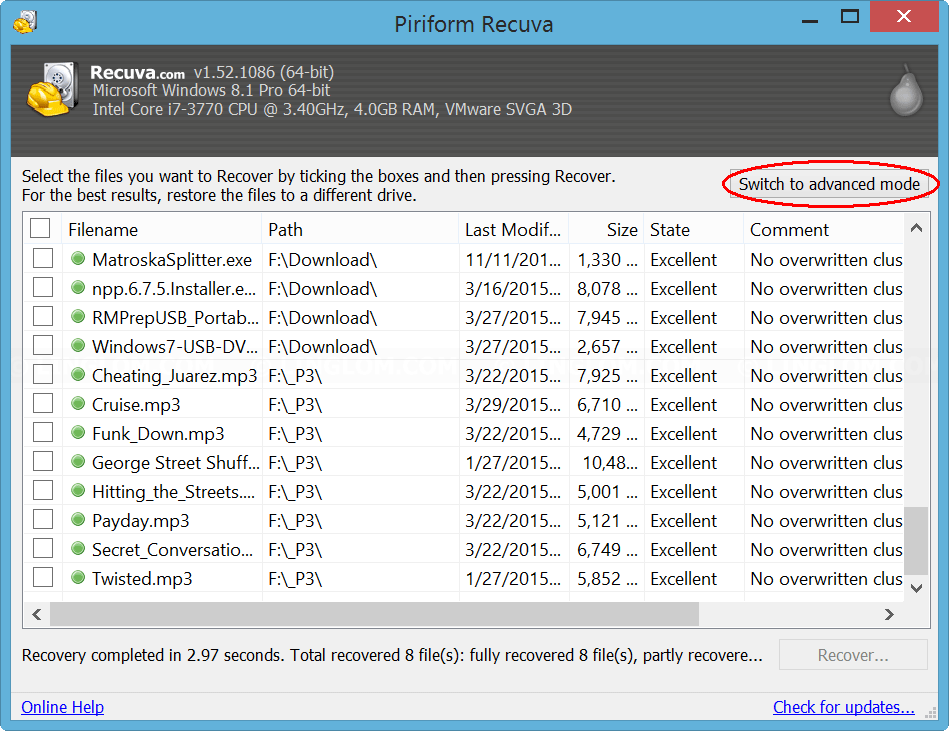
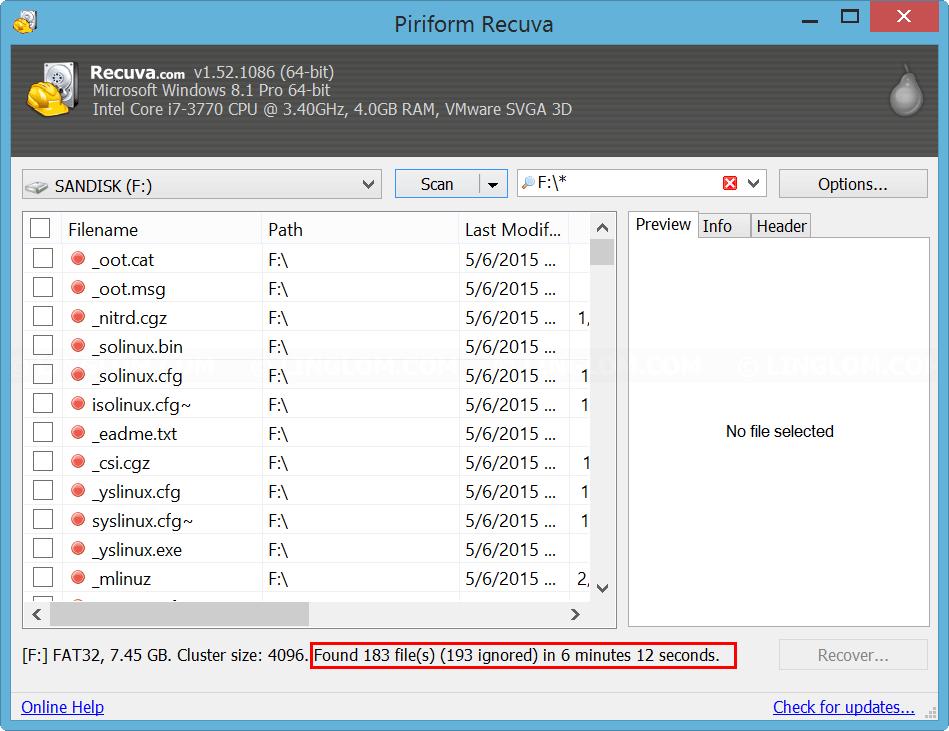
- When the scanning finishes, it shows files which you can select to recover. You can see file condition on colored-icon in front of each files and the state column.
- Green icon means file is in excellent condition and recovery is likely success.
- Yellow icon means a possible data loss on the file. You can recover the file, but it may be incomplete, or corrupted.
- Red icon means the file is unrecoverable. And it shows reason in comment column, usually tell that the file is overwritten by some other file.
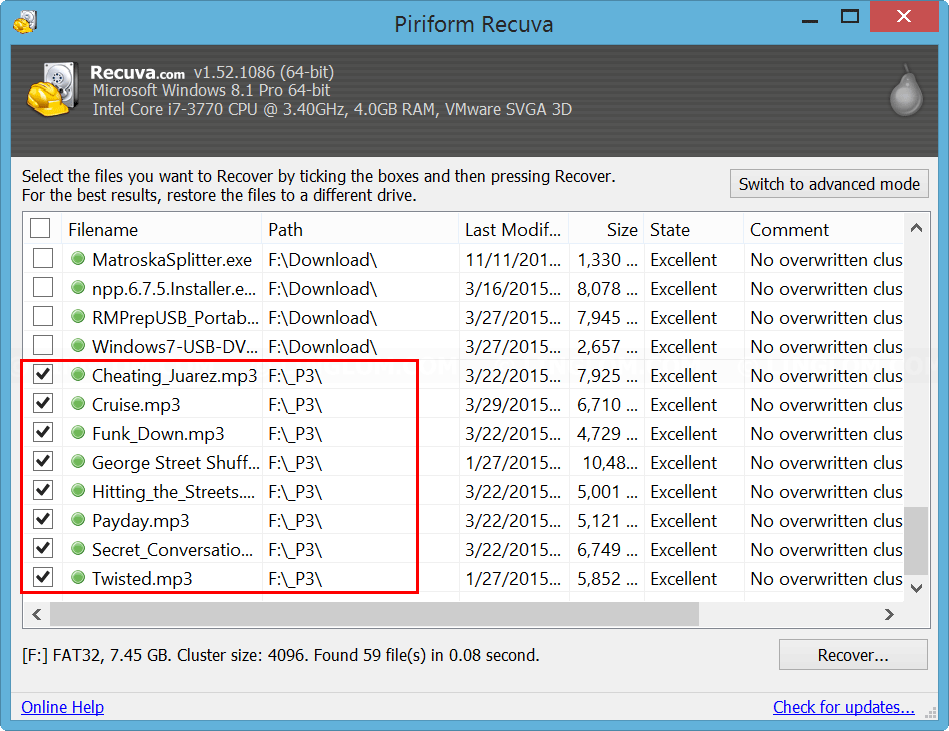
- To recover files, check a box in front of file that you want.
Note: You can check the box at column header if you want to recover all files in this window.
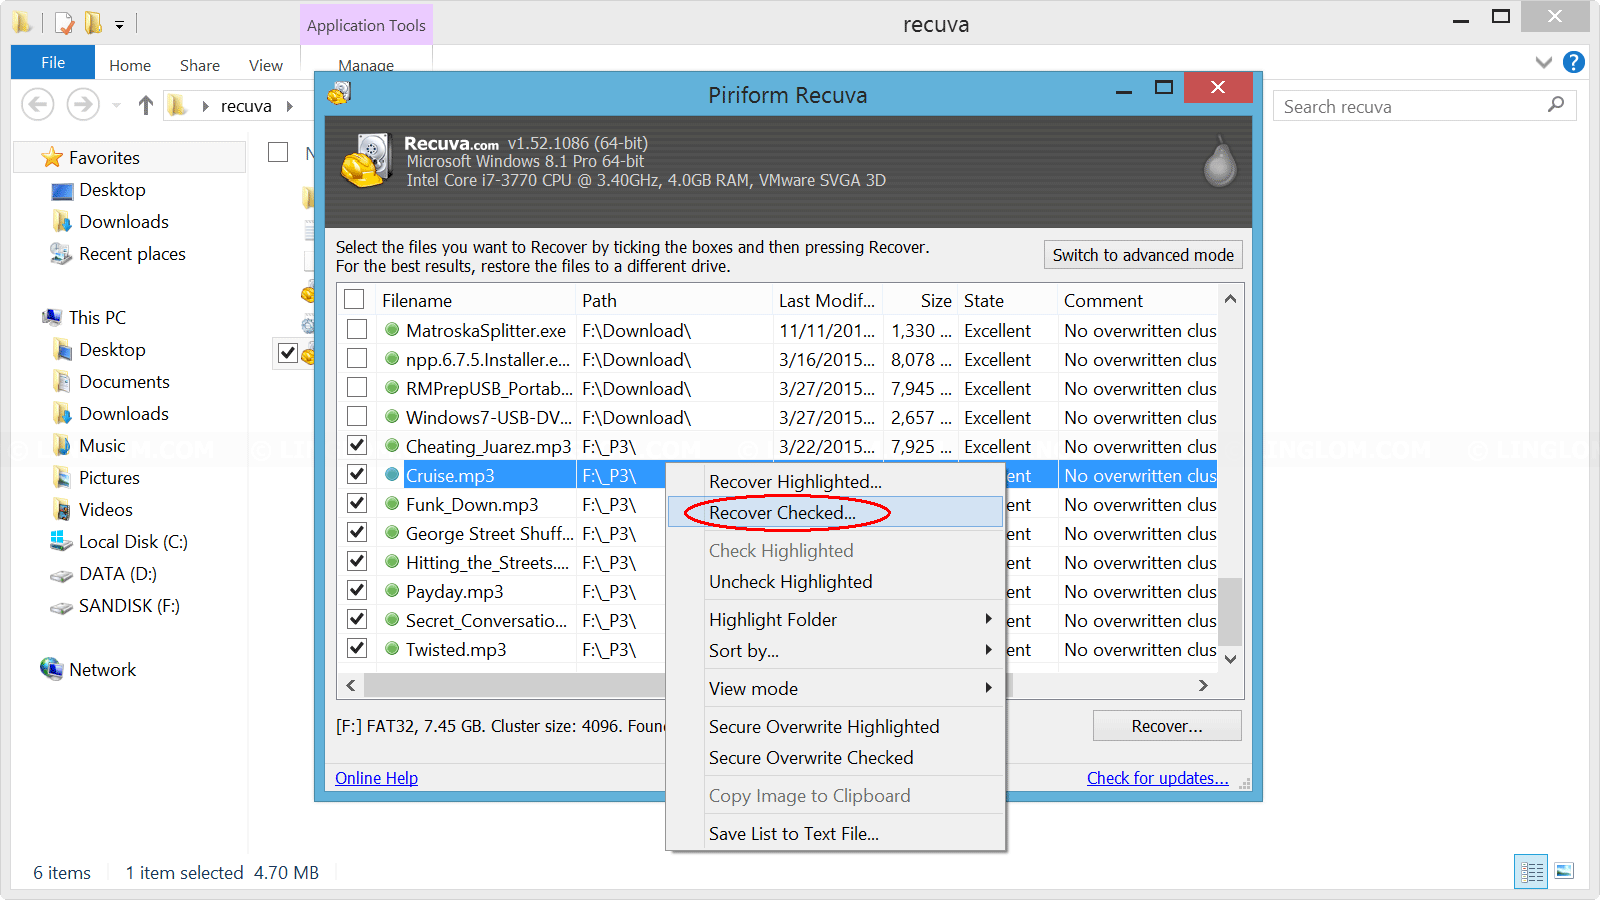
- Right-click on any file and select Recover Checked to recover all checked files.
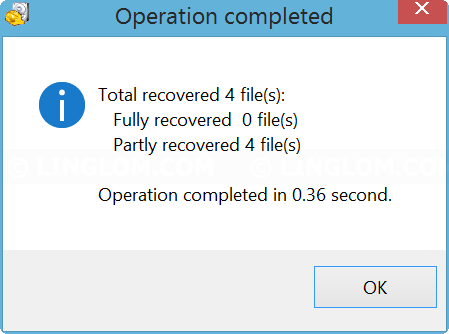
- Select which folder where you want to save the files and click OK.
Note: I recommended to save files to other disk to prevent any chance that these files overwrite data that being recovered. - Then, it shows recovery result.
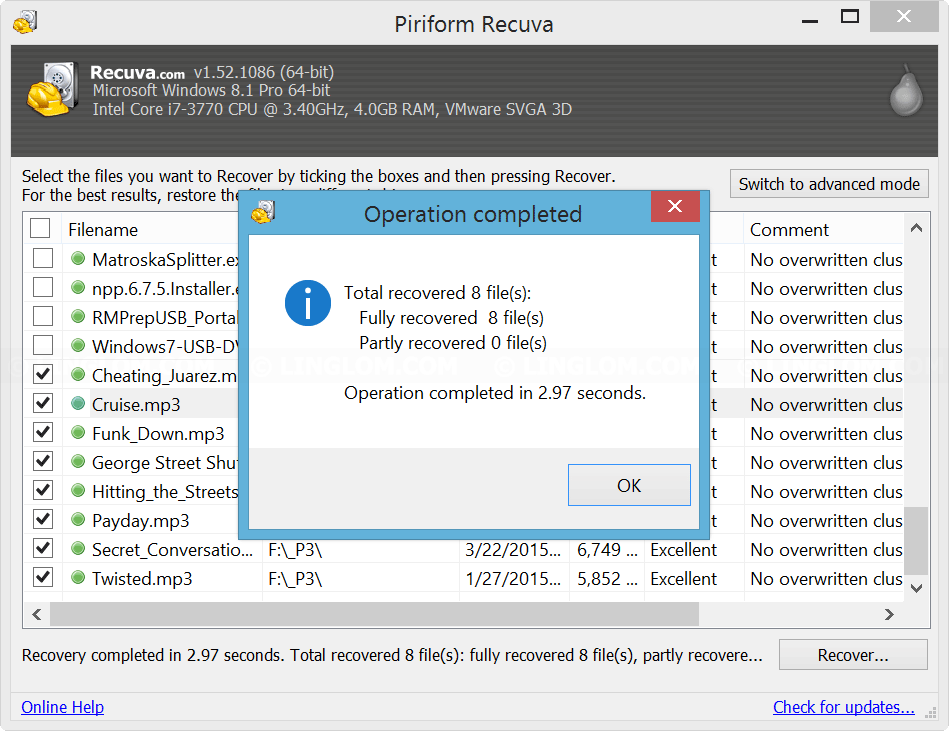
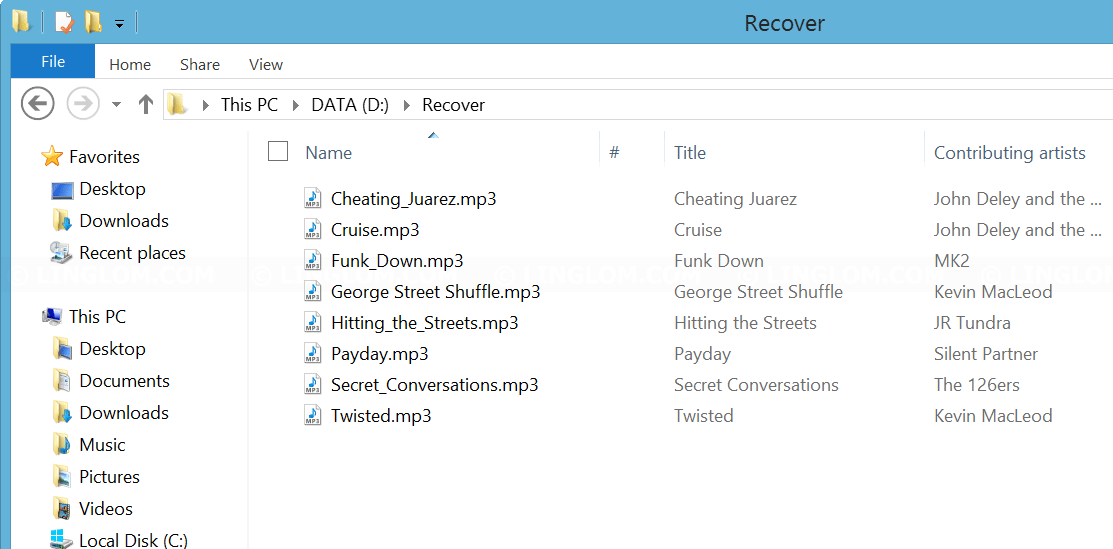
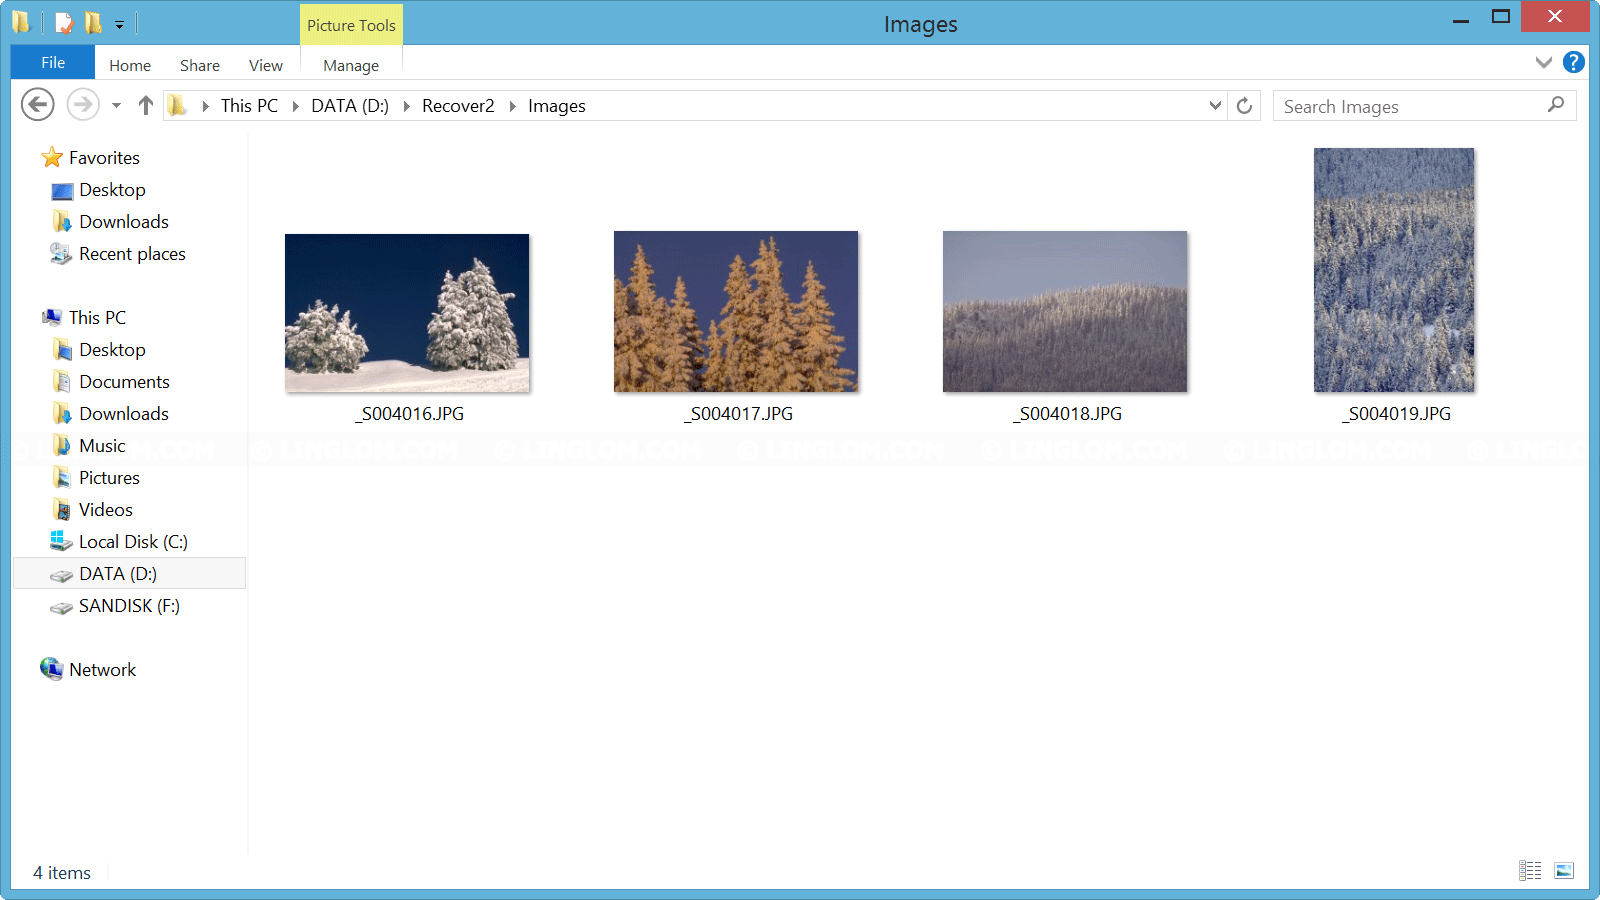
- Here are the recovered files.
- If you cannot find files with normal scanning, you can try with deep scan which will take time to scan, but it will find more files as well. Back to Recuva, click Switch to advanced mode.
- Next, click Options.
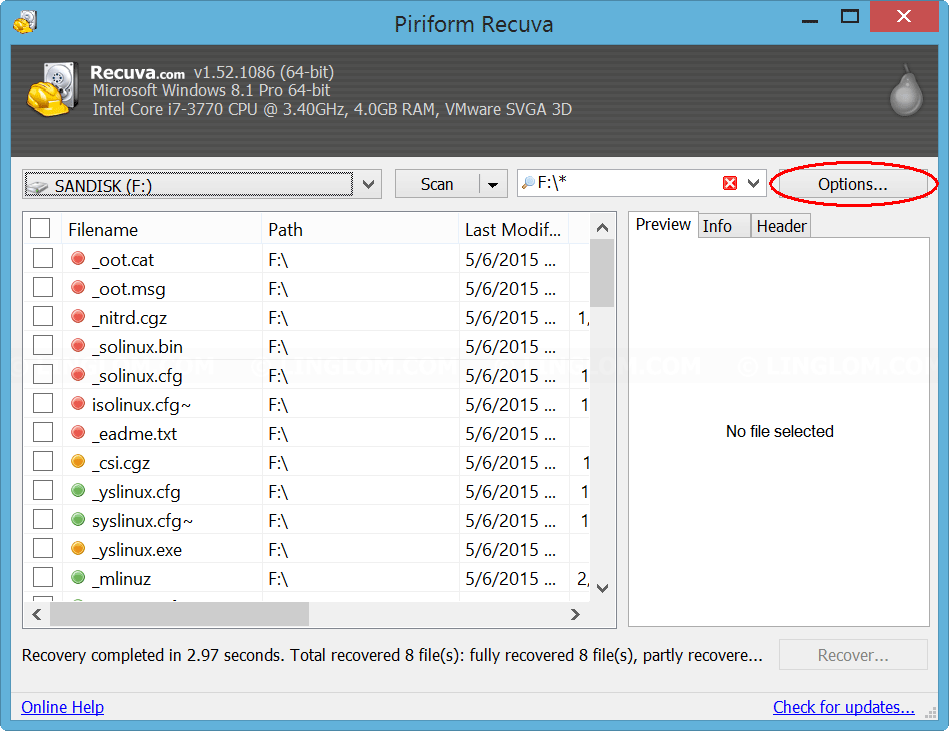
- On Options,
- Select Actions tab.
- Check the option Deep Scan (increase scan time).
- If you want to recover folder structure, you can check Restore folder structure.
- Click OK.

- Click Scan to begin.
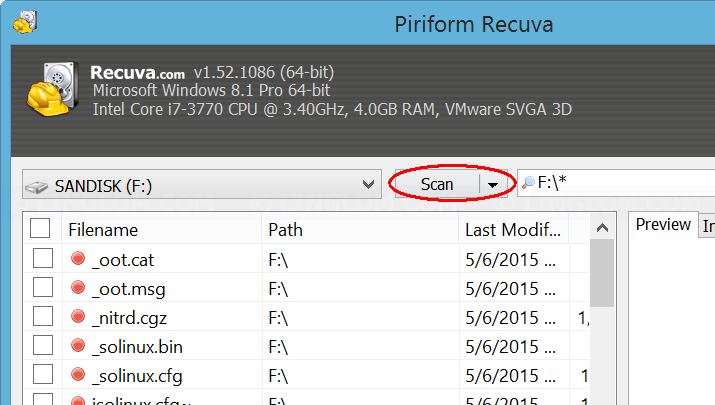
- You notice that there are many more files found with deep scan.
- I will recover some files as example. The steps are the same as earlier.

- It shows recovery result.
- Here are the recovered files.
If you still cannot recover files, you could try other recovery software, or send the disk to a professional lab for recovery.
can i recover the red tick one?