- Getting Started with Forefront Threat Management Gateway 2010, Part 1: Introduction
- Getting Started with Forefront Threat Management Gateway 2010, Part 2: Planning
- Getting Started with Forefront Threat Management Gateway 2010, Part 3: Prepare Your Server
- Getting Started with Forefront Threat Management Gateway 2010, Part 4: Sample Deployment Scenarios
- Getting Started with Forefront Threat Management Gateway 2010, Part 5: Installation
- Getting Started with Forefront Threat Management Gateway 2010, Part 6: Configuration Wizard
- Getting Started with Forefront Threat Management Gateway 2010, Part 7: Web Access Wizard
Configuration Wizard
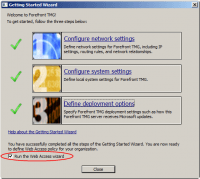
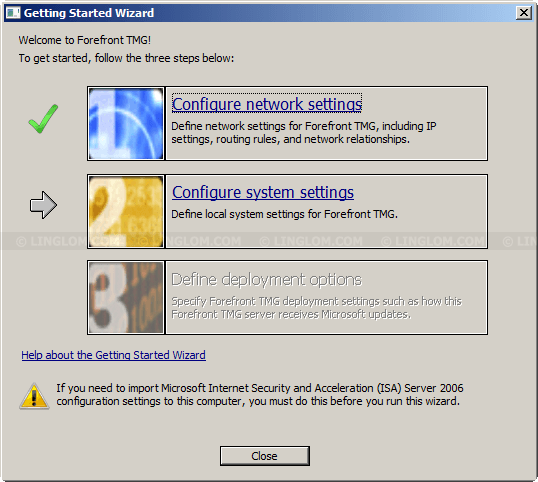
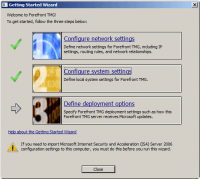
The first time that you run Forefront Management, you see Getting Started Wizard which guides you through basic configuration on Forefront TMG 2010. There are 3 main step as follows:
- Configure Network Settings
- Configure System Settings
- Define Deployment Options
Once you configured Forefront TMG 2010 using the Getting Started Wizard, you will be able to define web access policy which will show in the next following part.
Step-by-step
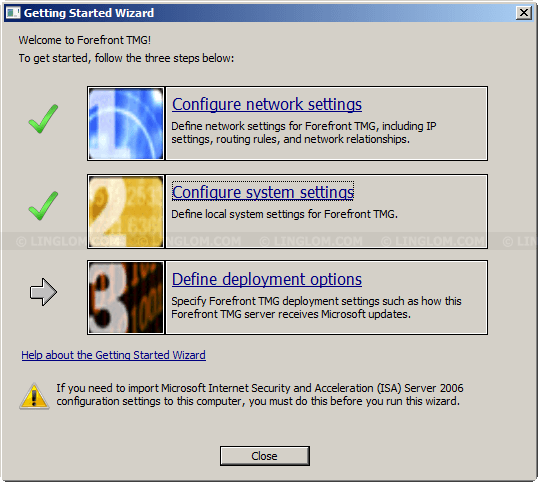
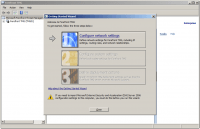
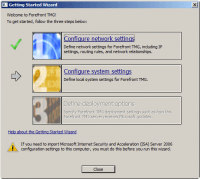
- On the first page of Getting Started Wizard, click Configure Network Settings to begin the first step.
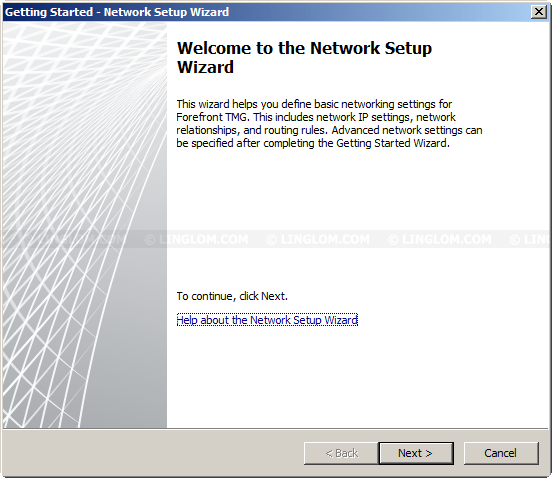
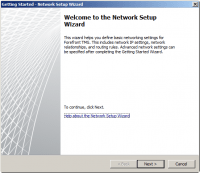
- On Welcome to the Network Setup Wizard, click Next.
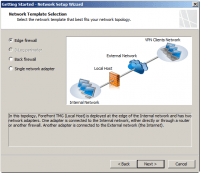
Then on Network Template Selection, select the network template that best fits Forefront TMG 2010 in your network topology. The “Local Host” in network template diagram below refers to the Forefront TMG 2010 server.
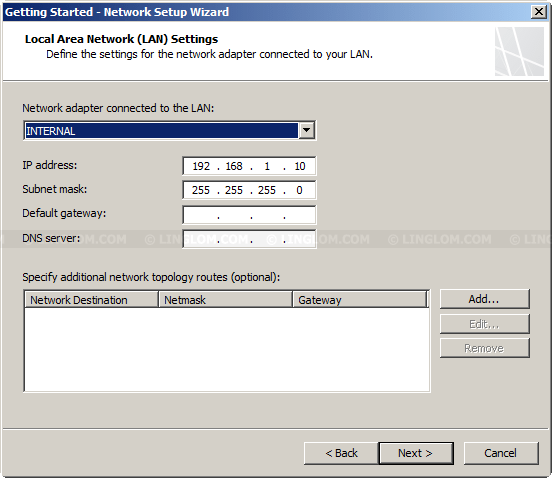
- On Local Area Network (LAN) Settings, select network adapter that connect to your LAN (internal network). IP settings will be retrieved from the network interface automatically. In this example, you will see that all network interfaces are renamed meaningfully according to interfaces that they are connected to. Therefore, it is easier to select which adapter connects to LAN.
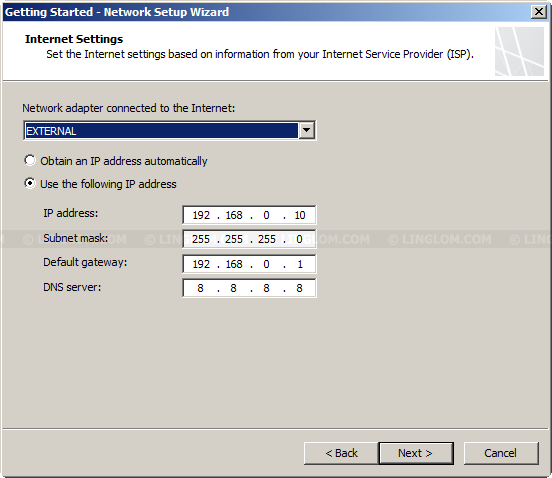
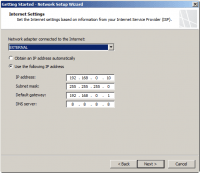
On Internet Settings, select network adapter that connect to the Internet.

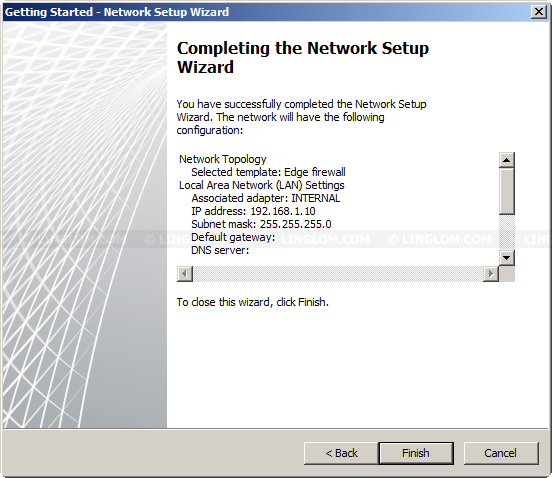
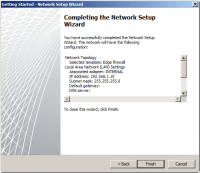
- On Completing the Network Setup Wizard, click Finish.
- You will be back on Getting Started Wizard page, click Configure System Settings to begin the second step.
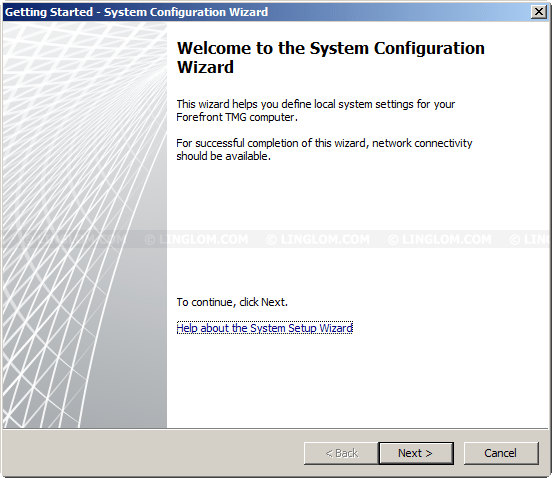
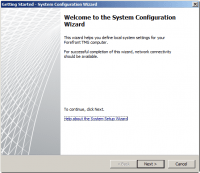
- On Welcome to the System Configuration Wizard, click Next.
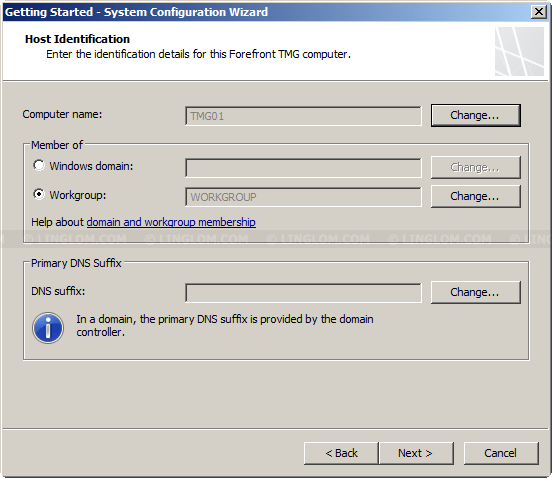
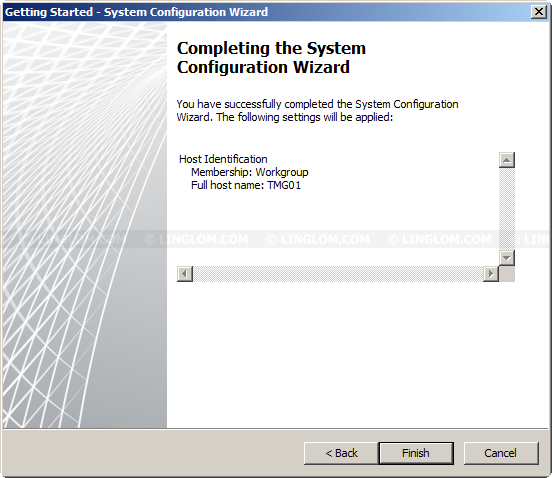
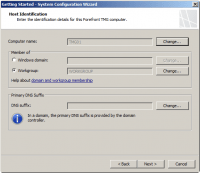
Then, on Host Identification, you can change identification details for the Forefront TMG server. Click Next to continue.
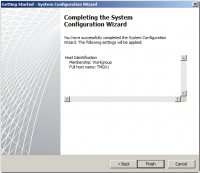
On Completing the System Configuration Wizard, click Finish.
- Now click Define Deployment Options to begin the third step.
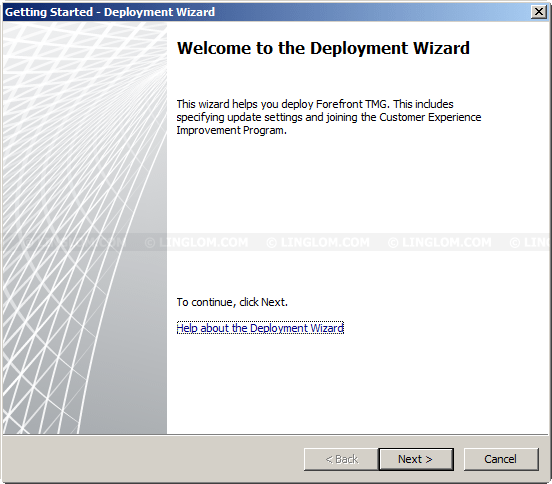
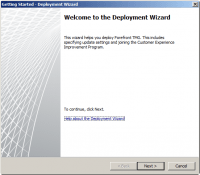
- On Welcome to the Deployment Wizard, click Next.
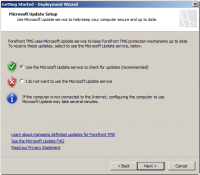
- On Microsoft Update Setup, select whether to let Forefront TMG 2010 update from Microsoft Update. It is recommend to use Microsoft Update so select Use the Microsoft Update services to check for update. Click Next to continue.
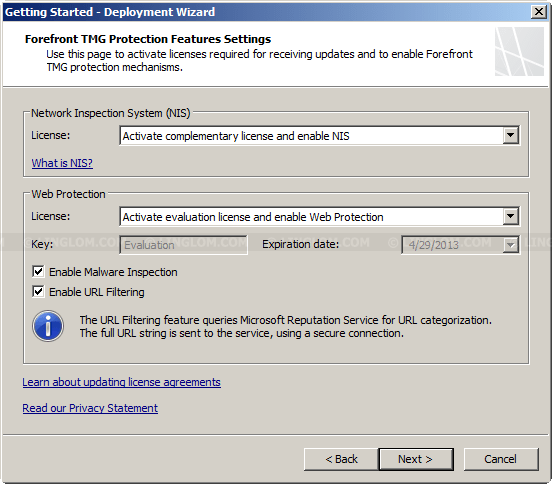
- On Forefront TMG Protection Features Settings, you can configure the Network Inspection System, which is the signature-based part of Forefront TMG Intrusion Prevention System. To enable NIS, select Activate complimentary license and enable NIS on the license for NIS.
Note: The NIS is based on the Generic Application Protocol Analyzer (GAPA), which can intercept packets and evaluate whether they contain potential threats. It is focused primarily on preventing known exploits in Microsoft products. It uses signatures of known vulnerabilities from the Microsoft Malware Protection Center.For Web Protection, you can configure about Web Protection Services (WPS). There are 3 options which you can select:
- Activate evaluation license and enable Web Protection. Select this option if you want to try WPS as evaluation for 120 days. You should tick Enable Malware Inspection and Enable URL Filtering boxes to enable those features also. When the evaluation license is expired, you cannot use URL Filtering feature and Forefront TMG will no longer receiving Enhanced Malware Protection (EMP) updates nor is it issuing Microsoft Reputation Services (MRS) queries, but malware inspection will still work using existing signatures.
- Activate purchased license and enable Web Protection. If you have a valid license key, select this option and enter your license key.
- Disable Web Protection. Select this option to disable WPS.
Note: Web Protection Services (WPS) composed of URL Filtering, Malware Inspection, Network Inspection System, Outbound SSL Inspection. Its license must be purchased separately from Forefront TMG 2010.

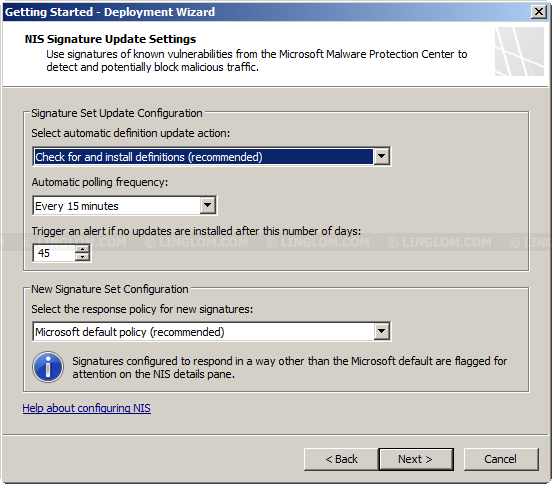
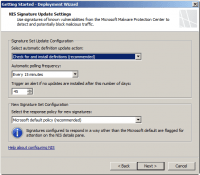
- On NIS Signature Update Settings, you can customize settings for NIS signature update. You can leave all settings as default. Click Next to continue.
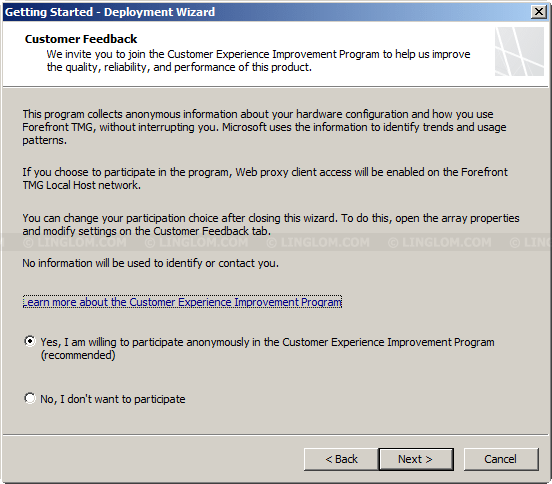
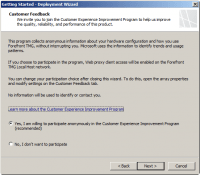
- On Customer Feedback, select whether you want to join Customer Experience Improvement Program by sending some information to Microsoft. Click Next to continue.
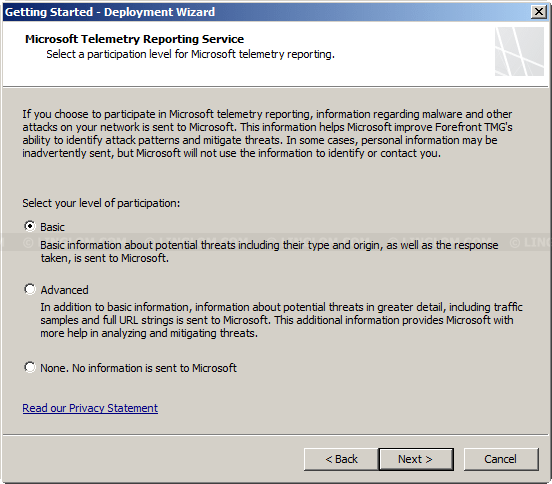
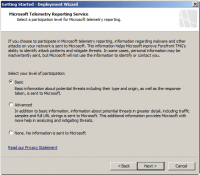
Then, on Microsoft Telemetry Reporting Services, select whether you want to participate in Microsoft telemetry and click Next to continue.
- On Completing the Deployment Wizard, click Finish.
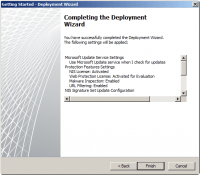
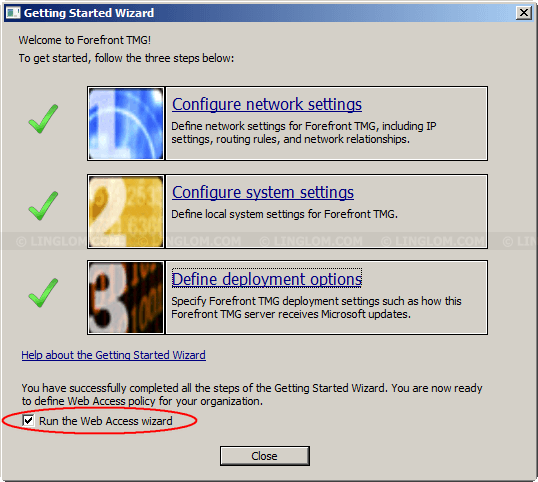
- Now you have completed 3 steps and, hence, have finished basic configuration on Forefront TMG 2010. Tick Run the Web Access Wizard below to start wizard for configure web access policy after the Close button is clicked, see the next part to continue.