If you want to use a new font that isn’t available on your system, you have to install it first. This article shows how to install a new font on Windows 10.
Note: The steps are similar for Windows 7/8.
Watch on YouTube
Section
Step-by-step
Install font
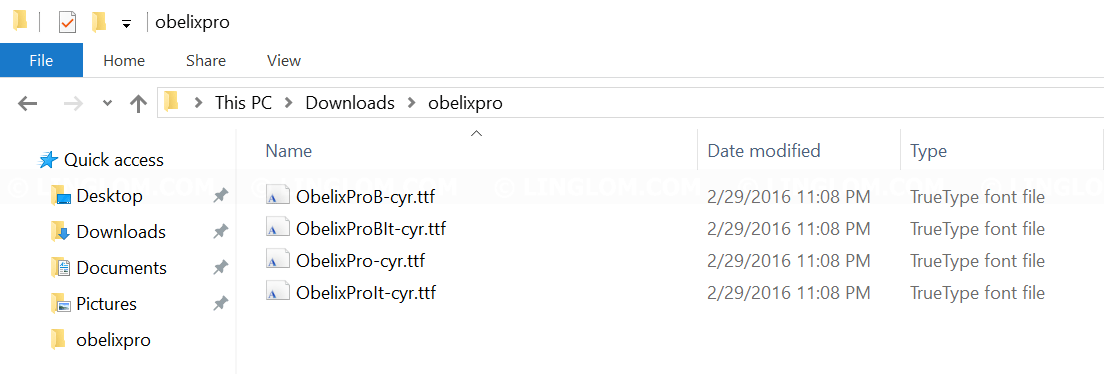
- Download the new font. Usually, it comes in zip format so you have to extract it. Then, you will get TTF files which can be used to install on the system.
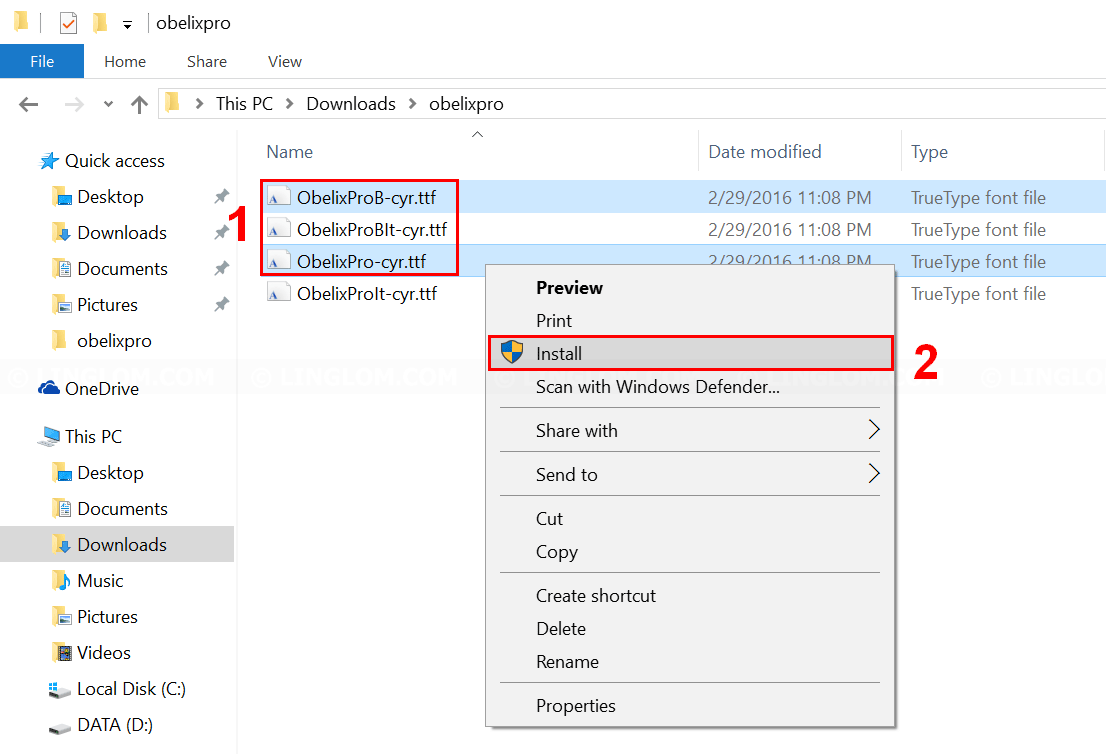
- Select font that you want to install. Right-click on these files and select Install.
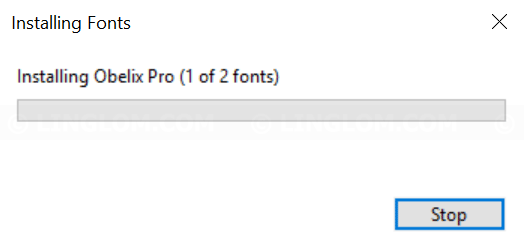
- Installing fonts.
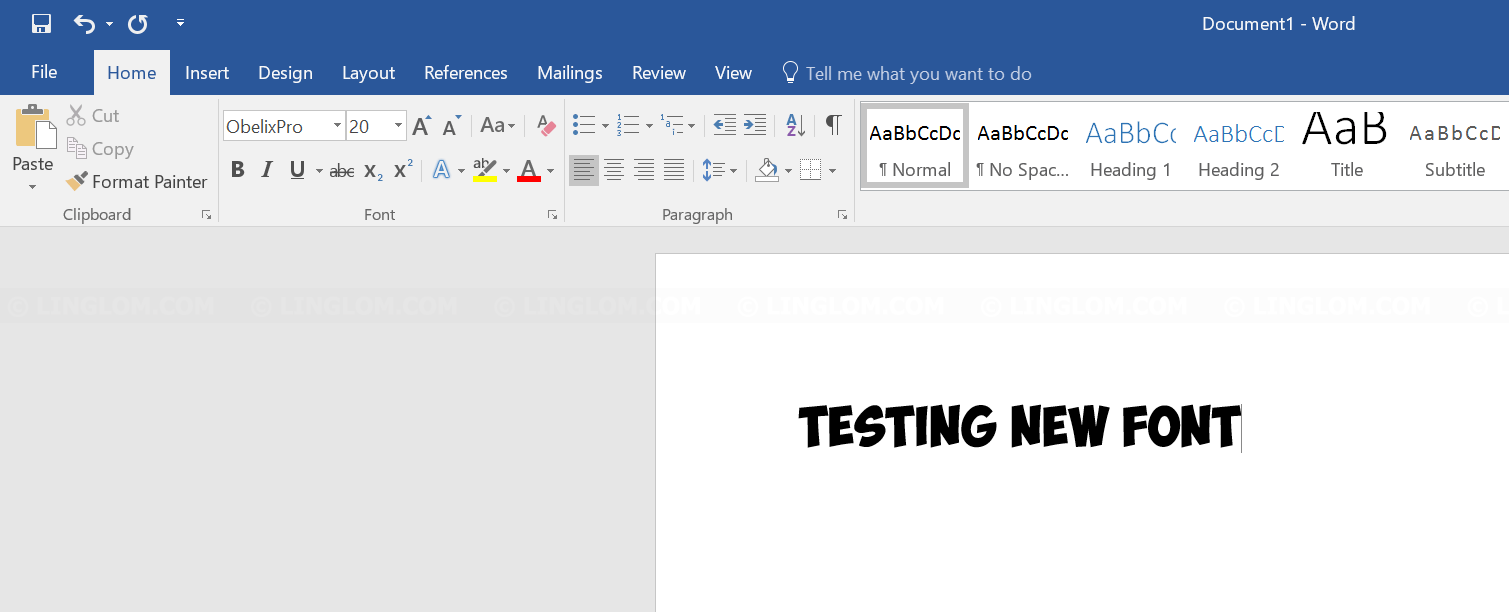
- Open program and test the new font.
Note: You may have to close the program and re-open it again if you don’t see the new font.
Install font from Fonts window
If the first method doesn’t work, you can try this method.
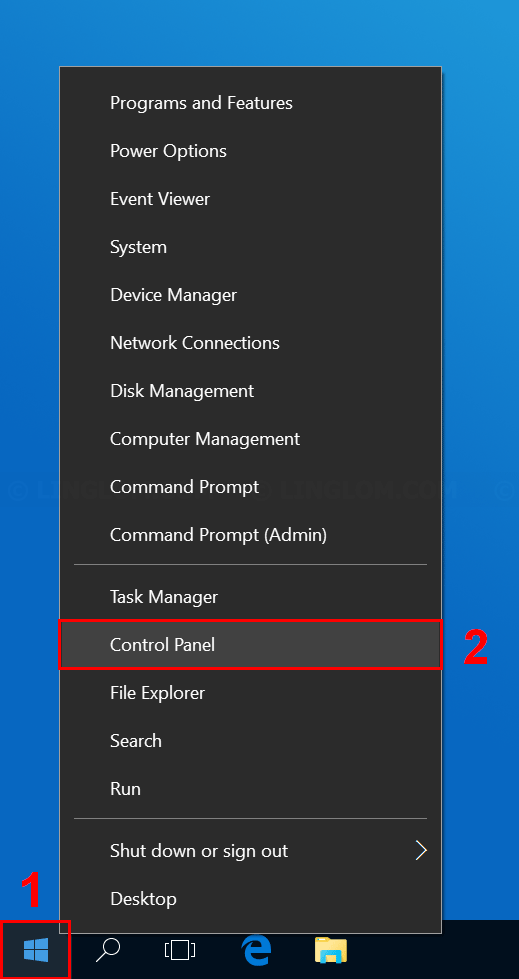
- Open Control Panel by right-click Windows icon at bottom left and select Control Panel.
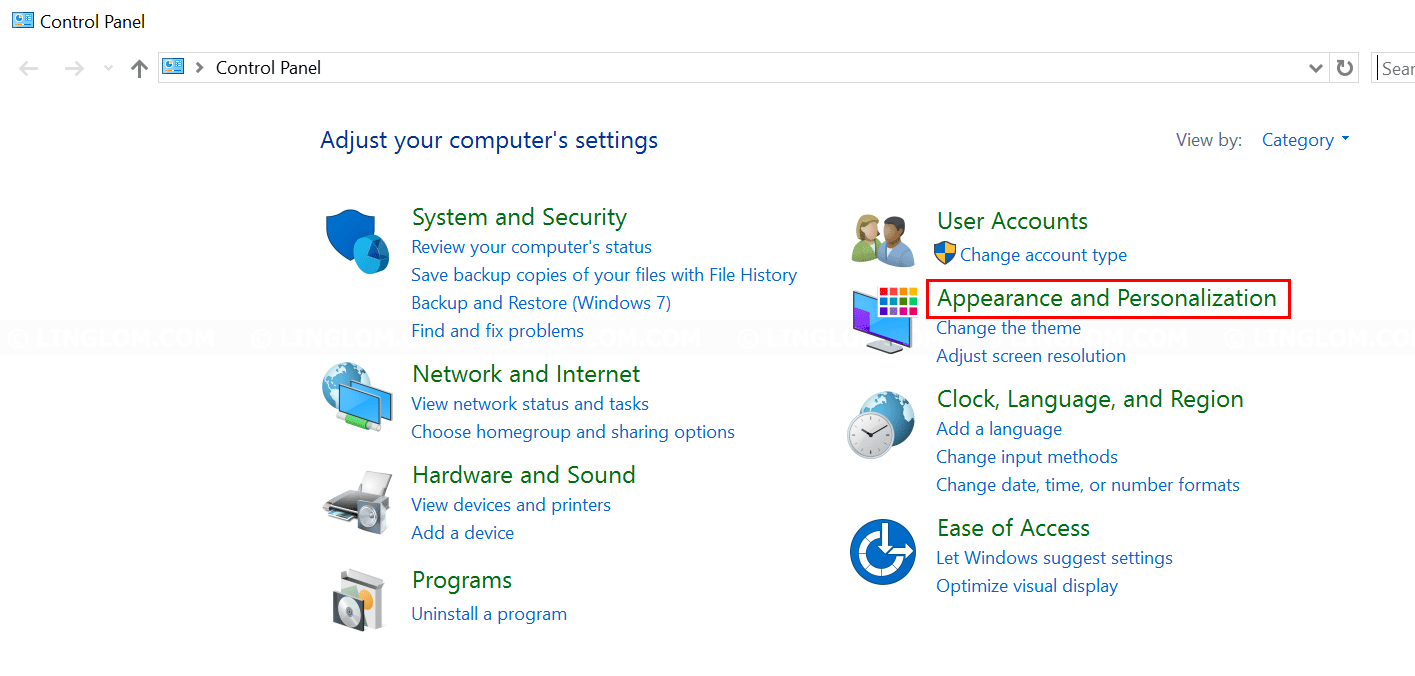
- Select Appearance and Personalization.
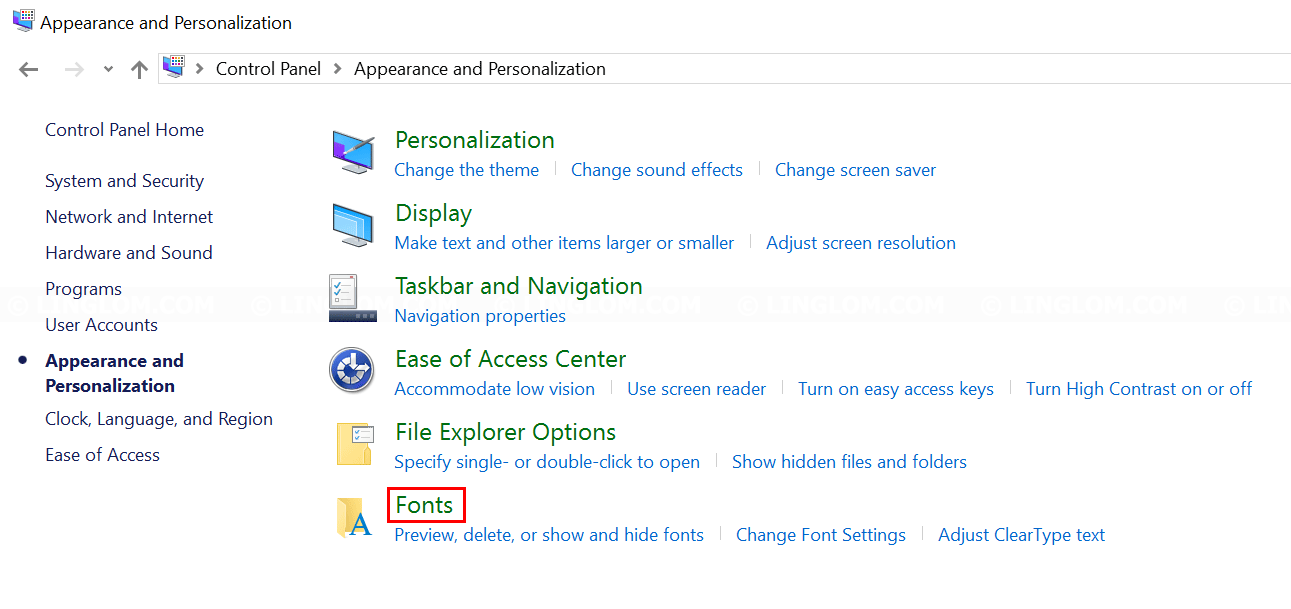
- Select Fonts.
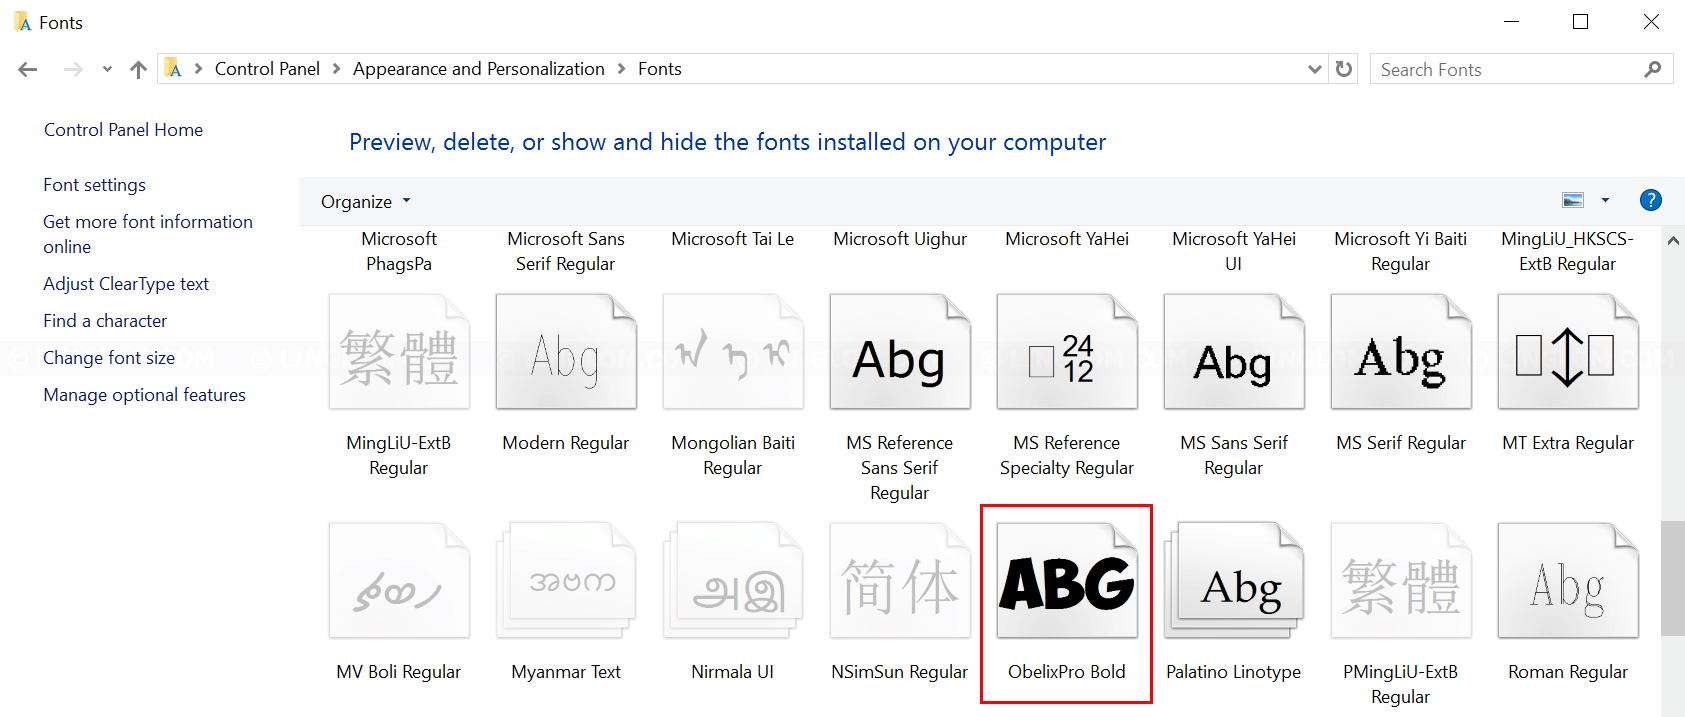
- Here you see fonts on your Windows system. To install a new font, drag the TTF files that you’ve just extracted to the Fonts window.
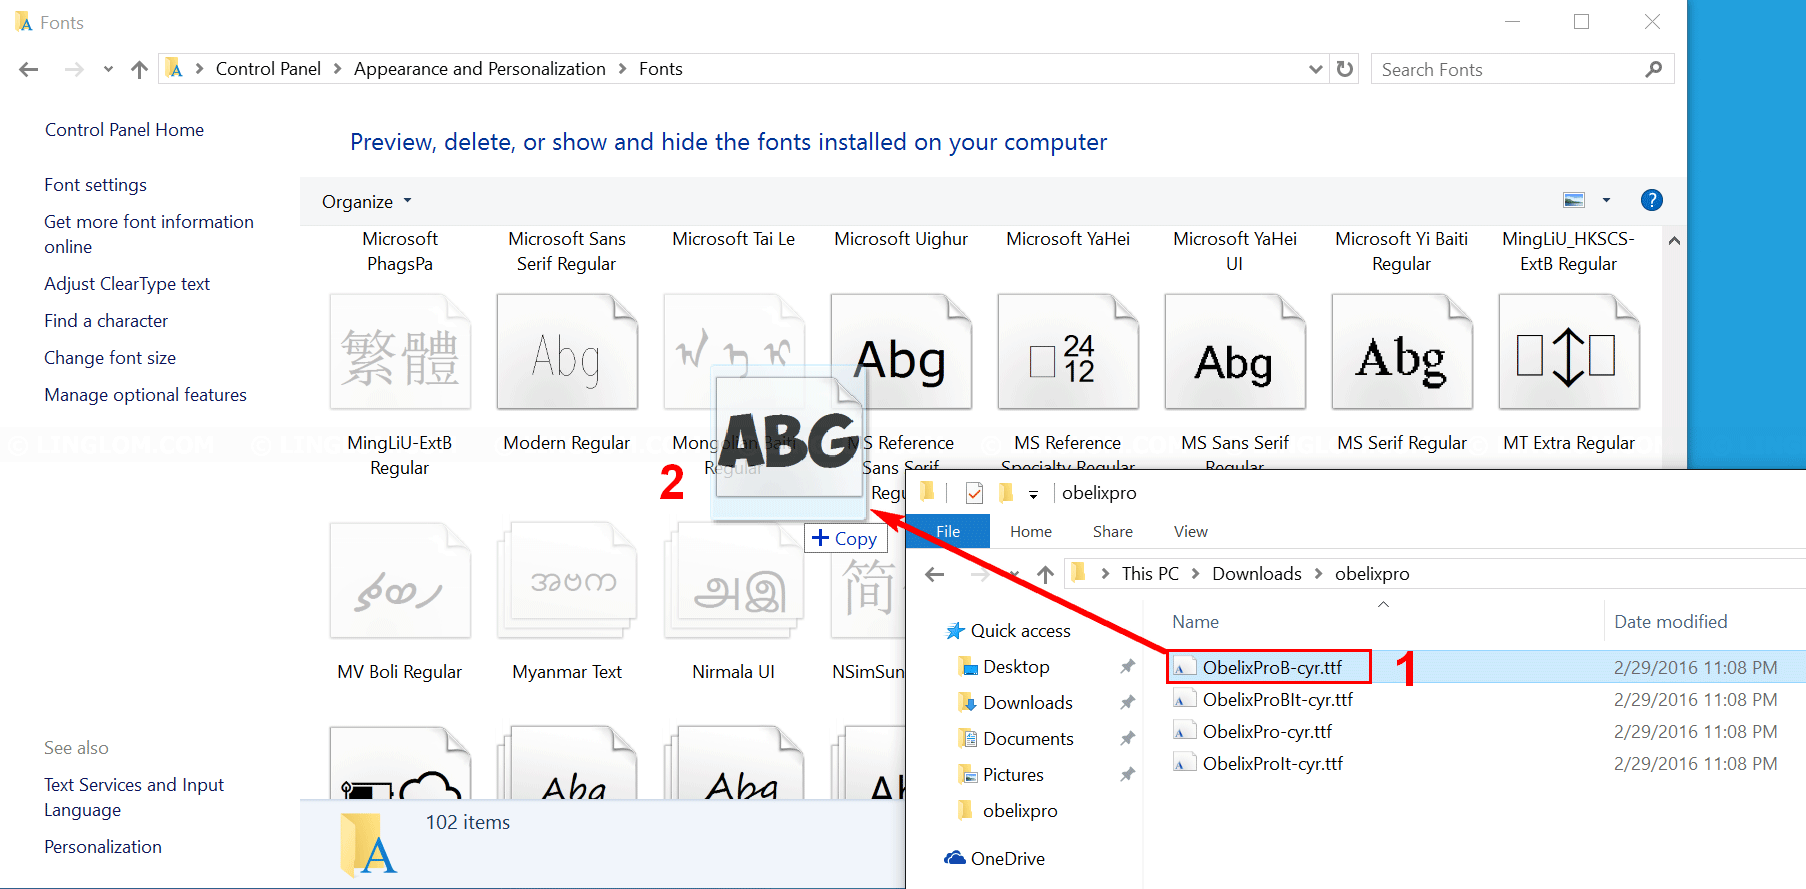
- New font is installed on the system.
Remove font
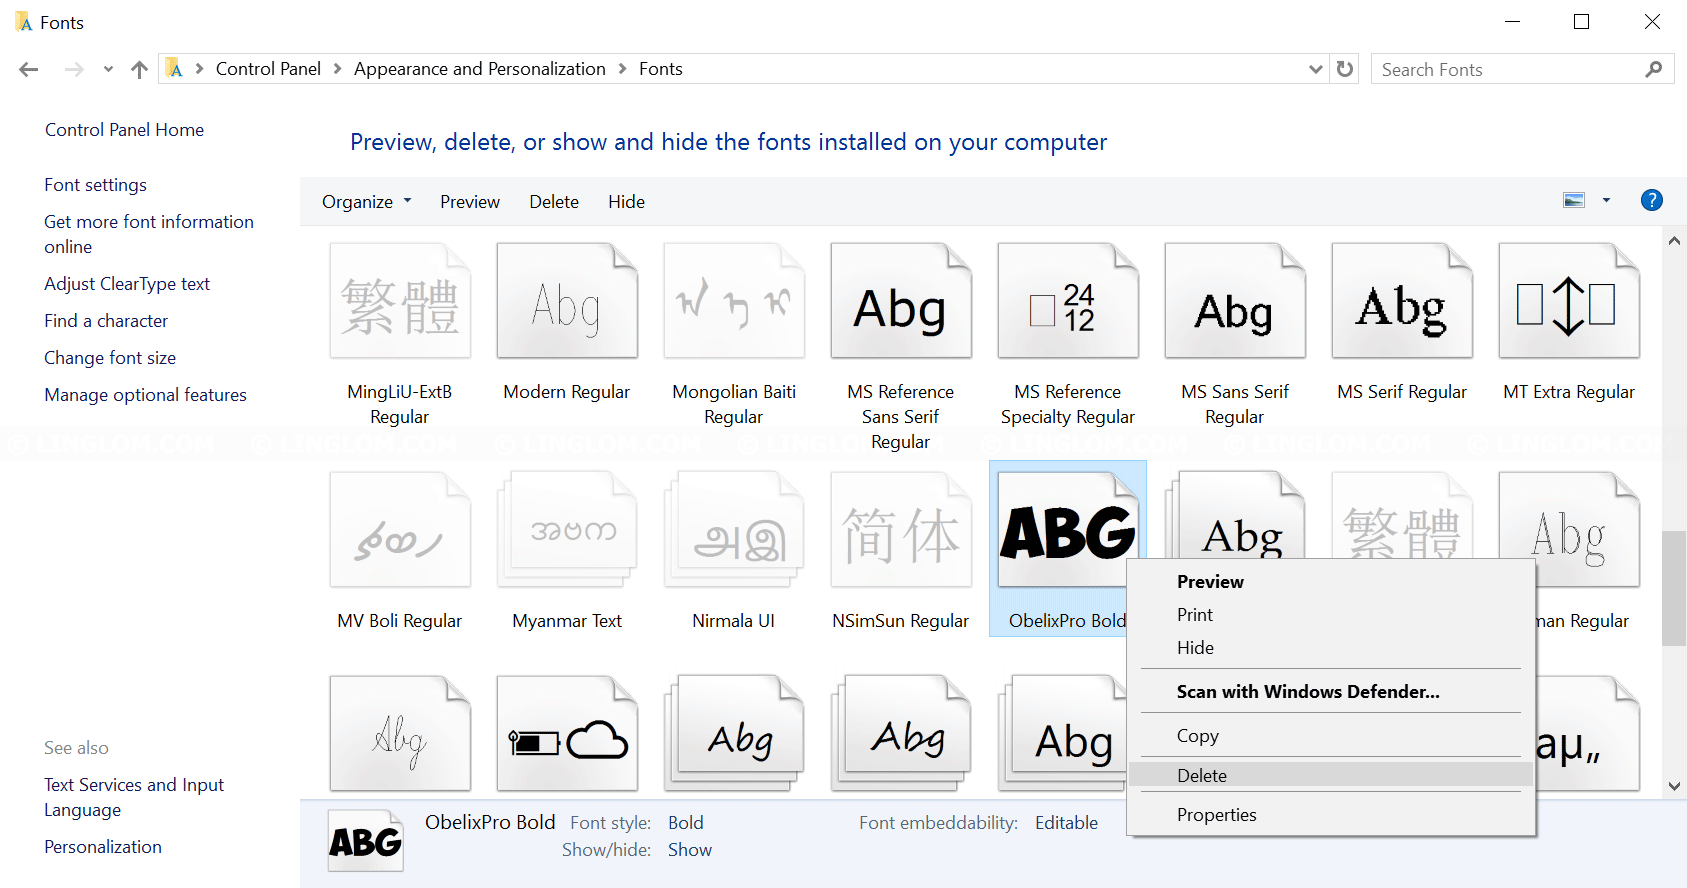
- Open Fonts window in Control Panel.
- Right-click on the font that you want to remove and select Delete.
Note: You shouldn’t delete fonts that are used by Windows as it may cause problem on the system.
- Click Yes to confirm.