In this article, I will show how to backup Windows system to an image file and how to restore system from an image file. I divide into 3 parts as following:
- Download, Install Macrium Reflect Free, and create a recovery drive
- Backup Windows system to an image file
- Restore Windows from an image file
Watch on YouTube
Step-by-step
Download, Install Macrium Reflect Free, and create a recovery drive
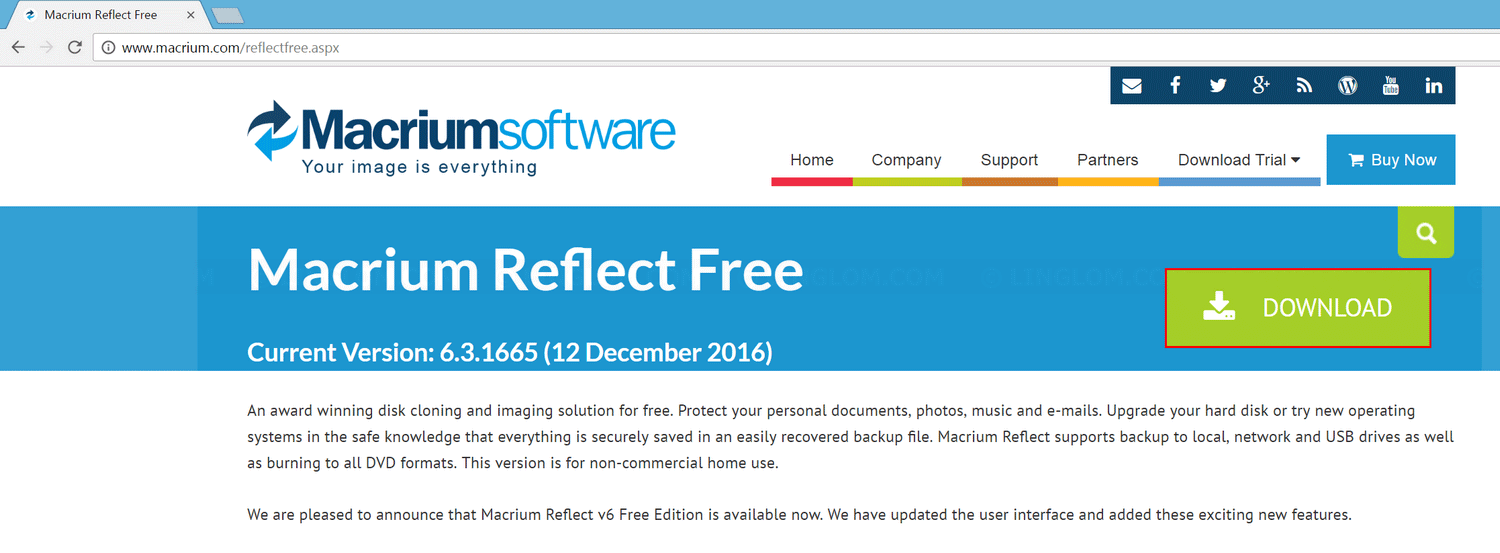
- Open web browser to http://www.macrium.com/reflectfree.aspx and download a setup file.
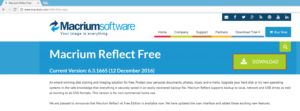
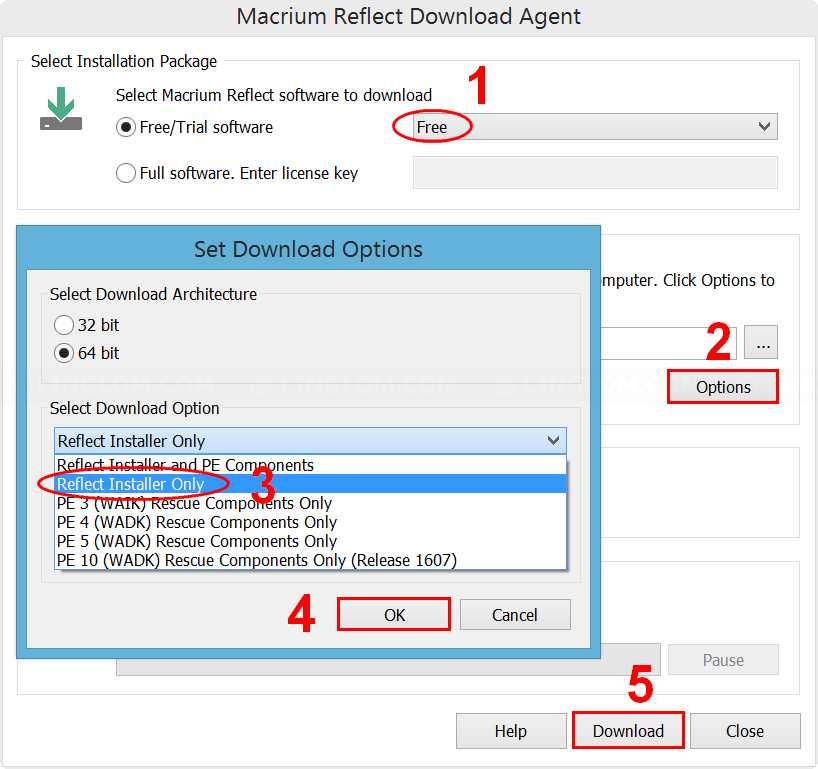
- Run the file. I will choose to download only the program and will download Windows PE later:
- Select Free version
- Click Options
- Select Reflect Installer Only
- Click OK
- Click Download

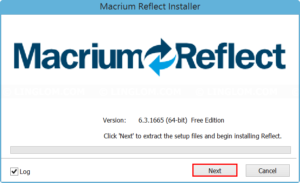
- Click Next and follow the setup wizard to install Macrium Reflect.
- After that, run Macrium Reflect. It will ask to create a rescue media which I recommend to create it if you have a blank DVD, or a flash drive.

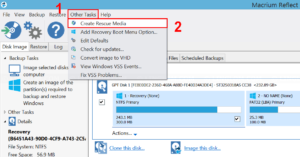
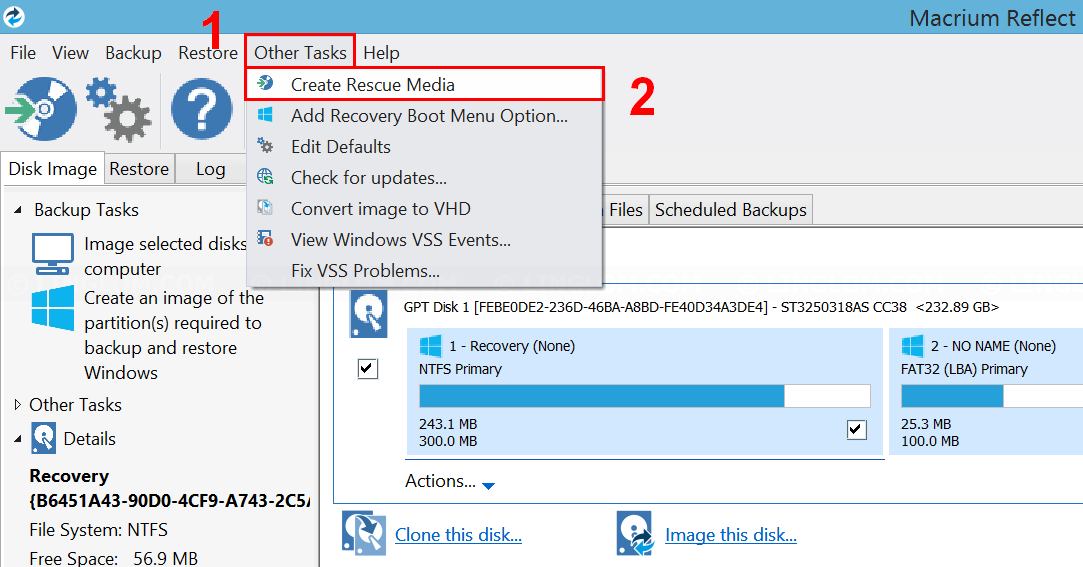
- If you want to create a rescue media later, you can select from the Other Tasks menu -> Create Rescue Media.
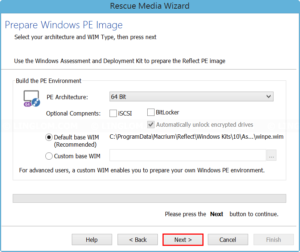
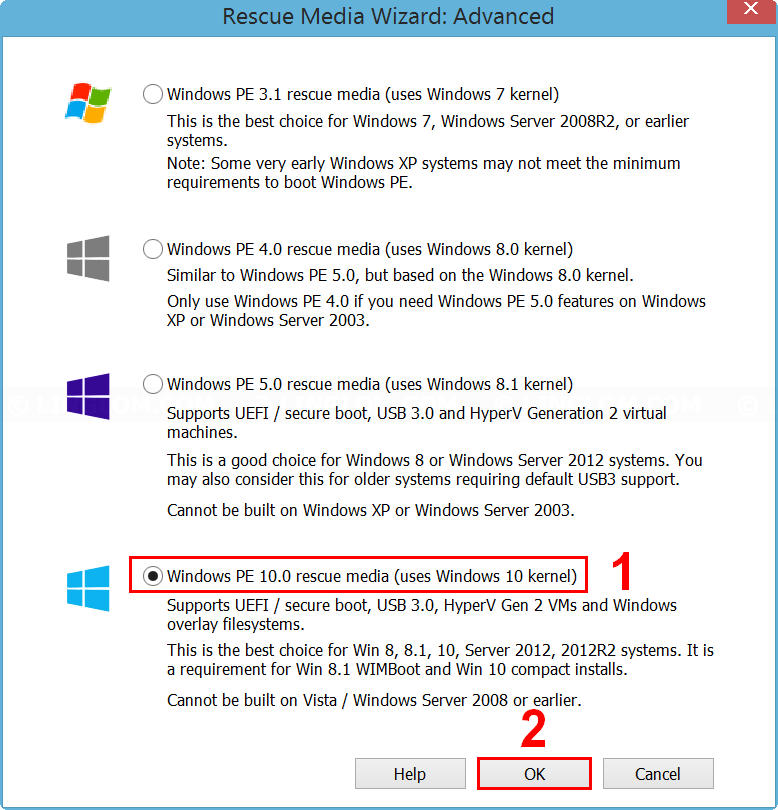
- Select Change PE version to change Windows PE version.
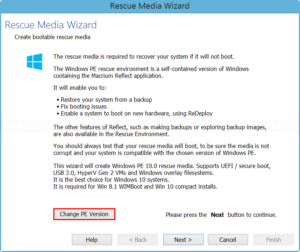
- In this example, I will use the latest version, Windows PE 10.0, click OK. And click Next.

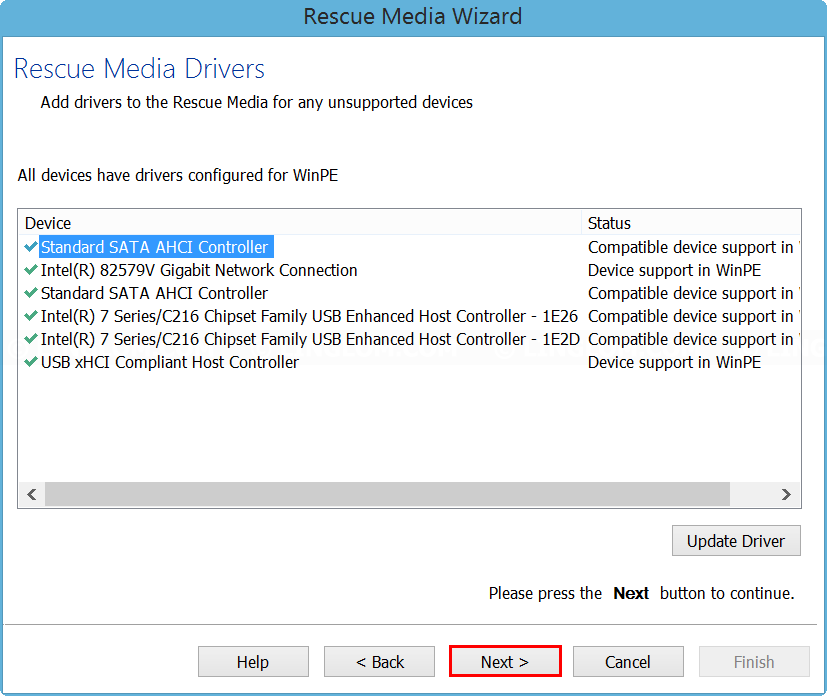
- On this window, you can add/update drivers to the rescue media. You can simply click Next to continue.

- Click Next again.
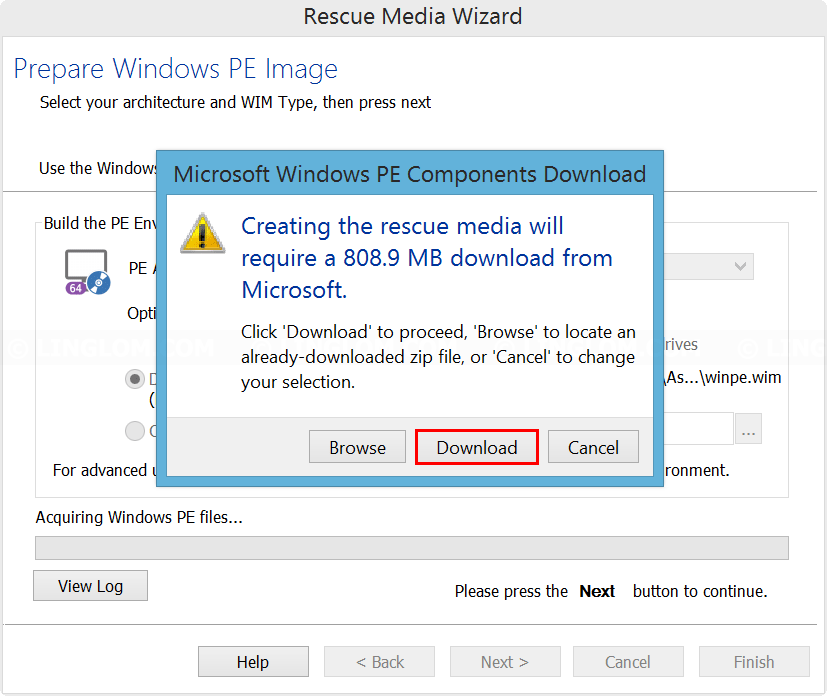
- You need to download Windows PE image, click Download.

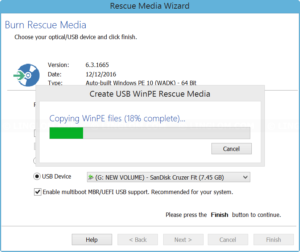
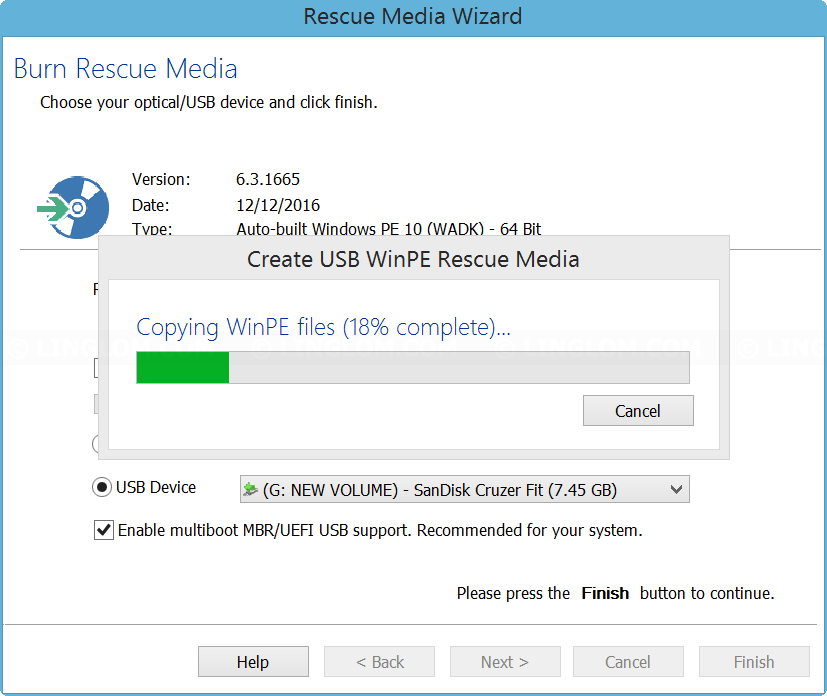
- When finishes, you can choose to burn it to a DVD, create it as an ISO image file or write to a USB flash drive. In this example, I choose to write to a flash drive and click Finish.

- It takes a few minutes to write files to the flash drive.
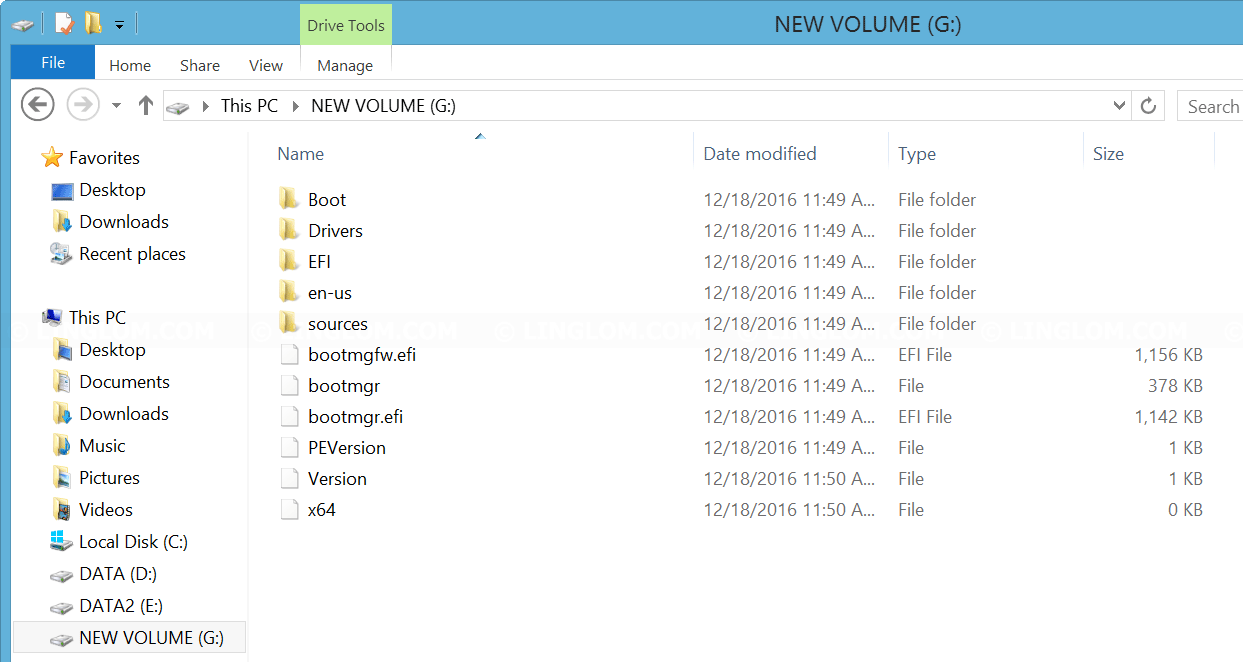
- Now I have an USB rescue media which can be used to backup or restore my system when I can’t boot into Windows on the hard drive.


Backup Windows system to an image file
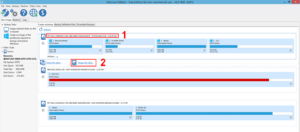
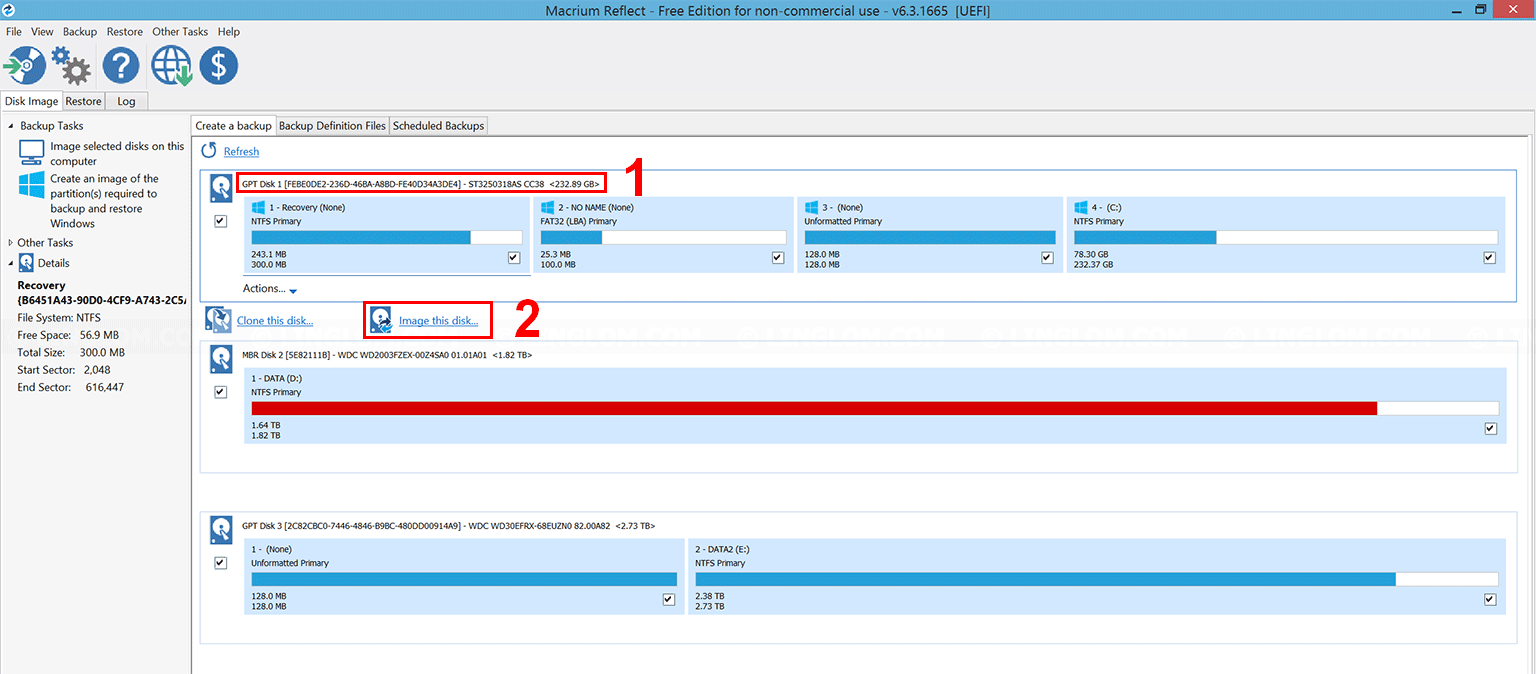
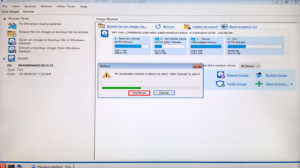
- Open Macrium Reflect. You see a list of hard disks which you can choose to clone to other disk or backup to an image file. Select a disk and click Image this disk.
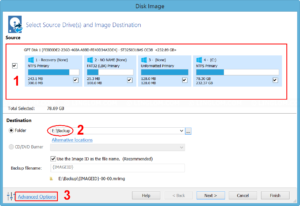
- On this window, select source and destination:
- On Source, select partitions that you want to backup.
- On Destination, choose a folder to save backup file to.
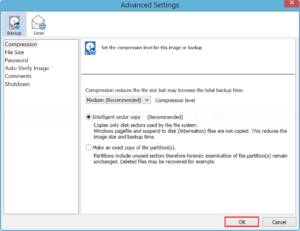
- You can also click Advanced options if you want to change backup settings.
- On Advanced Settings, you can configure how to compress backup image file and other backup settings. In this example, I use default settings. Click OK and click Next to continue.
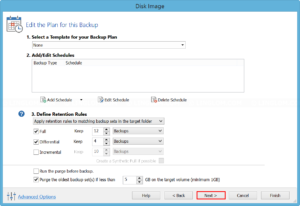
- Click Next again.
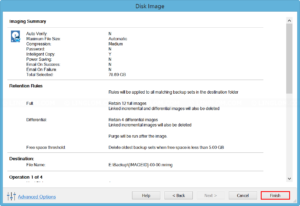
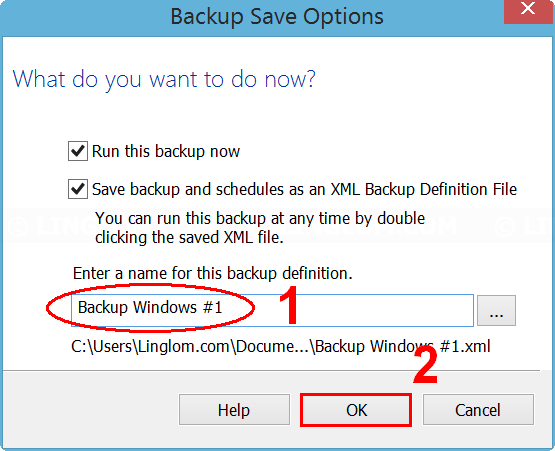
- Review backup options and click Finish.
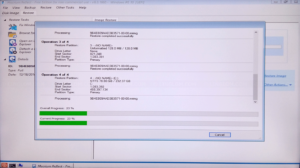
- You can change name for this backup if you want and click OK to begin the process.

- In this example, it takes about 14 minutes to backup my Windows system.
Note: The time depends on how large the source file, read/write speed of source and destination disks.
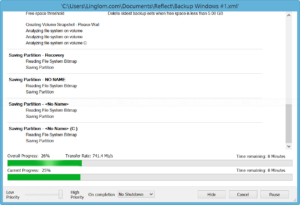
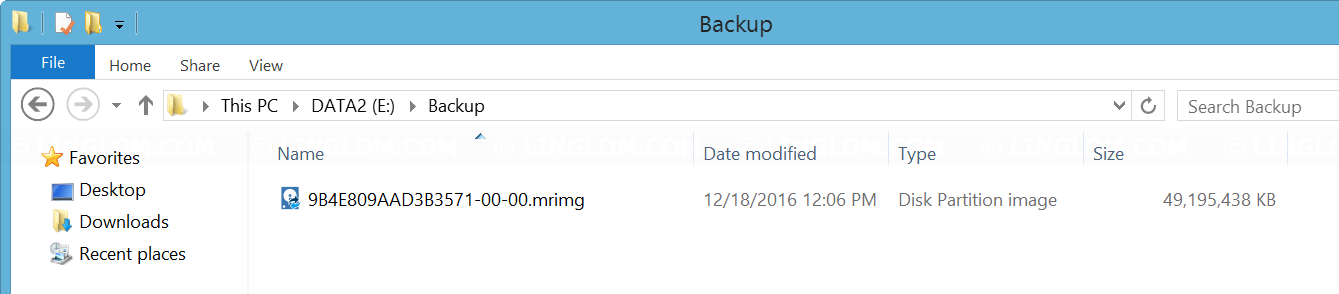
- When finishes, you will have a backup image file which you can use to restore your system.


Restore Windows from an image file
When your system has problem, but you can still boot into Windows, you can restore your system from an image file.
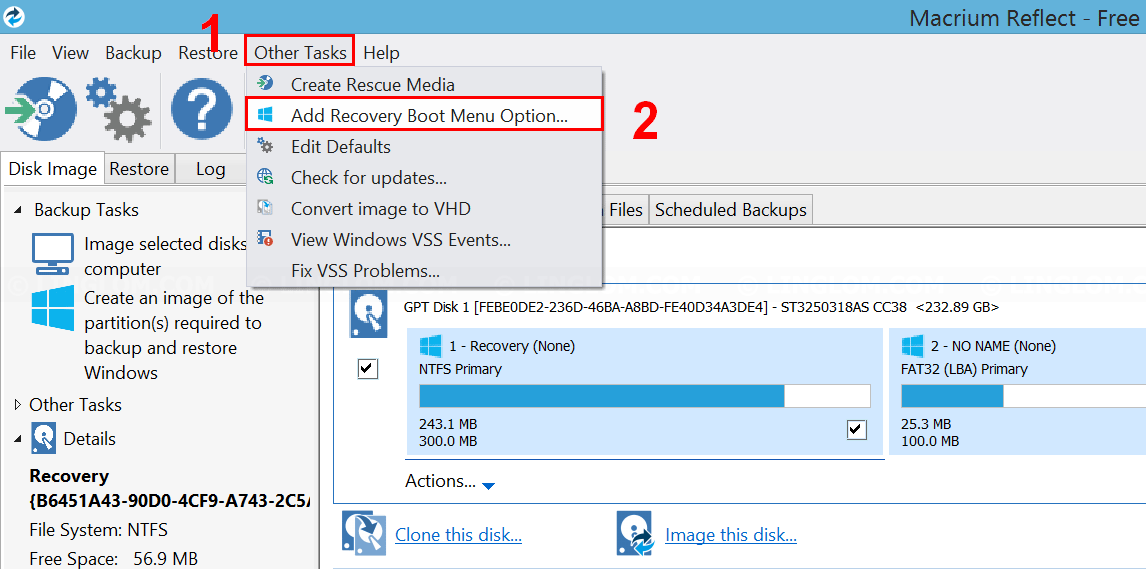
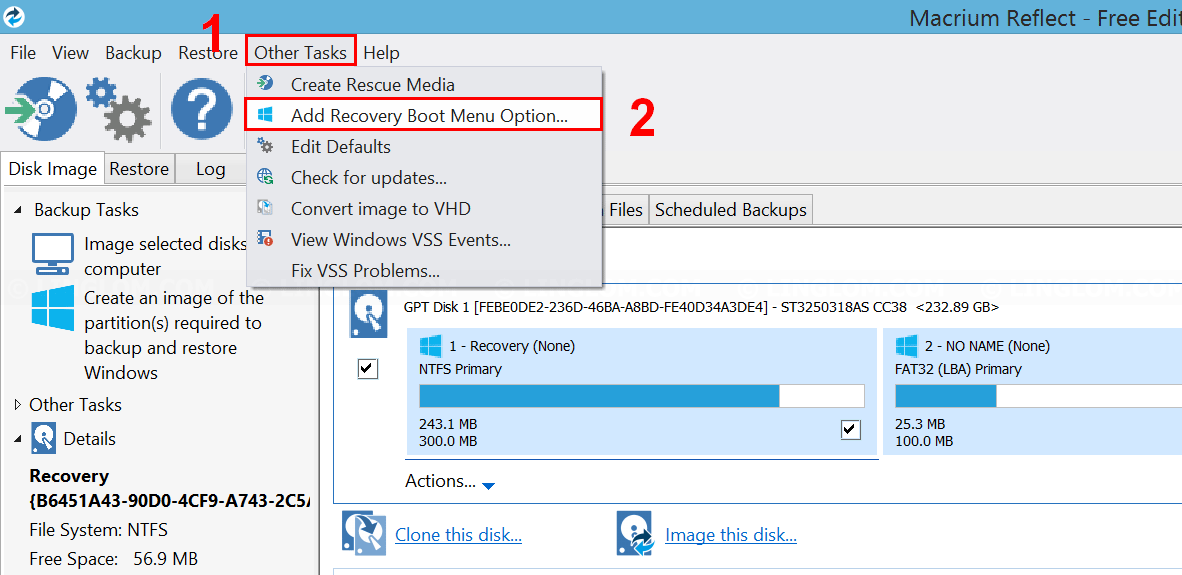
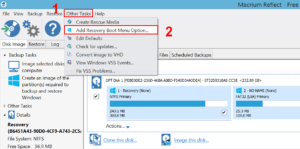
- If you’re going to restore system from an backup image file, you have to add Reflect recovery to boot menu. Open Macrium Reflect.
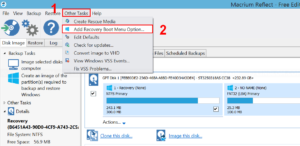
- Select Other Tasks
- Click Add Recovery Boot Menu Option
Note: If you don’t want to modify Windows boot menu, you can boot from a rescue media which was created in the first part.
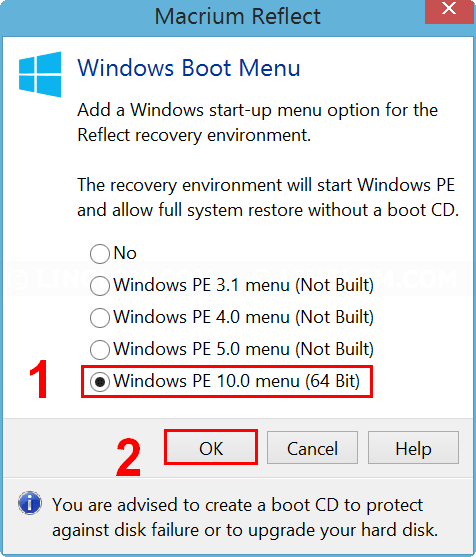
- On this window, choose Windows PE that you already have as a boot menu and click OK.

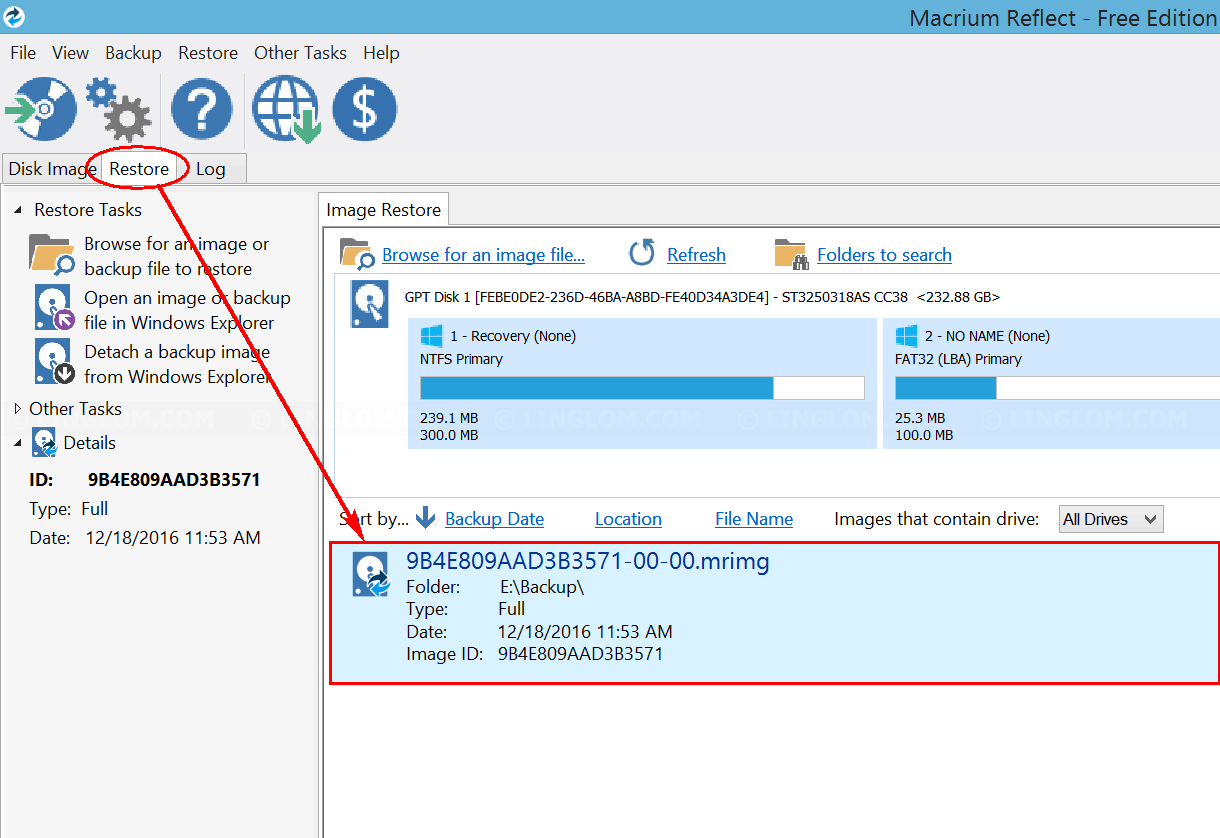
- After that, select Restore tab. You will see backup images which you can choose to restore from.
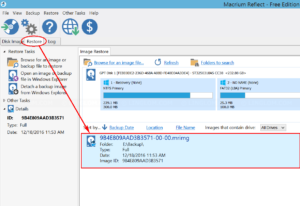
- Click Restore image on an image file that you want to restore.
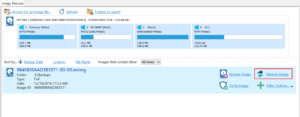
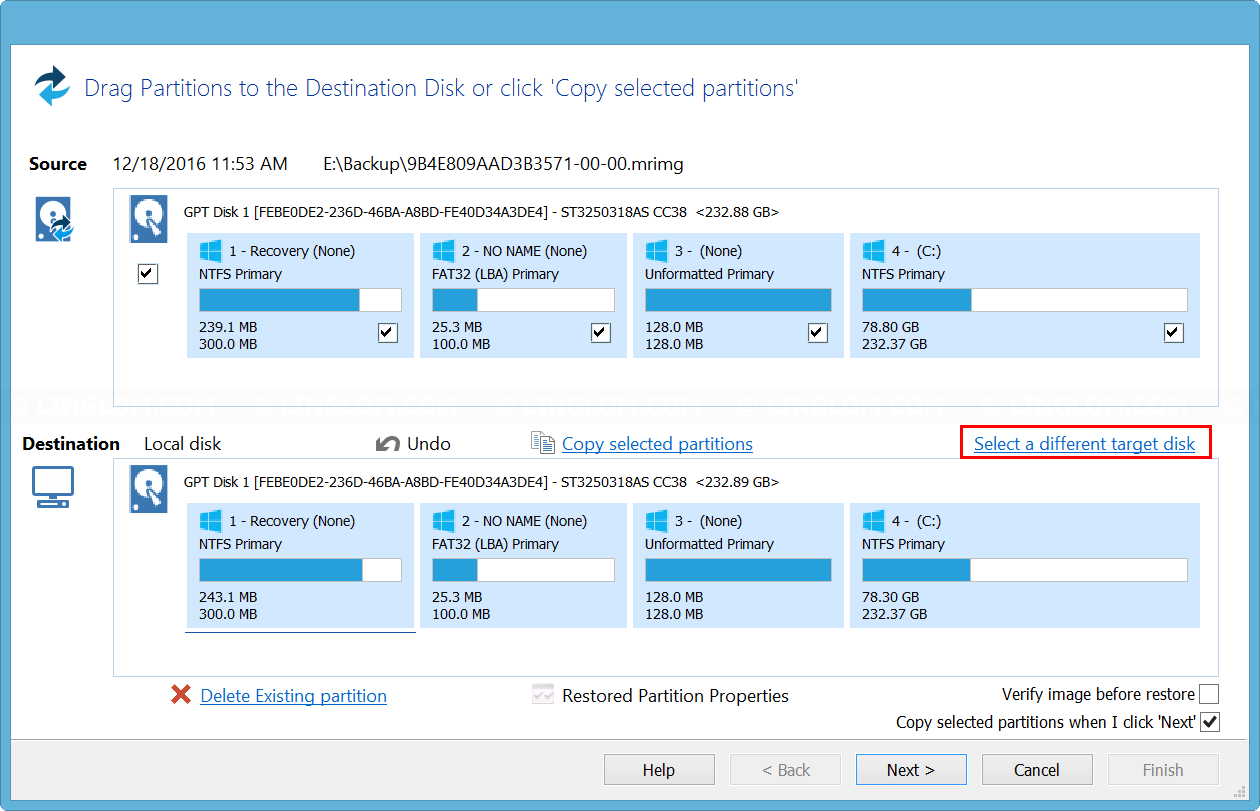
- You can change destination disk by click Select a different target disk.
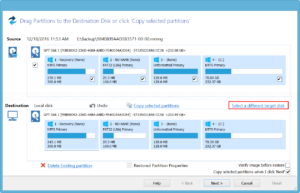
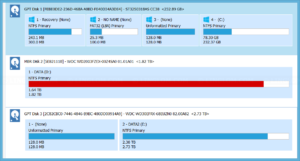
- Select a hard disk that you want.
Warning:The restore process will replace data on the selected disk with data from the image file. Make sure that you select correct disk before continue.
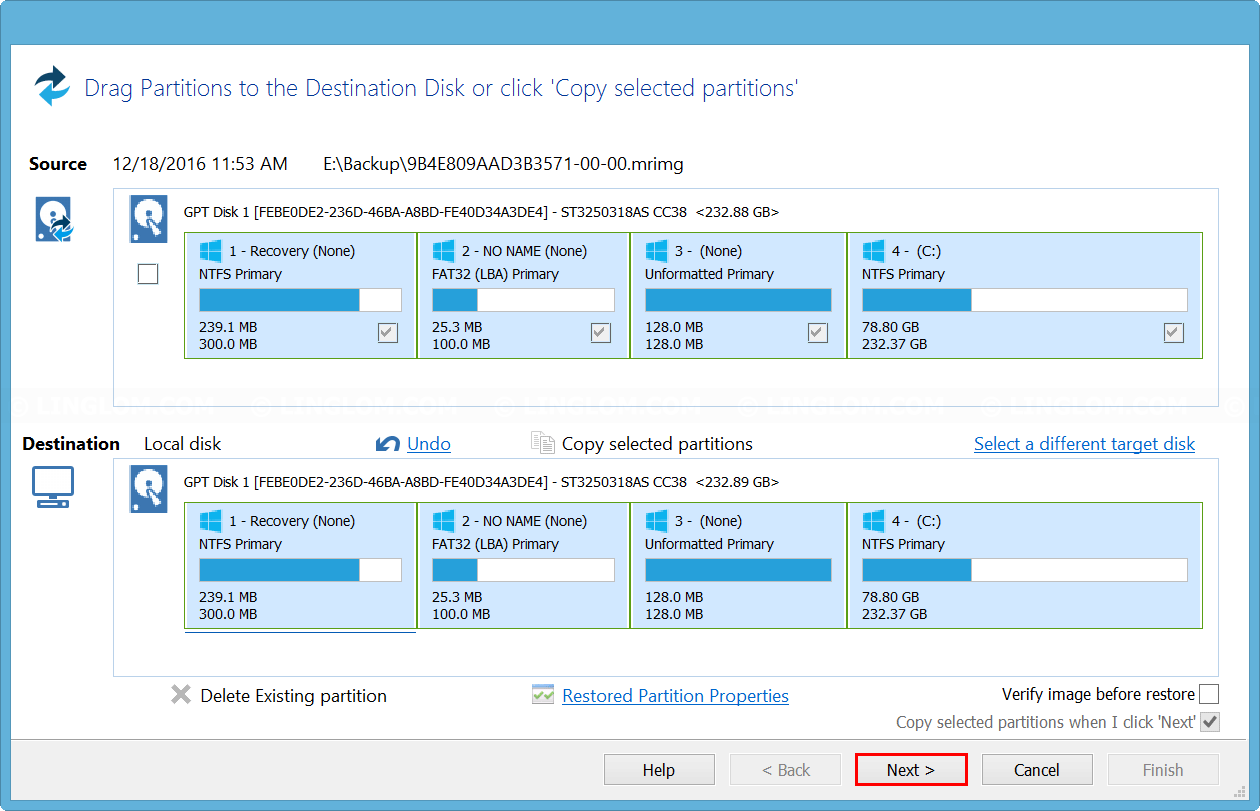
- Then, select partition that you want to recover by drag partitions from source to destination and click Next.
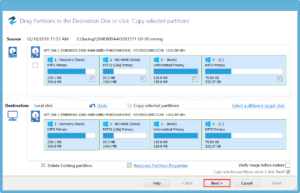
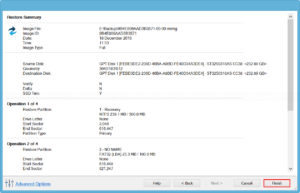
- Review operations that the program will perform and click Finish.
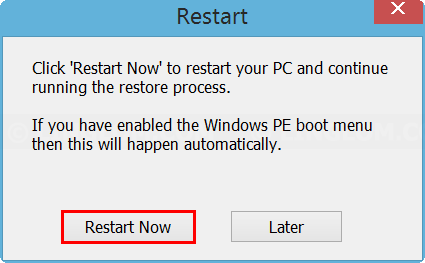
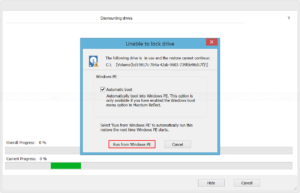
- In this example, I’m going to restore Windows system so it needs to reboot the system to Windows PE. Select Run from Windows PE
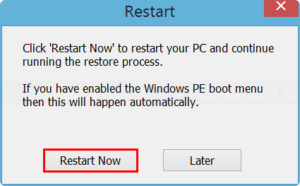
- And click Restart Now
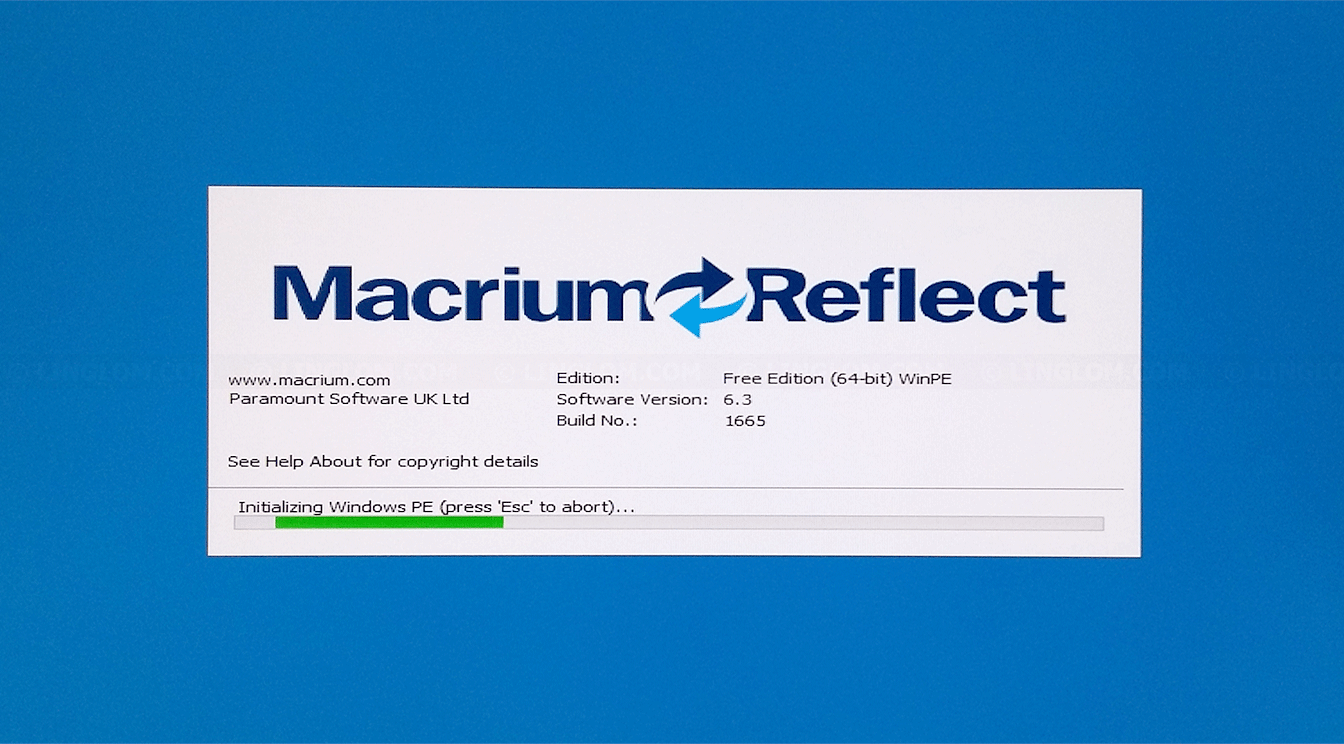
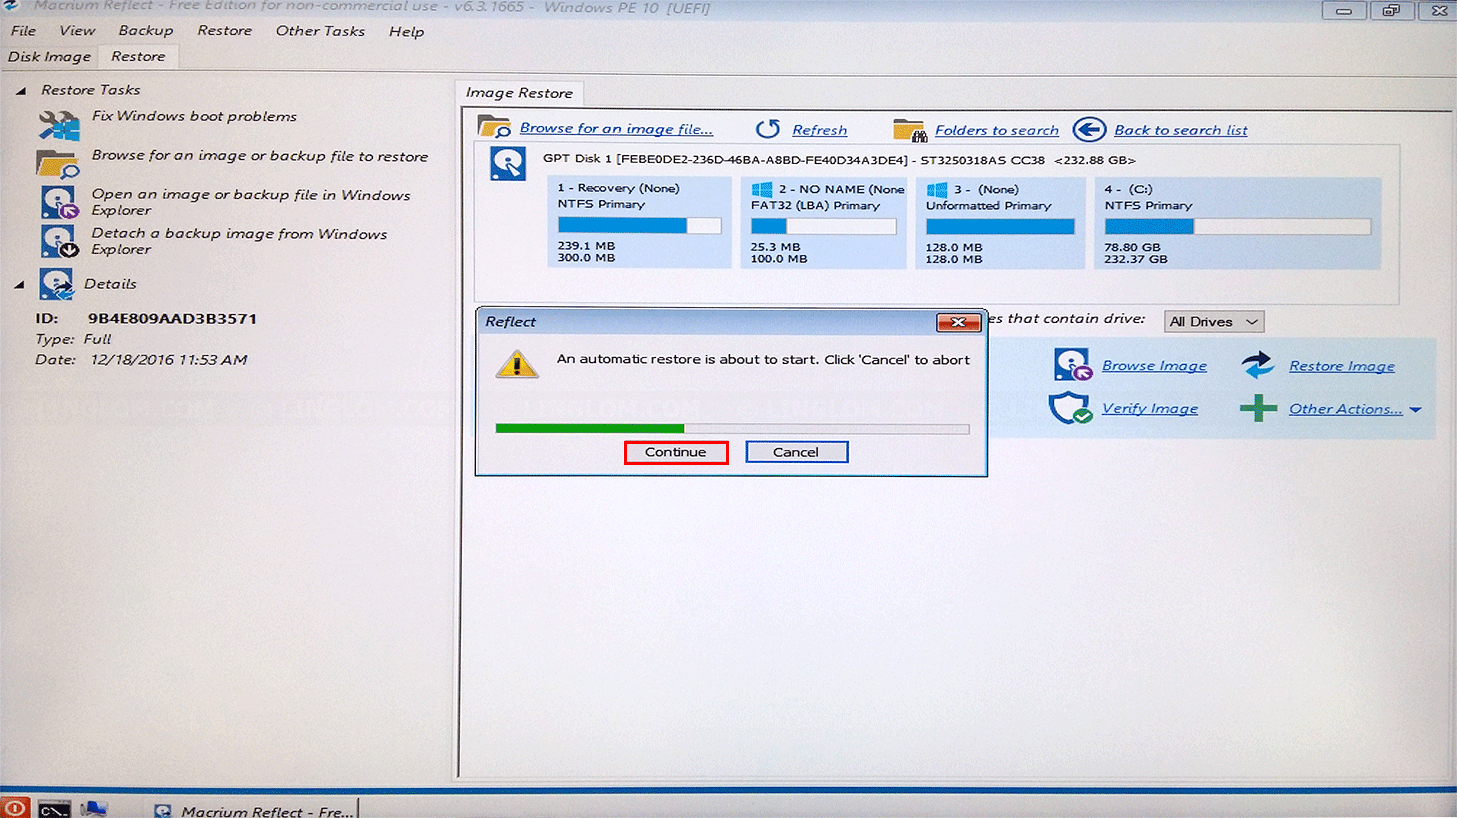
- Now it boots into Windows PE and will restore your system.
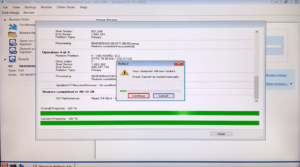
- Click Continue.
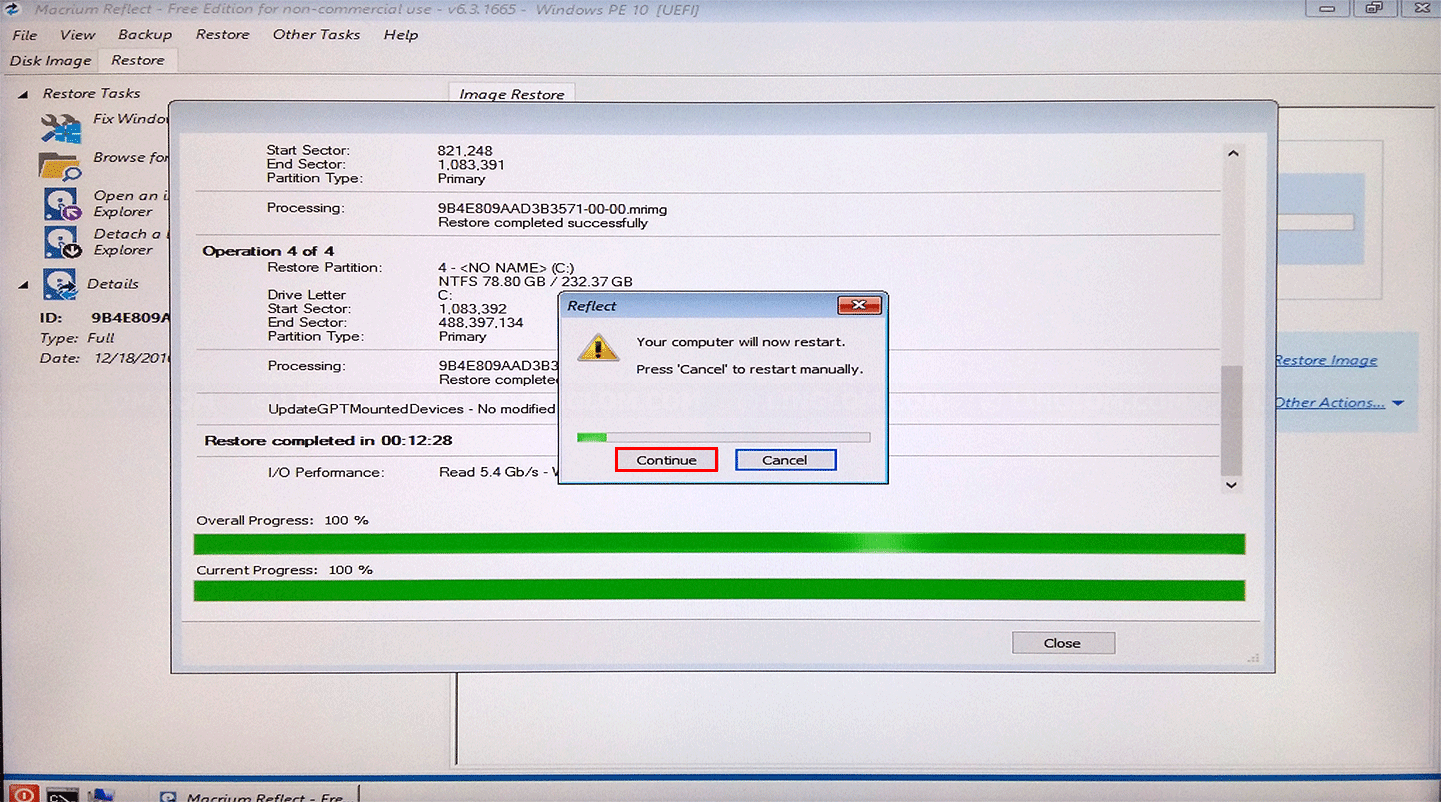
- In this example, it takes about 13 minutes to restore my system.
- When finishes, click OK and click Continue.
- The system will be restarted and you will have your system as exactly from the image file.

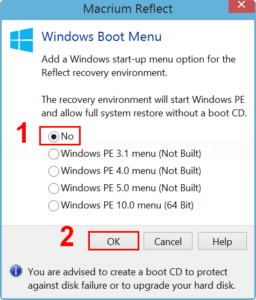
- If you want to remove Reflect recovery from Windows boot menu, open Macrium. Select Other Tasks and click Add Recovery Boot Menu Option.
- Select No and click OK. The Reflect recovery will be removed from Windows boot menu.