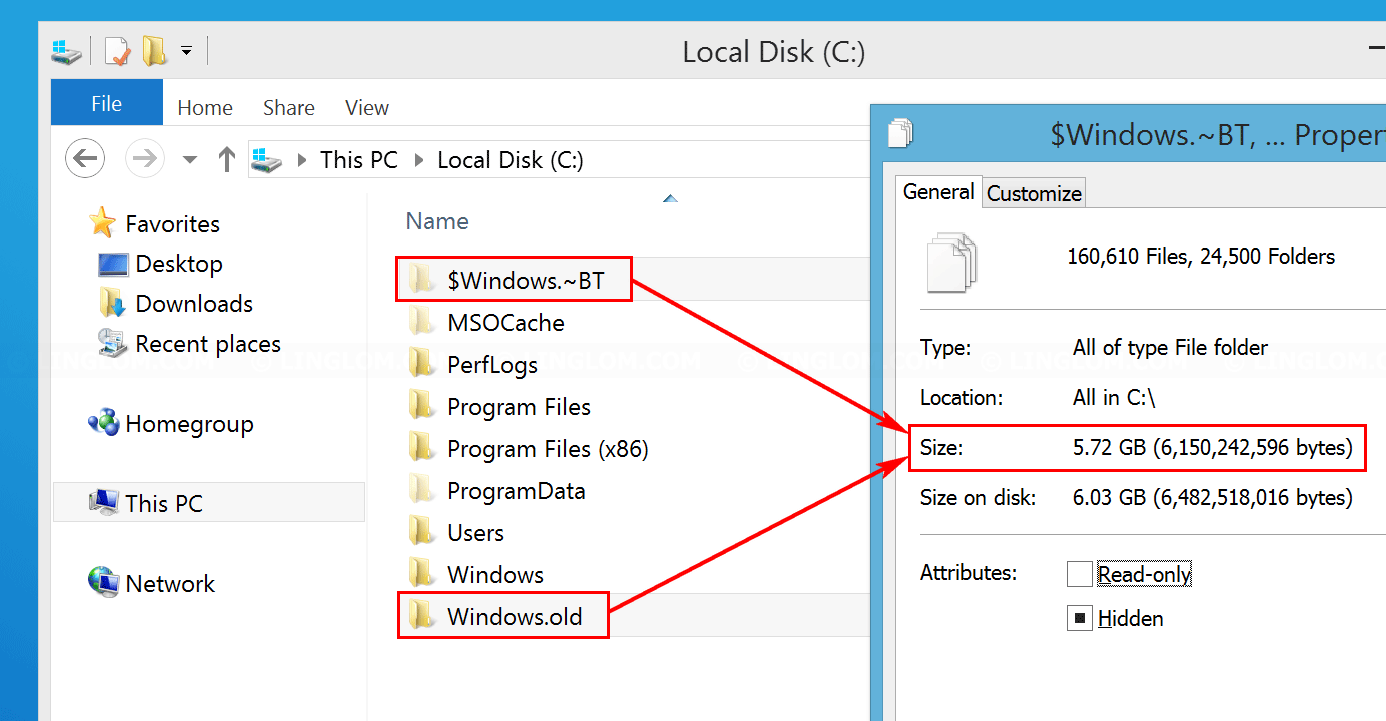
In this article, I will show how to use Disk Cleanup to delete Windows.old and $Windows.~BT folders including other temporary installation files on Windows 8.1.
Note: If you’re not sure whether to delete these folders, you should keep them for few weeks. After that, if the system is working properly, you can safely delete these folders.
Watch on YouTube
Step-by-step
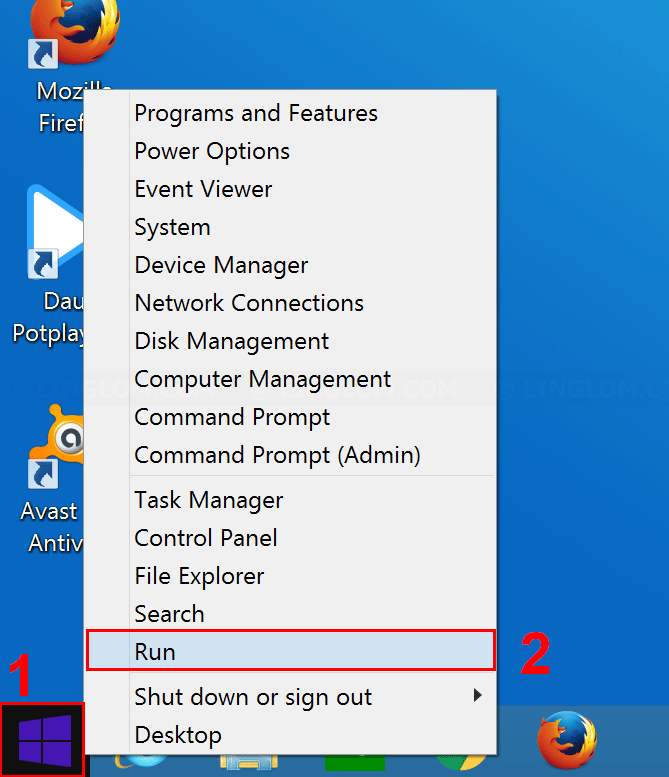
- On Windows 8.1 desktop, right-click on Windows icon at bottom left and select Run.
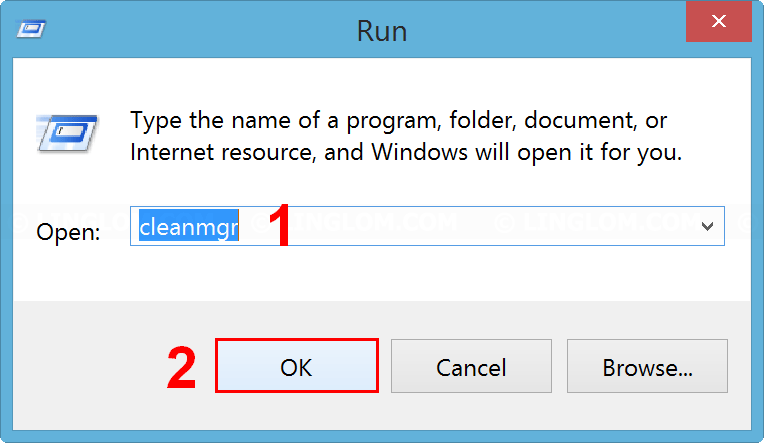
- Type cleanmgr and click OK.
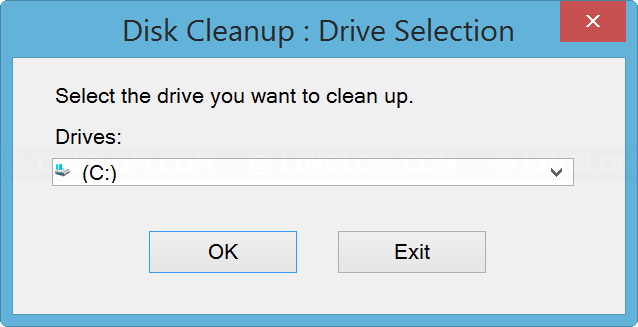
- Select the OS drive, usually it is C drive.
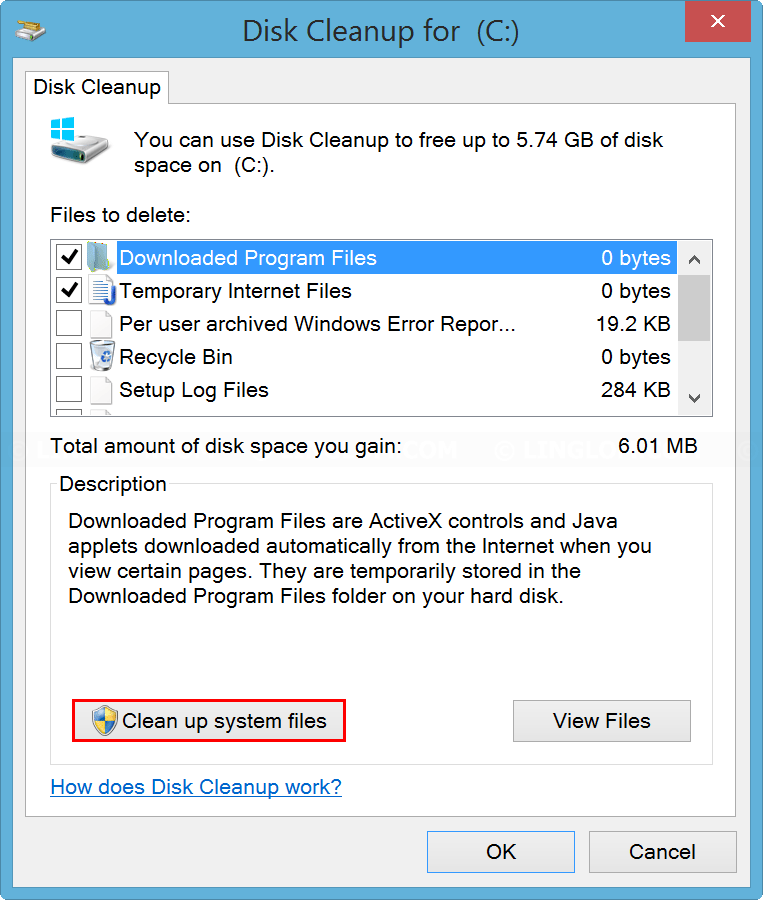
- Click Clean up system files.
- Select the OS drive again.
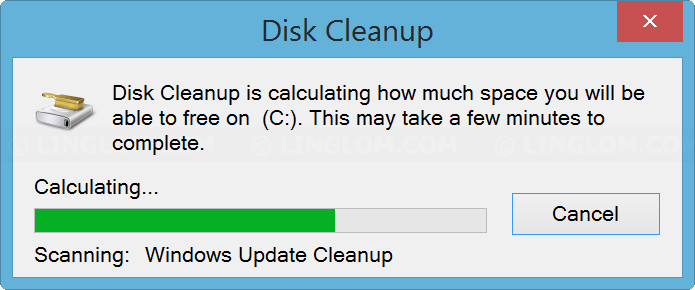
- It is scanning your system and could takes 5-10 minutes in this step.
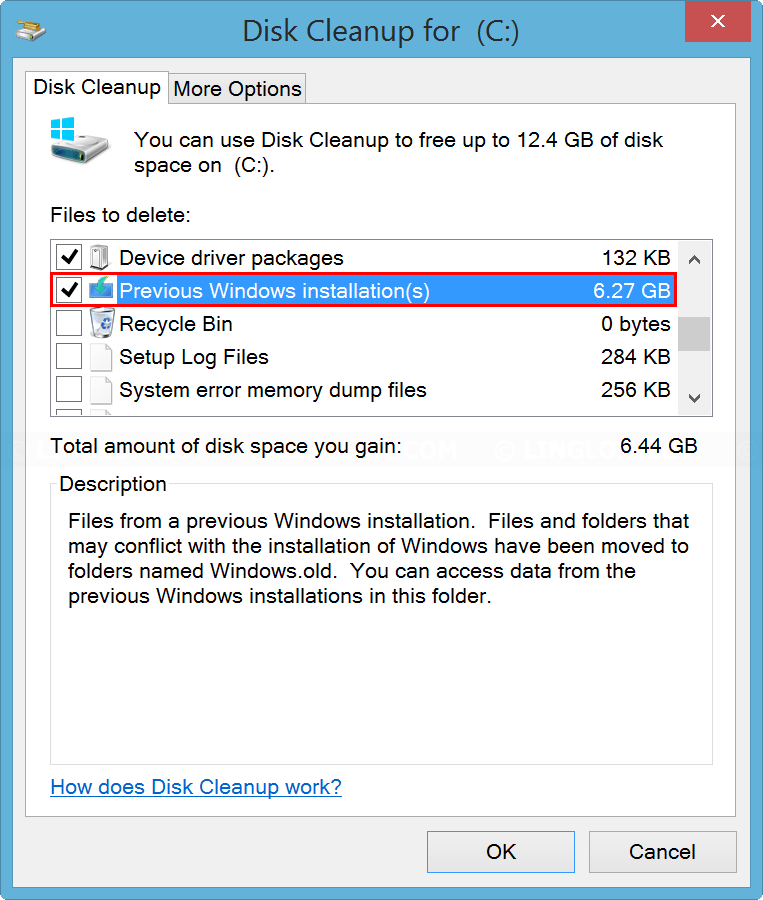
- When finishes scanning, scroll down on Files to delete and check the option Previous Windows installation(s).
Note: If you have just installed lots of Windows updates and don’t have much time, you can uncheck the option Windows Update Cleanup as it could takes up to few hours to cleanup Windows update.
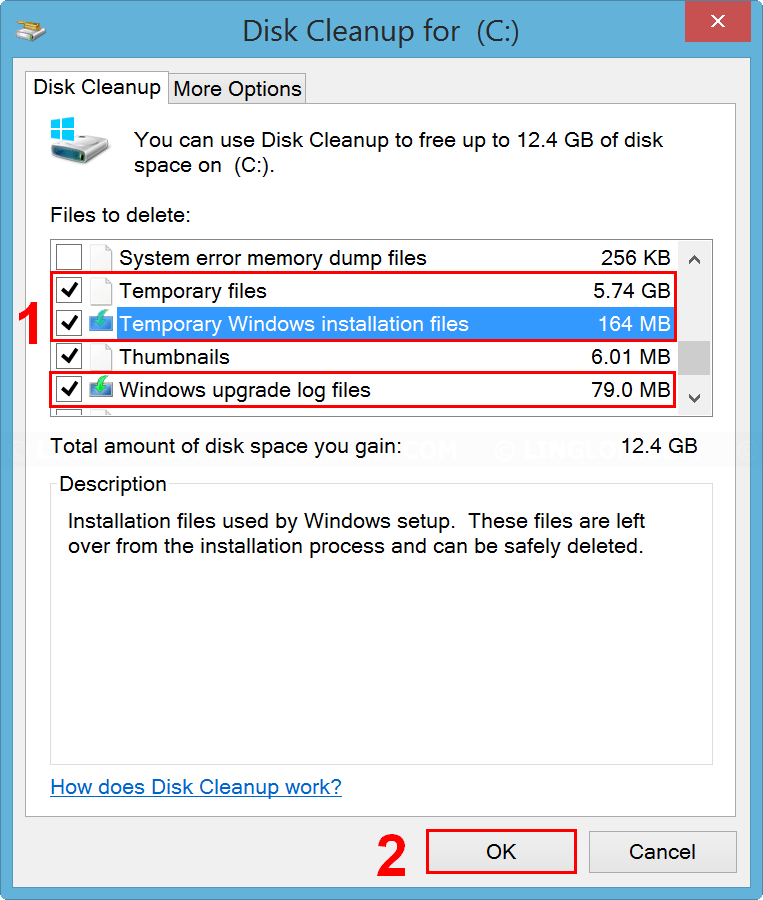
- And check these options:
- Temporary files
- Temporary Windows installation files
- Windows upgrade log files
Then, click OK.
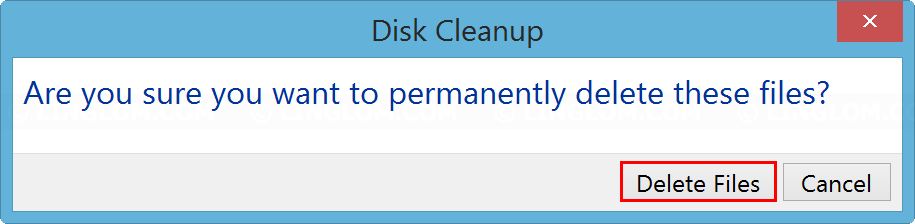
- Click Delete Files to confirm.
- In this example, it took 10 minutes to delete these options.
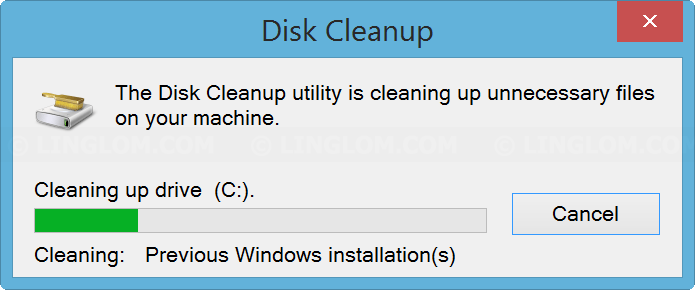
- When finishes, Disk Cleanup will close automatically and those folders have now been removed from your PC.