If you want to rename multiple files, for example, insert prefix to 100 files, or add created date to photos, it is quite a time-consuming task if you have to do it manually. There is a free tool, Bulk Rename Utility (BRU), which allows you to rename multiple files at once with a wide range of renaming options.
In this article, I will show how to rename multiple files at once on Windows 10 with Bulk Rename Utility
Watch on YouTube
Step-by-step
- Download and install Bulk Rename Utility.
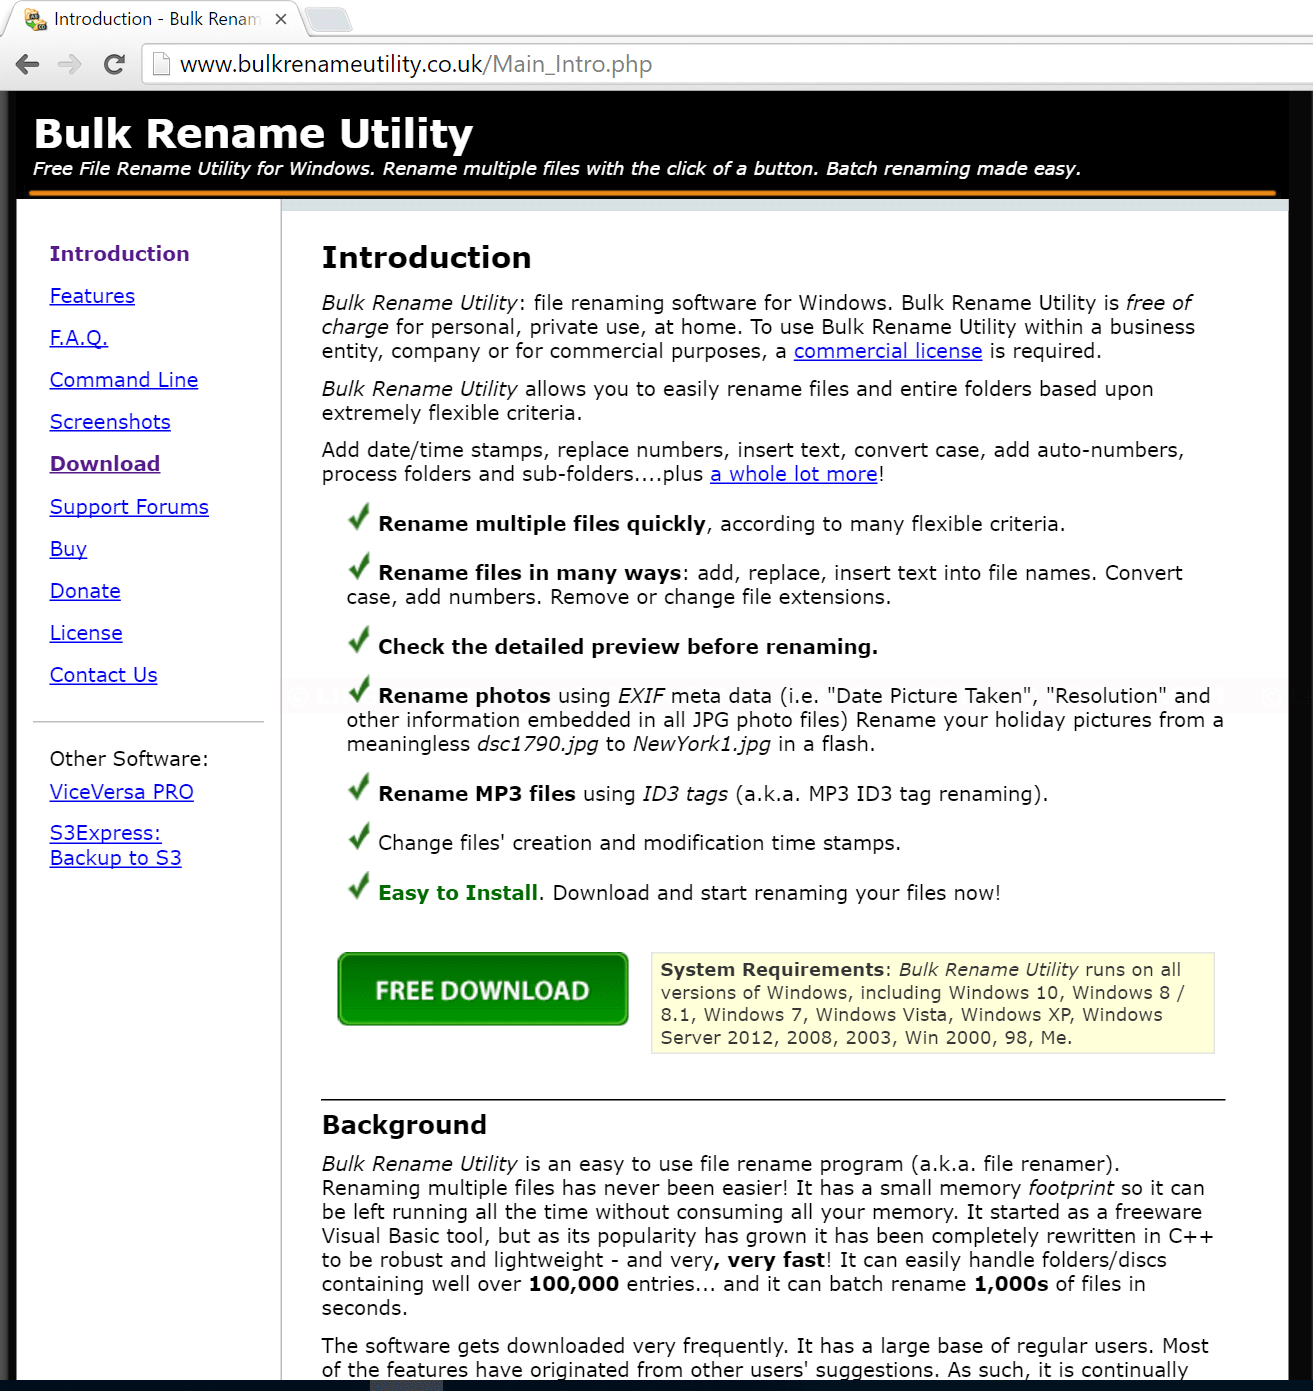
- Open web browser to http://www.bulkrenameutility.co.uk
- Click Download on the left menu and click Download Bulk Rename Utility.
- Run the file to install it.

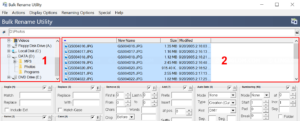
- Open Bulk Rename Utility
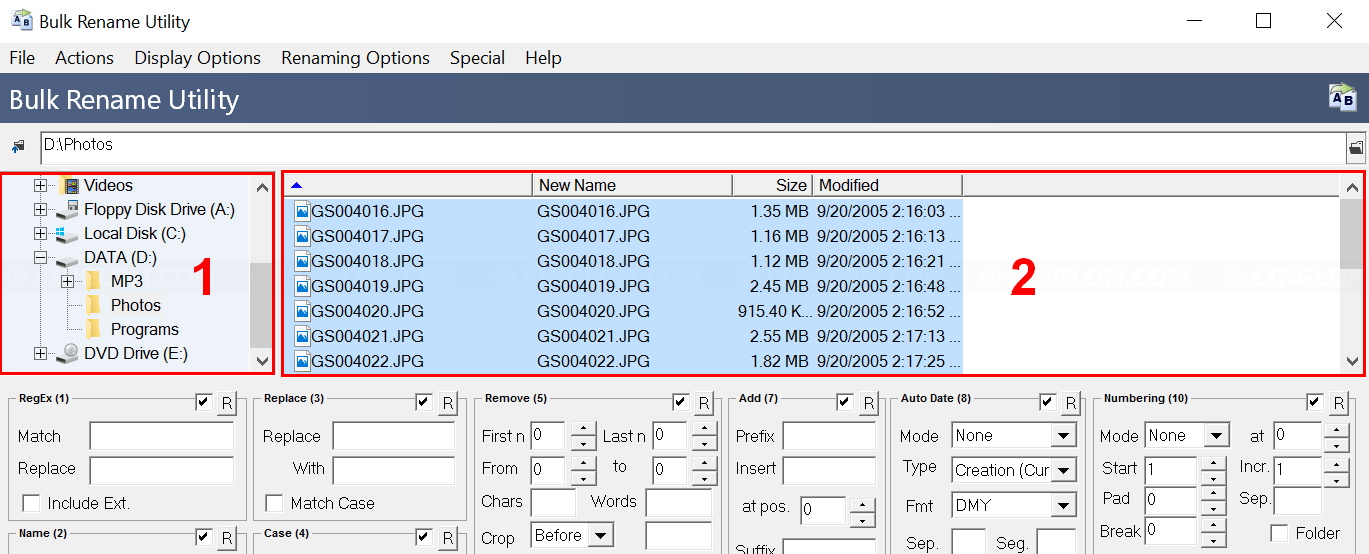
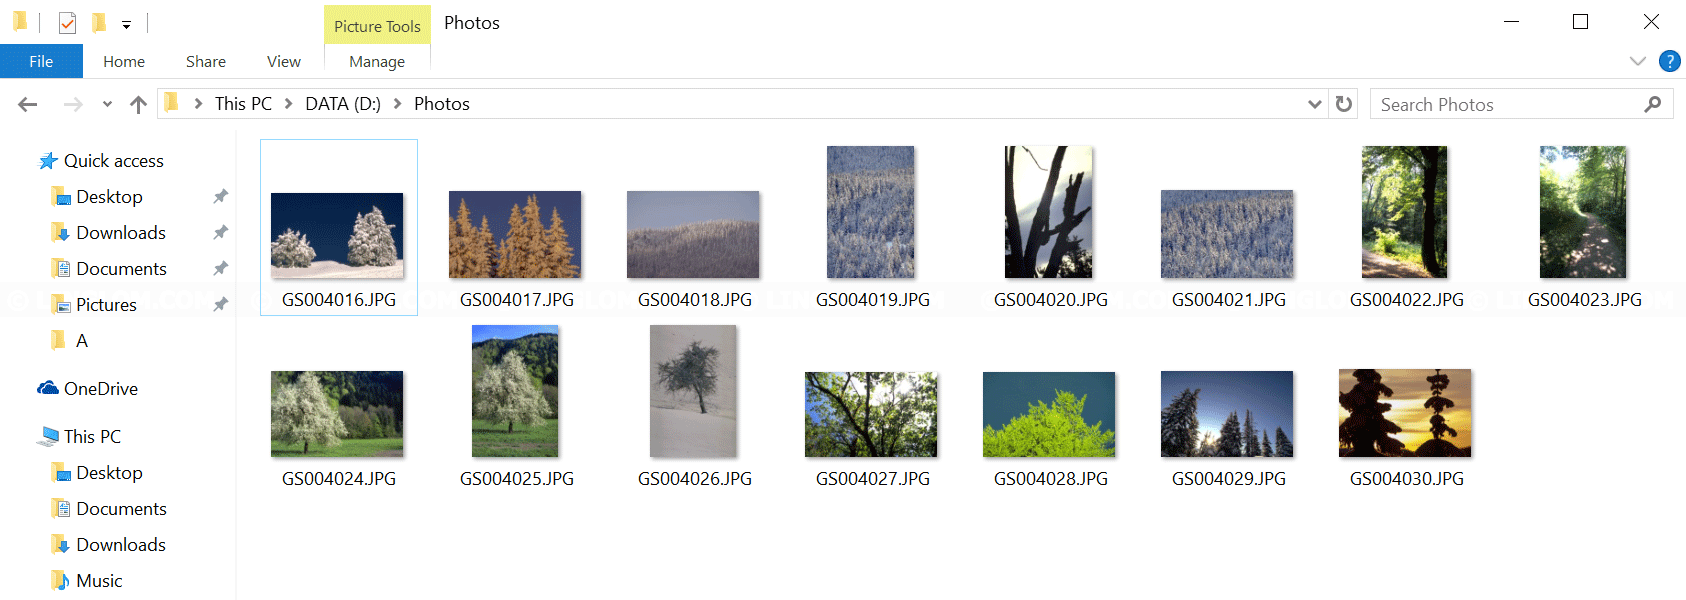
- Select a folder that contains files that you want to rename.
- Select files that you want to rename.
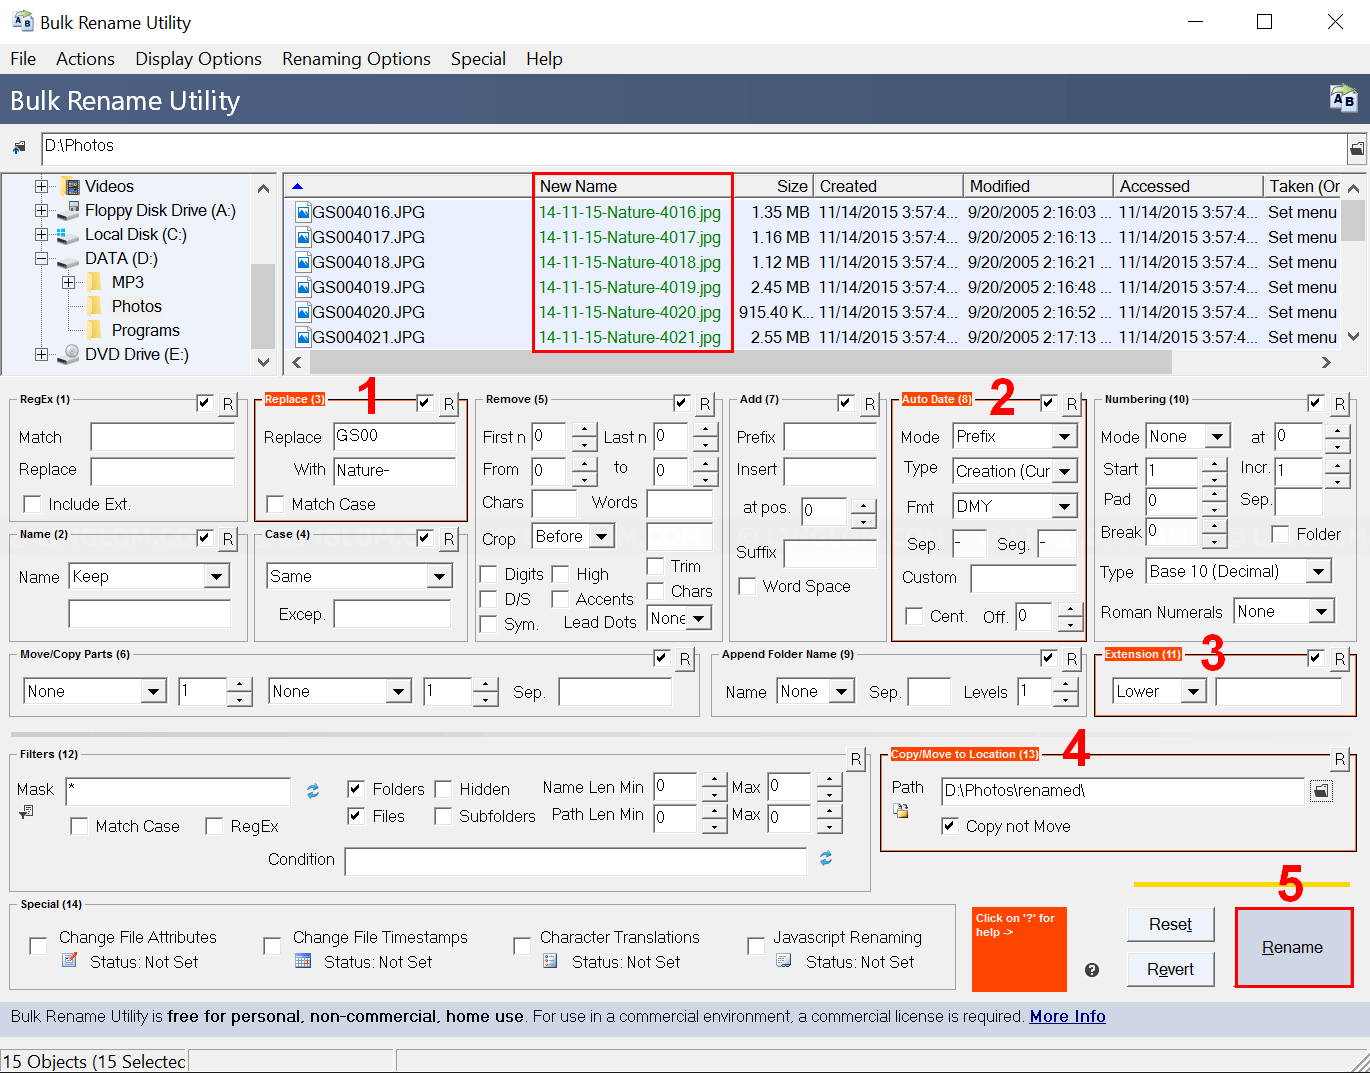
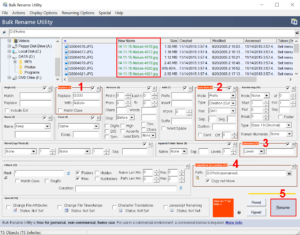
- Configure renaming options. In this example, I will demonstrate with the following renaming options.
- I want to replace the prefix of these files so I enter GS00 on Replace field and Nature- on With field in Replace section.
- Add created date to filename by configure Auto Date section. Set mode to Prefix and add dash (-) between the figures.
- Change extension to lower case by configure in Extension section.
- I don’t want to rename the original file so I choose a folder on Path in Copy/Move to Location section and check the option Copy not Move.
- You will see preview name in New Name column. Click Rename at bottom right to begin the process.
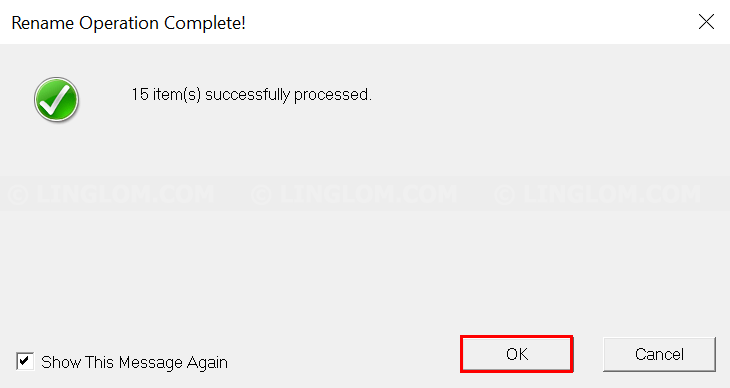
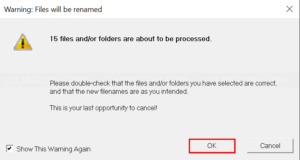
- Click OK to confirm.
Note: You can’t undo the renaming process so make sure that the new filenames are as you want before continue.
- When finishes, click OK.

- Browse to the folder and you will see the result.