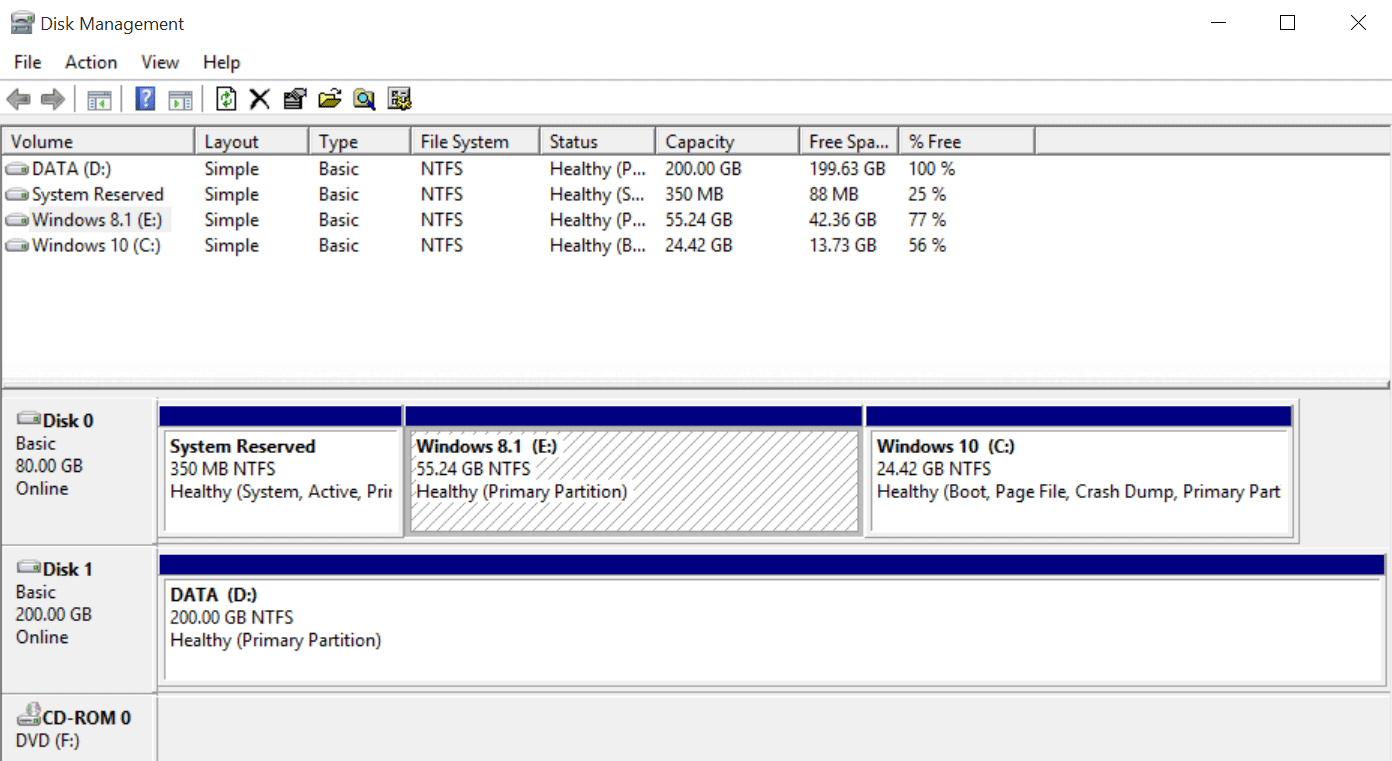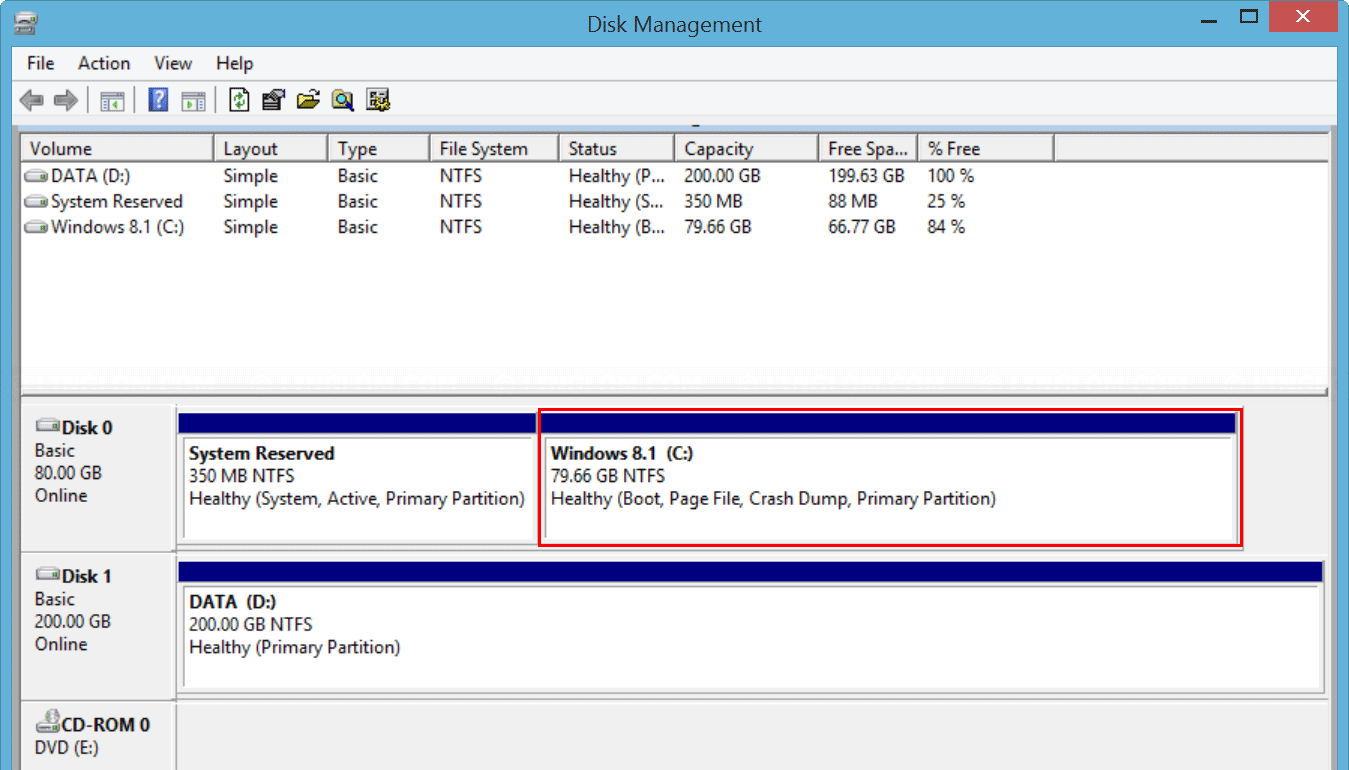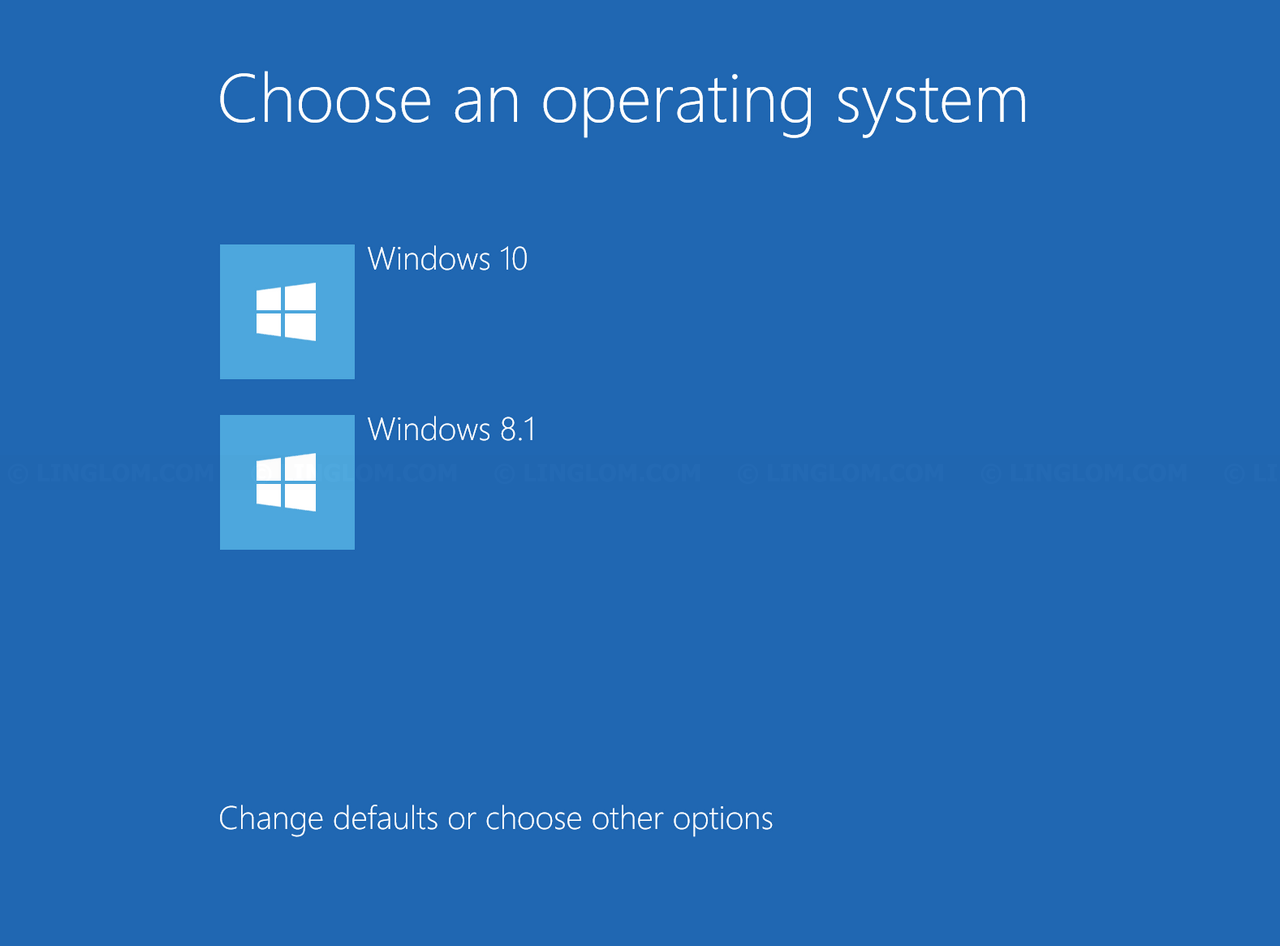
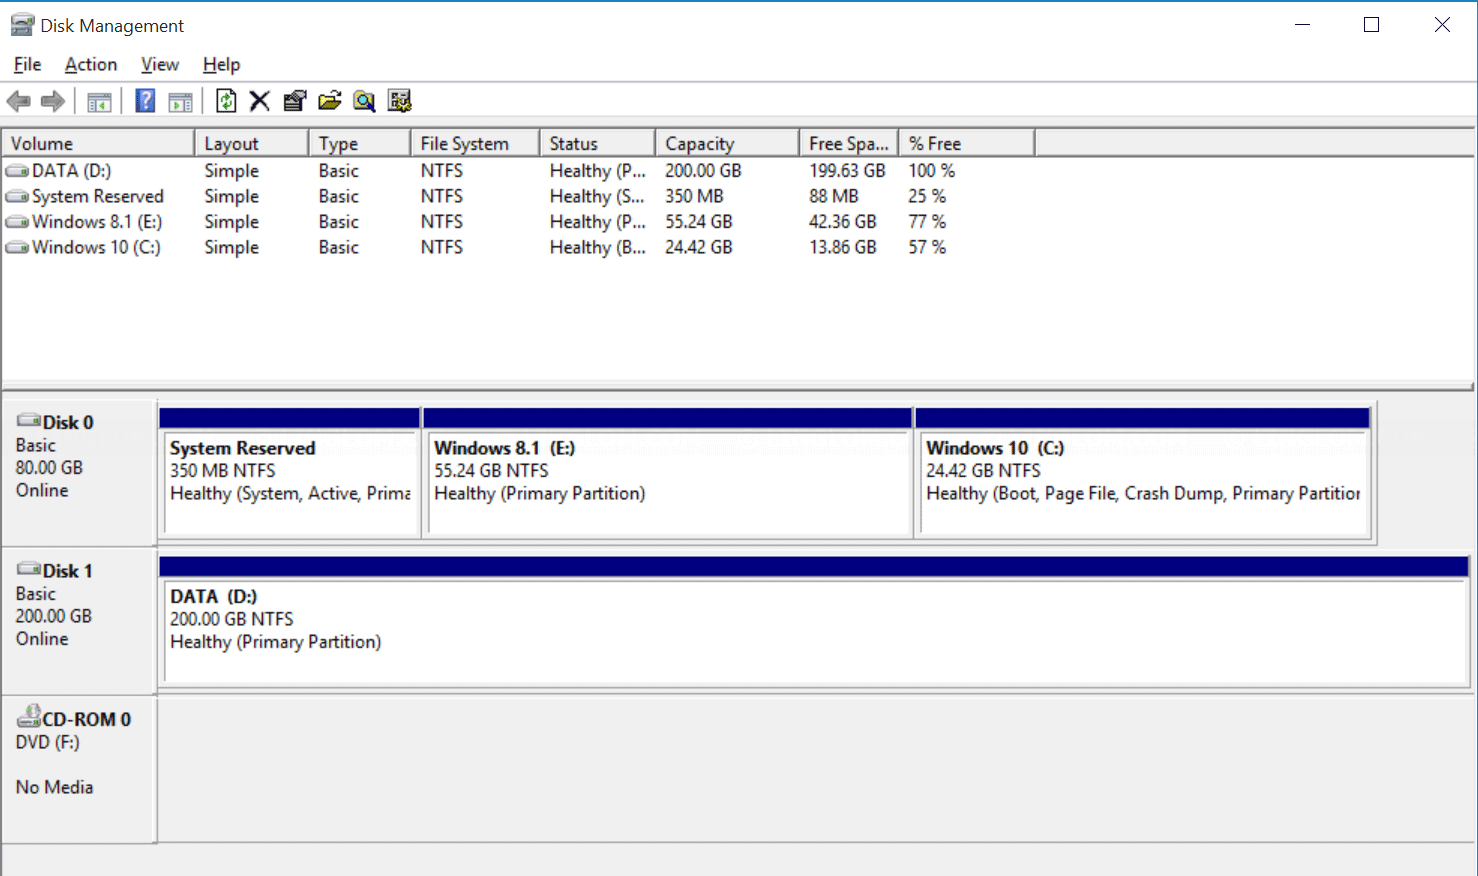
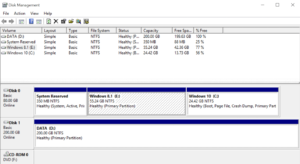
In this article, I will show how to remove Windows 8 or Windows 10 from dual boot system and reclaim disk space from the unused Windows system. In this example, I have dual Windows system on the same hard disk. On disk 0, the left partition is Windows 8 and the right is Windows 10.
Watch on YouTube
I will separate into 2 parts as following:
- Remove a Windows OS from dual boot system with EasyBCD
- Reclaim disk space from the unused Windows system
Step-by-step
Remove a Windows OS from dual boot system with EasyBCD
- You have to decide which OS you want to delete and boot into Windows that you want to keep. In this example, I want to remove Windows 8 so I will boot into Windows 10.
- Download and install EasyBCD from http://neosmart.net/EasyBCD.
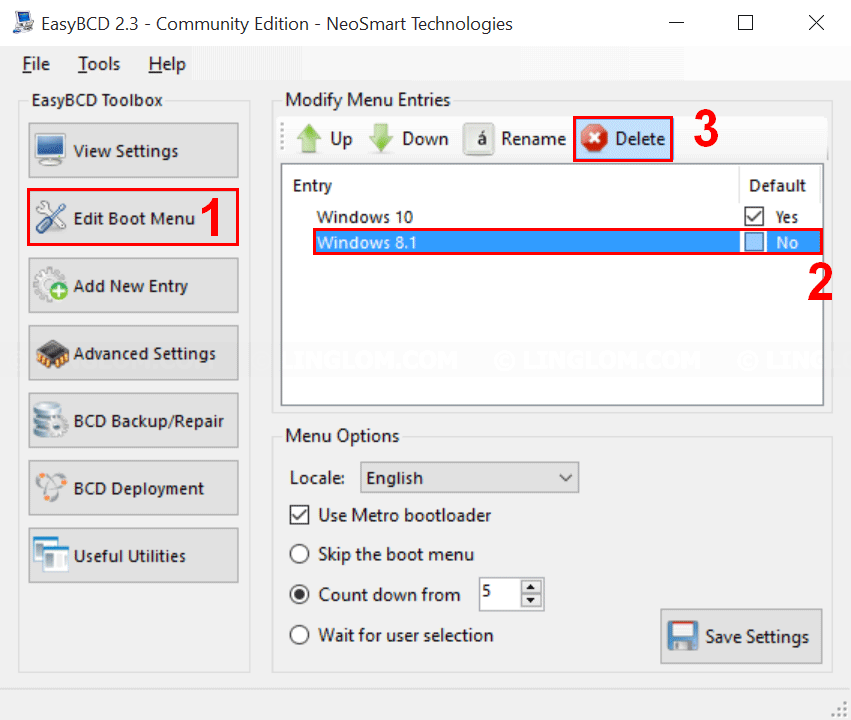
- Run EasyBCD. On the program, you see boot entries on the system. In this example, I have 2 boot entries, Windows 10 and Windows 8.

- To remove a boot entry,
- Select Edit Boot Menu
- Select boot entry you want to remove. In this example, it is Windows 8
- Click Delete

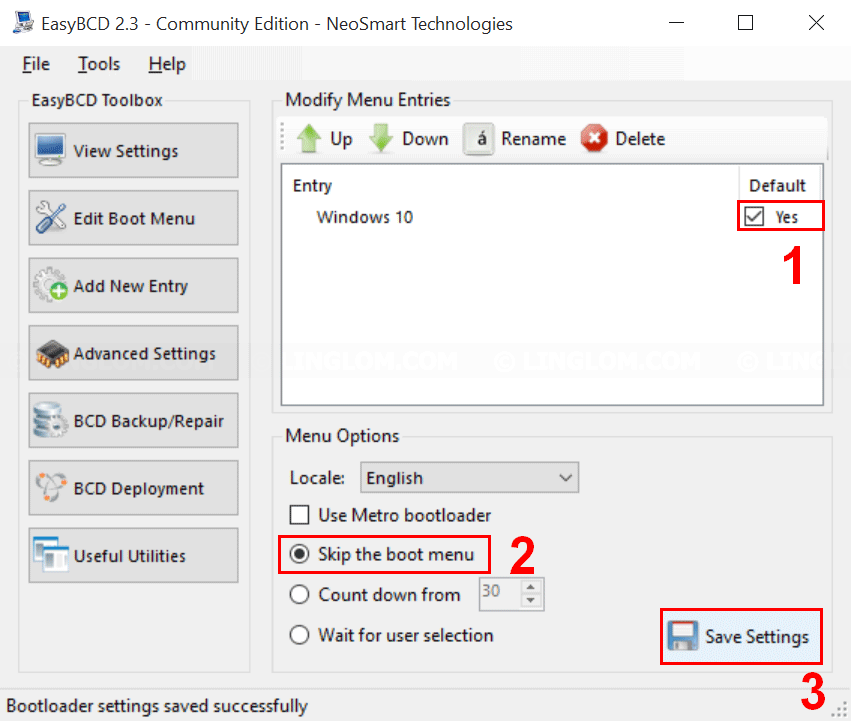
- Next, check the YES option on Windows 10 entry to make Windows 10 as the default OS. If you don’t want to see boot menu options every time the system boots, select Skip the boot menu option and click Save Settings to save changes you made.

- Now you can restart the system, it will boot directly into the OS that you keep, Windows 10.


Reclaim disk space from the unused Windows system
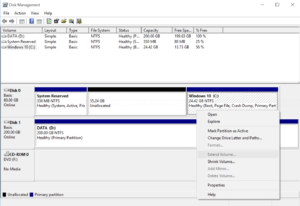
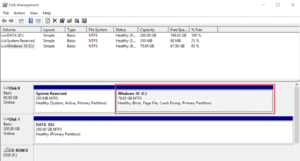
- On Windows desktop, right-click Windows icon at bottom left and select Disk Management.
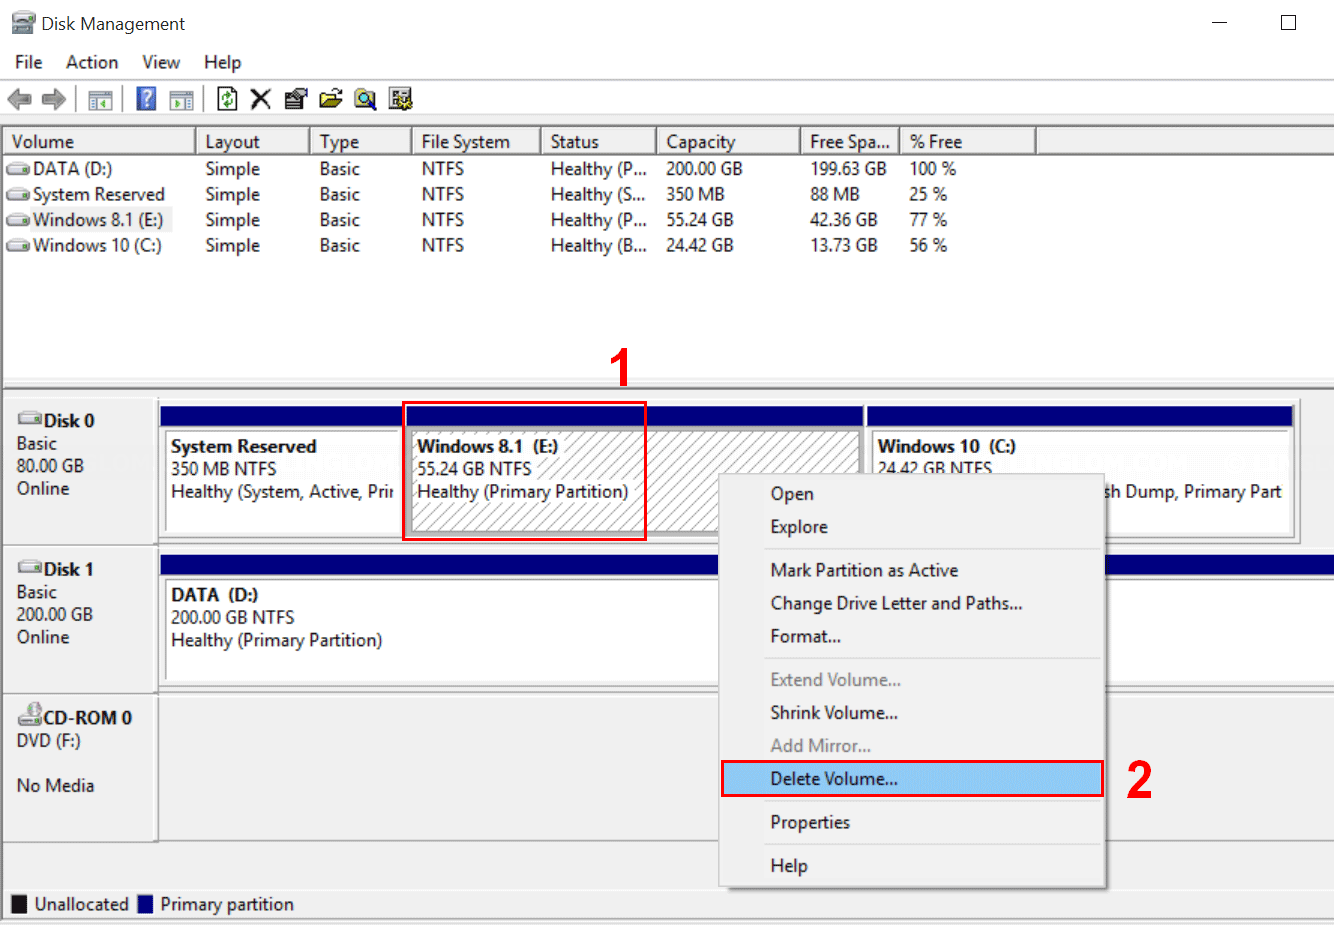
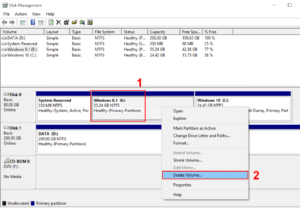
- In this example, I already removed Windows 8 from boot entry and I will delete its partition to reclaim disk space by right-click on the partition and select Delete Volume.
Note: Make sure that you don’t have any important data on the volume before continue.
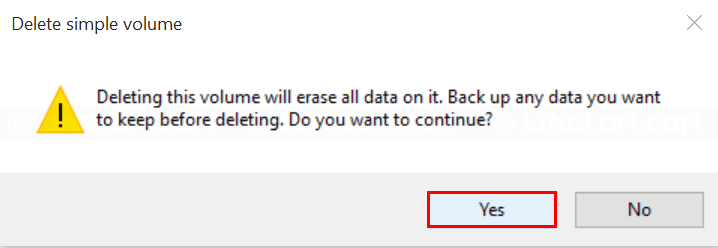
- Click Yes to confirm.

- After that, you can merge the unallocated partition with Windows to increase disk space. There are 2 cases:
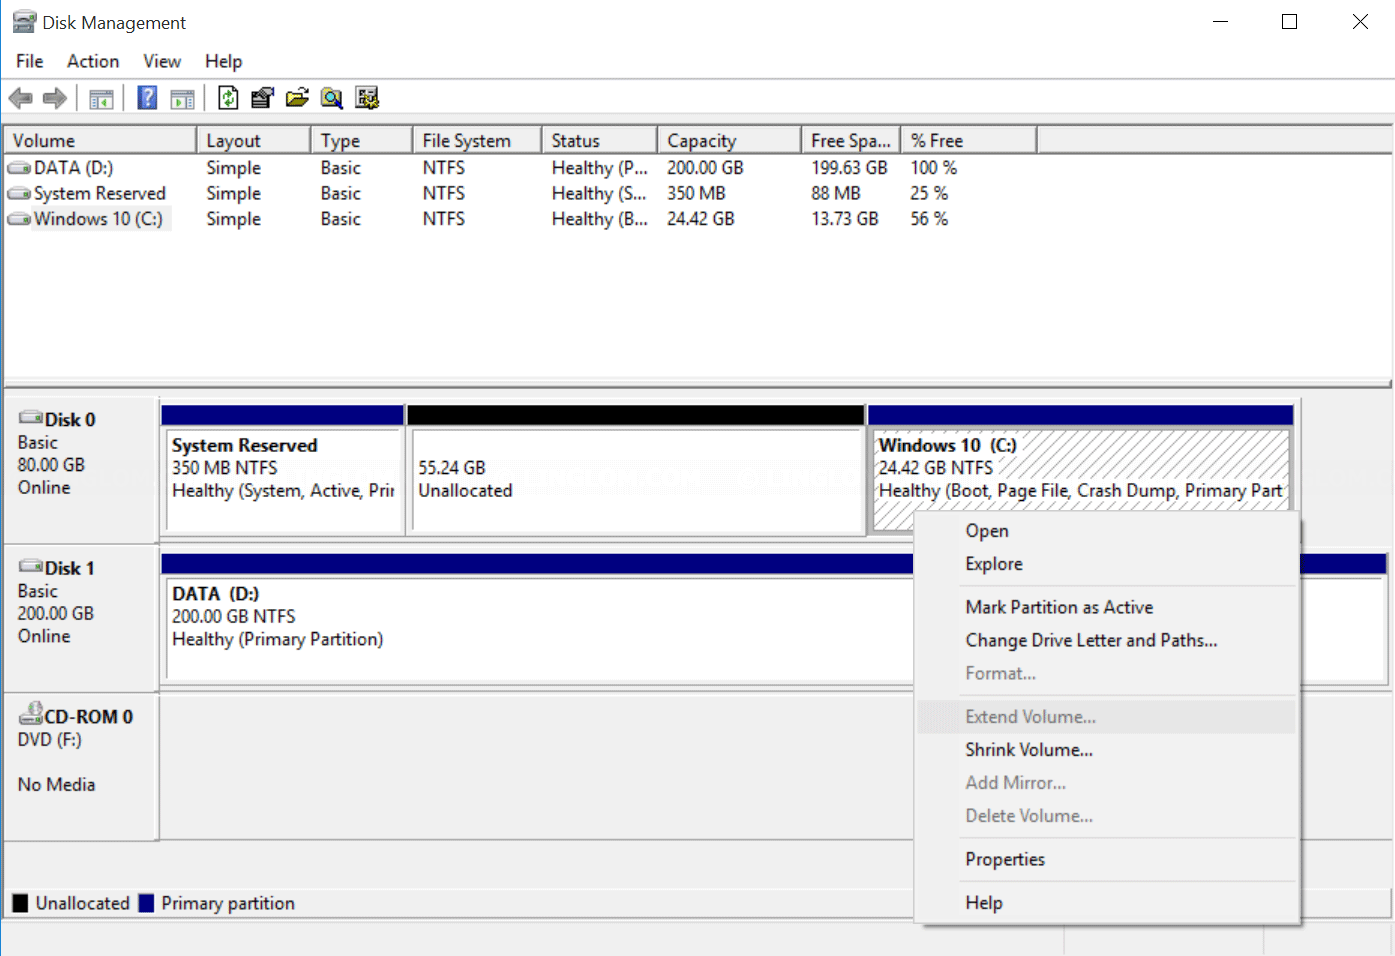
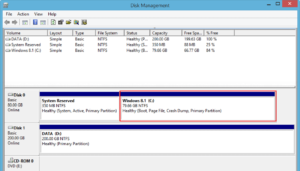
- If the unallocated partition is next to the right of the partition that you want to merge as in this example below.
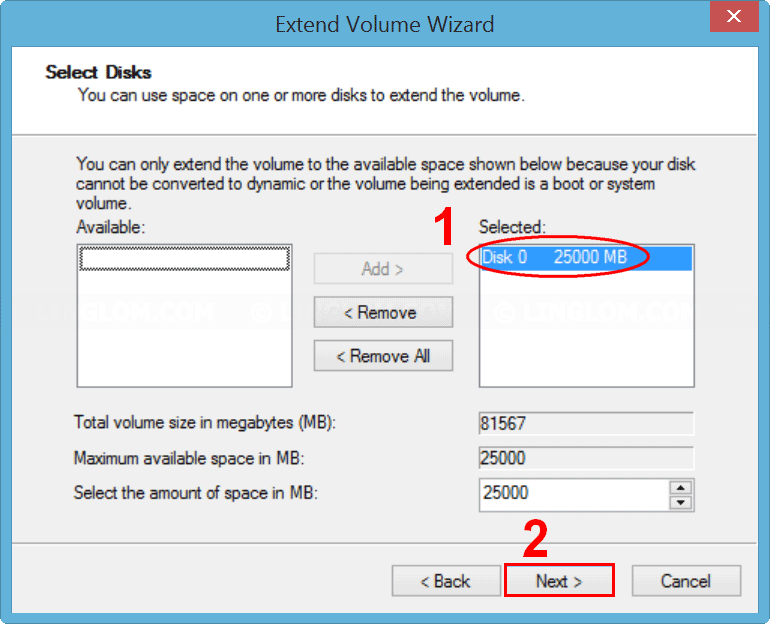
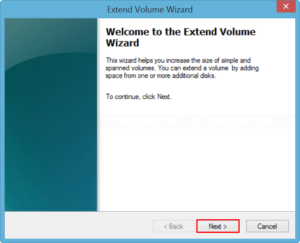
- You can right-click on the Windows partition and select Extend Volume.

- On this window, click Next.
- Make sure that the volume you want to merge is on the list and click Next.

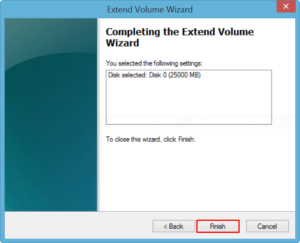
- Click Finish.
- Now the partitions are merged.
- You can right-click on the Windows partition and select Extend Volume.
- If the unallocated volume is not next to the right of the partition, you have to use third party programs to merge them.
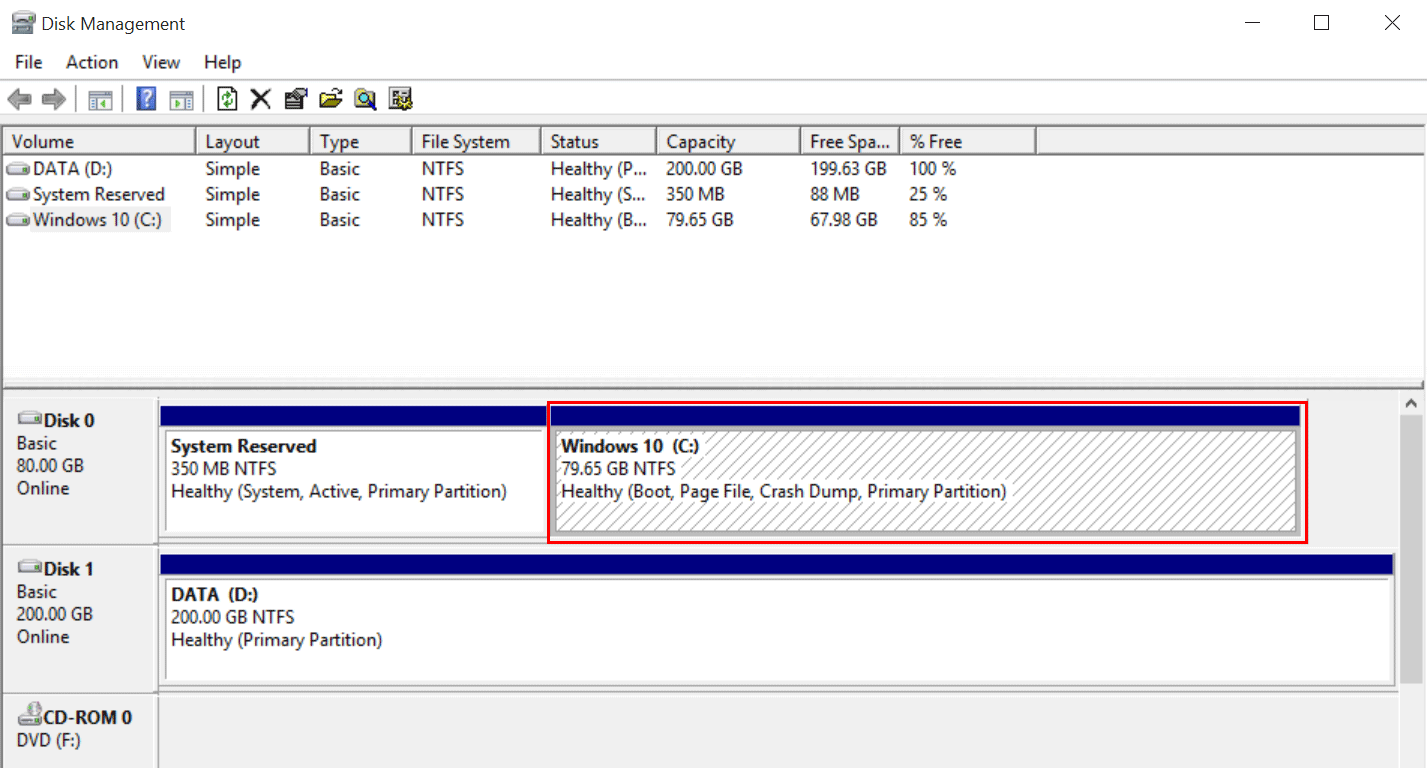
- You see that you cannot extend Windows partition to an unallocated space volume on the left with Disk Management so I will use EaseUS Partition Master in this example.
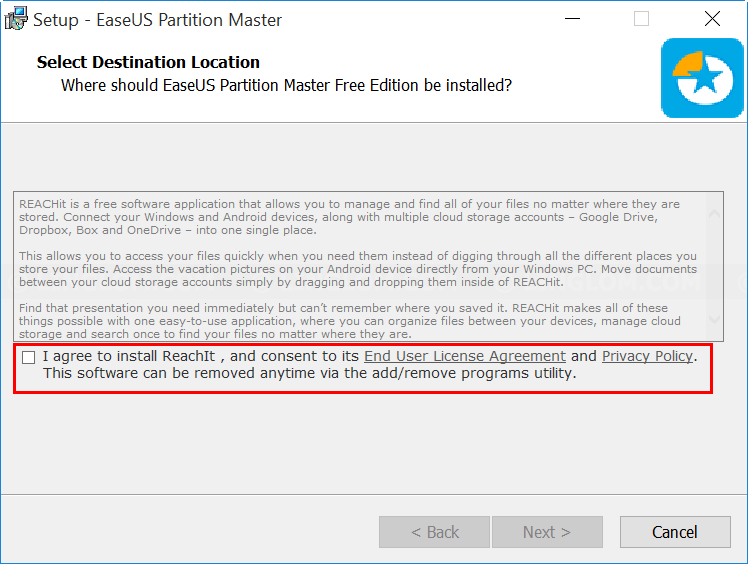
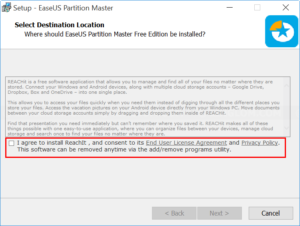
- Open web browser to http://www.easeus.com/partition-manager/epm-free.html to download EaseUS Partition Master
- Run the installer. If you don’t want to install any additional software, make sure not to select it.
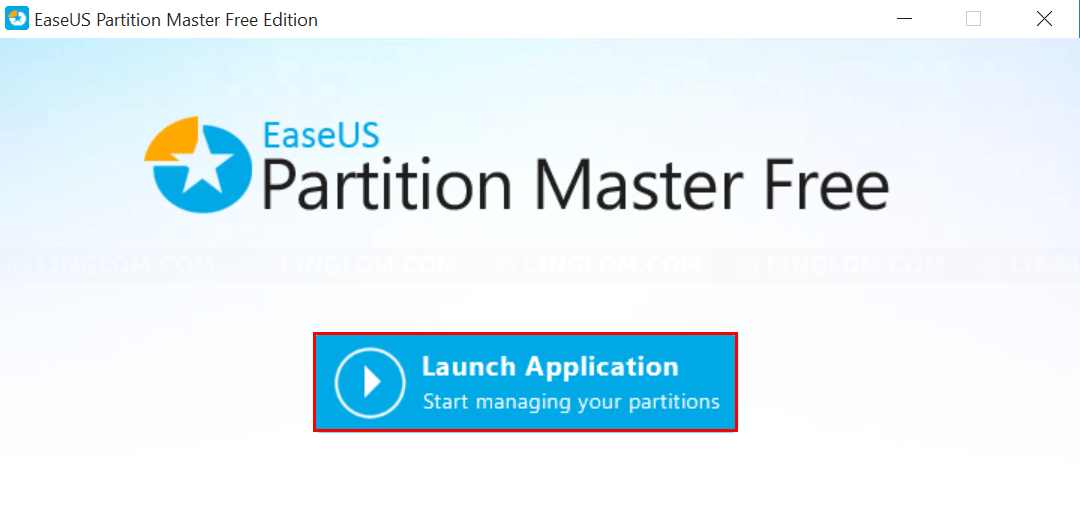
- After that, run the program. Click Launch Application.

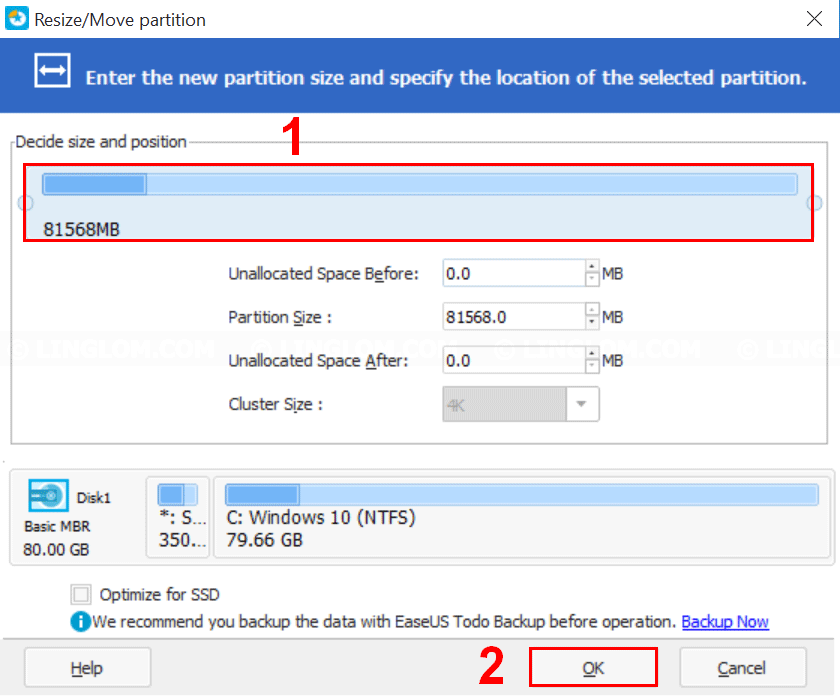
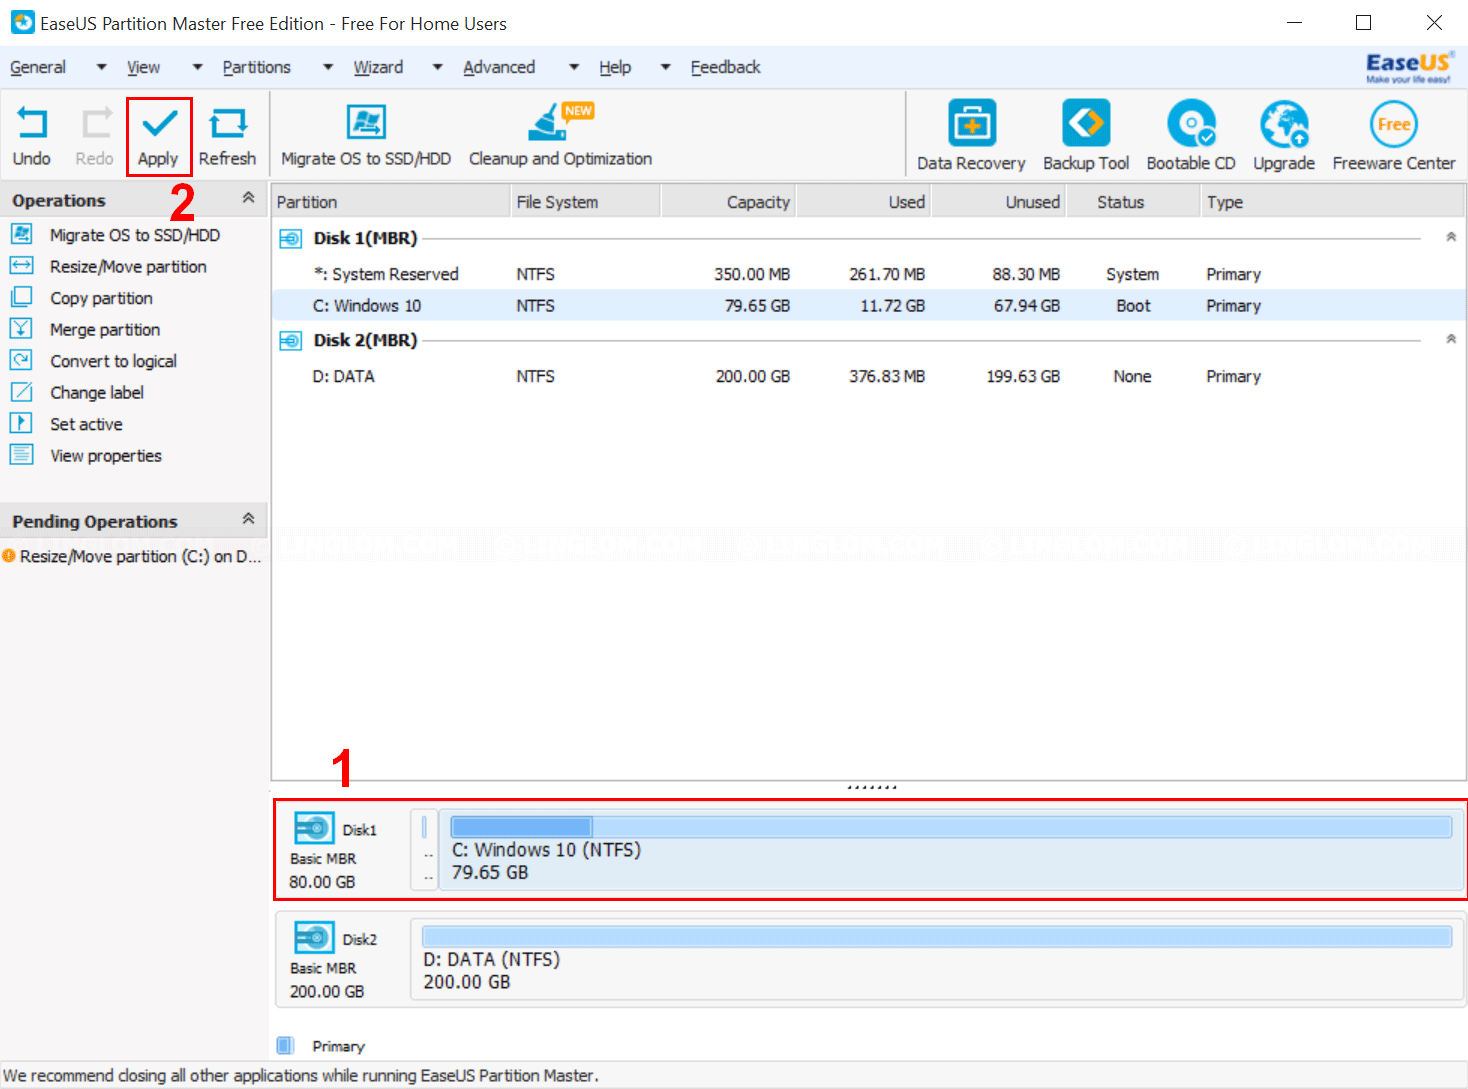
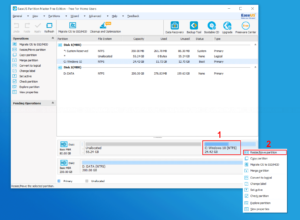
- On the program, find your Windows partition at bottom. Right-click on it and select Resize/Move partition.
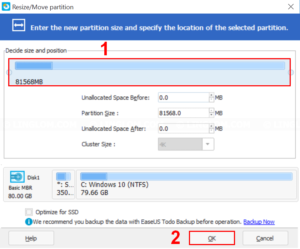
- On this window, expand disk space on the partition as in the figure and click OK.
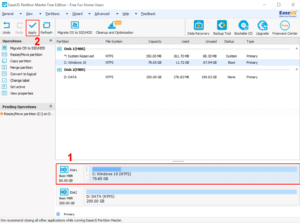
- Check if the disk structure is what you want and click Apply.
- Click Yes.

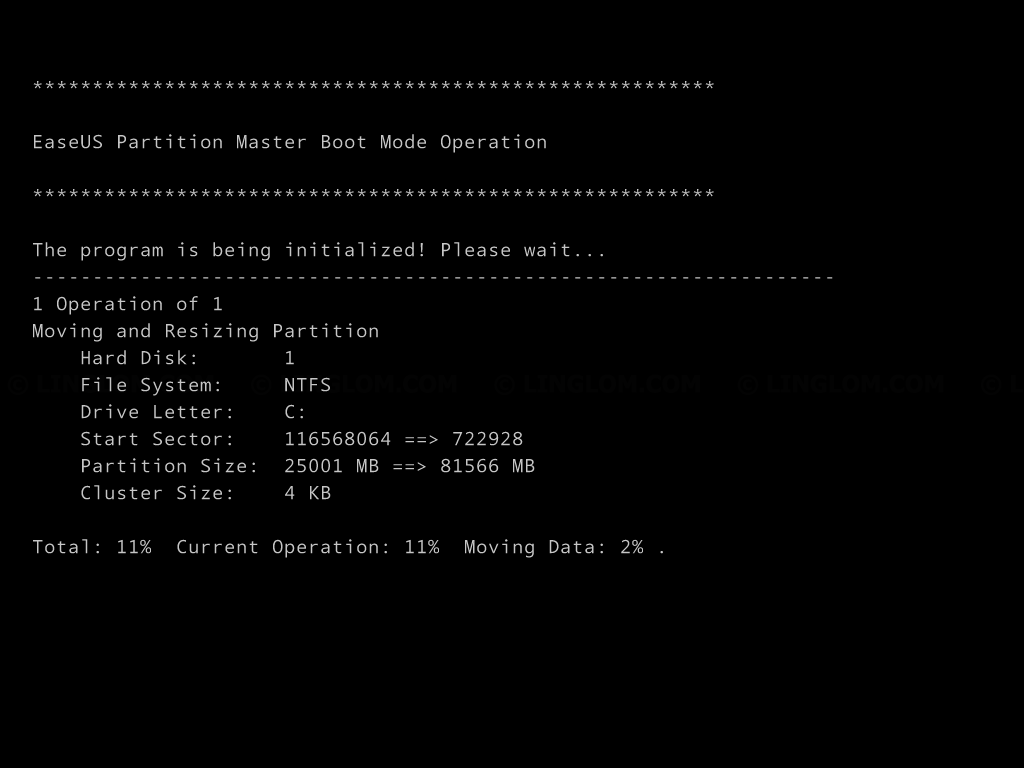
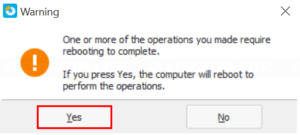
- You will have to reboot the system, click Yes to continue.
- It’s now extending Windows partition as configured.

- When finishes, your system will be rebooted to Windows normally and the partition are now merged.
- You see that you cannot extend Windows partition to an unallocated space volume on the left with Disk Management so I will use EaseUS Partition Master in this example.
- If the unallocated partition is next to the right of the partition that you want to merge as in this example below.