If you are a PHP/MySQL developer or administrator who need to test configuration of Apache web server, you may want to setup local Apache web server to test your developed script or configuration before deploy to production environment. You can manually install and configure Apache, PHP and MySQL on your local computer. But it takes time and requires some skill to configure these applications. If you are looking for an easier solution, you may be interested in this article.
Few years ago, I wrote an article about how to setup Apache web server using AppServ. Now there are many software similar to AppServ so I decide to write a new fresh one. But instead of using the same software as the previous article, I will use XAMPP this time. XAMPP is an easy to install Apache distribution containing MySQL, PHP and Perl. At the moment there are four XAMPP distributions: Windows, Linux, Mac OS and Solaris. See XAMPP for more information.
XAMPP is not meant for production use but only for developers in a development environment. XAMPP is configured is to be as open as possible and to allow the web developer anything he/she wants. For development environments this is great but in a production environment it could be fatal.
Reference: XAMPP security consoleThis article will show you how to setup Apache web server with PHP/MySQL using XAMPP on Windows 7 (x64). The current version of XAMPP is 1.7.4. It comes with PHP 5.3.5 so if you don’t plan to use this PHP version, you should download the older version of XAMPP instead.
Step-by-step to setup Apache web server using XAMPP
- Download XAMPP for Windows. Browse to www.apachefriends.org/en/xampp.html and click XAMPP for Windows.

- Scroll down to Download section, there are 3 formats which you can choose to download. In this example, I select ZIP format.

- Unzip the file into the folder of your choice. If you extract XAMPP in a top level folder like “C:\” or “D:\”, you can skip to step 5. Otherwise, you have to run “setup_xampp.bat” in \xampp folder. In this example, I extract to C:\ so I can skip to step 5.

- Here is the screenshot of the execution of file setup_xampp.bat.

- Open XAMPP Control Panel by right-click on xampp-control.exe and select Run as administrator.
Note: If you’re using Windows XP, you just double-click on the file.

- On XAMPP Control Panel Application, select Svc checkbox of Apache and click OK. This will install Apache as a service on this computer.

- Click Start to start Apache web server.

- Repeat step 6-7 on MySQL. Now Apache and MySQL are installed as Windows services and already started.

- You can check if the services are really installed on the computer by click SCM.

- On Services, you will see Apache and MySQL services are started and startup type are set to Automatic which means that services will be started automatically when the computer starts.

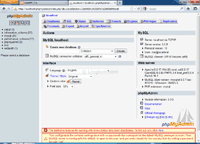
- Now it’s time to test, browse to “http://localhost” or “http://127.0.0.1”. You will see the screen as below. This is XAMPP’s splash screen, select English language.

- Here is the XAMPP’s main page. You can view other pages using navigation menu on the left side. For example, XAMPP’s status to see which components are running, security page to view current security configuration of the XAMPP installation, etc.

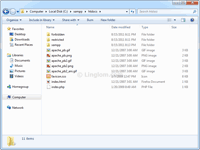
- The main directory for all WWW documents is \xampp\htdocs. If you put a file “test.html” in this directory, you can access it with the URI “http://localhost/test.html”.
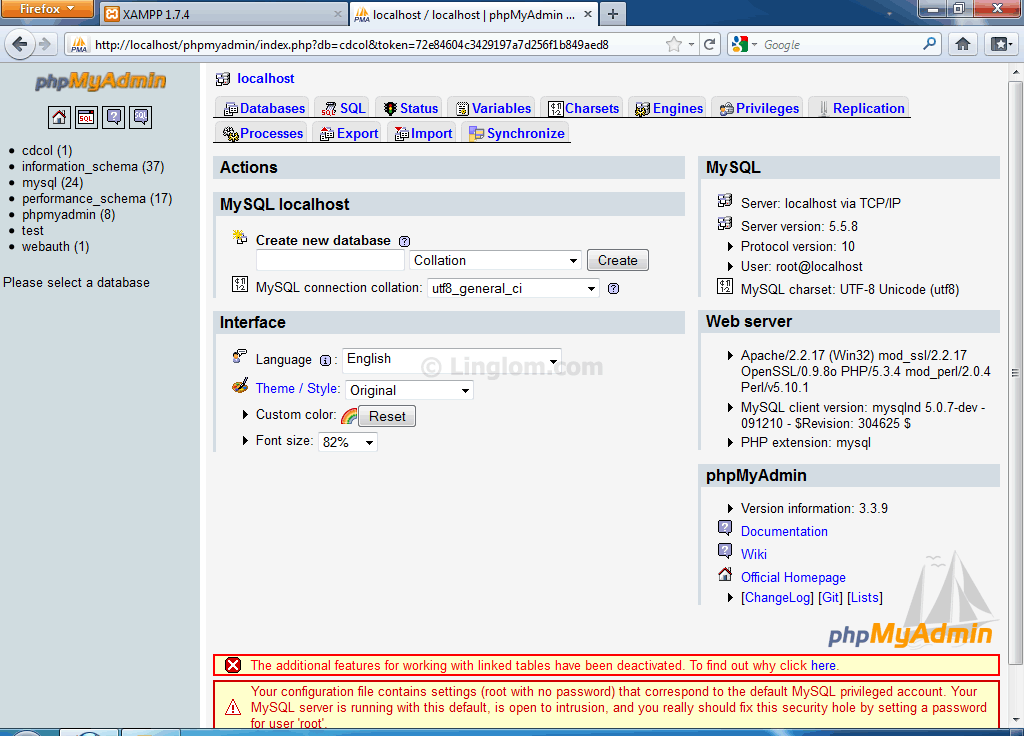
- You can manage MySQL using phpMyAdmin by browse to “http://localhost/phpmyadmin” or you can select phpMyAdmin link on the XAMPP’s main page (in Tools section).
Note: By default, the root’s password is empty (blank password).